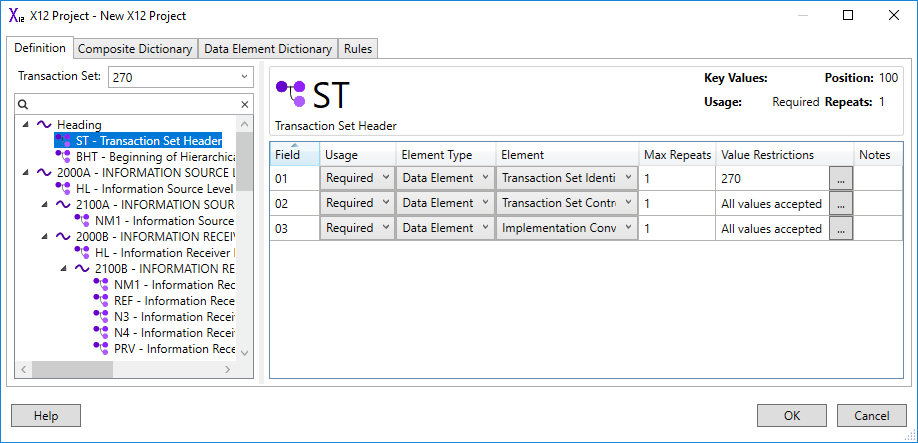
The Definition tab in the X12 Project Editor enables you to view or modify specific segments within a transaction set definition:
The Definition tab is composed of three panels:
| Panel | Description |
|---|---|
| Transaction Set | Enables you to:
|
| Segment | Displays the attributes which apply to segments in a Transaction Set, including:
To edit the elements in a segment, refer to Editing Elements in a Segment. |
| Element Detail | Displays the data elements is a selected segment, including the position of the data elements in the segment (Field) and their attributes. To define elements, refer to Composite Dictionary or the Data Element Dictionary. |
Editing Elements in a Segment
To edit elements in a segment:
- Select the transaction set from the Transaction Set drop-down list.
- Select the segment from the Transaction Set panel.
In the Element Detail panel, edit the data element attributes as required:
Attribute Description Usage The usage of the data element: Situational,Required, orNot Used.Element Type The type of the element: -
Data element- a simple data element. Composite- a data element that is part of a composite data structure.
Element The user-defined description of the element as defined in the Data Element Dictionary or Composite Dictionary. Max. Repeats
The maximum number of repeats permitted for the data element.Value Restrictions The list of values that the element is permitted to take. Notes User-defined notes that can be used to provide information on the intended use of the data element. -
To edit value restrictions for a data element, select the adjacent Browse button to edit value restrictions (not applicable for composite data types). Refer to Value Restrictions for details.
- Select the OK button to save your changes, or the Cancel button to discard them.
Value Restrictions
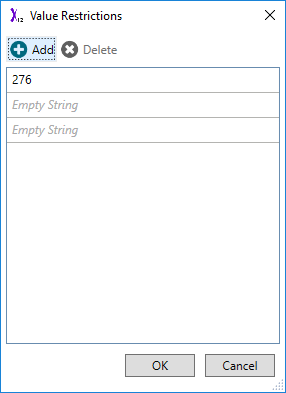
You can restrict the values a data element can accept by listing permissible values in the Value Restrictions dialog:
If the Value Restrictions dialog contains no values, then the associated data element can take any value (according to its type). If the Value Restrictions dialog contains values, then the associated data element can only take on the listed values.
- To edit value restrictions by:
- Restricting the data element to a value, select the Add button and enter the value in the newly created empty text box. Repeat as required.
- Deleting a value from the Value Restrictions dialog, select a value and select the Delete button.
- Select the OK button to save your changes, or the Cancel button to discard them.

