The pseudo single ob test is usually the first step to try out WRFDA after you have generated your own be.dat. It is a very useful tool, which can be used to investigate your choice of background error and its impact on your analysis. See the Background Error presentation for more information (starting on slide 34).
Source code
Get the pre-compiled code, if you have not done so.
WRFDA/var/build/da_wrfvar.exe is the executable that will be used in this session.
Choose your working directory
For this exercise you should create /classroom/users/${USER}/DA/singleob and use this as your working directory for this session.
mkdir /classroom/users/${USER}/DA/singleob
cd /classroom/users/${USER}/DA/singleob
Input files
The setup for a pseduo-observation test is the same as running WRFDA-3DVAR with real data (except that the observation file ob.ascii is not required):
ln -fs /classroom/users/${USER}/DA/WRFDA/run/LANDUSE.TBL ./LANDUSE.TBL
ln -fs /classroom/users/${USER}/DA/gen_be/gen_be5_cv5/be.dat ./be.dat
ln -fs /classroom/wrfhelp/DATA/WRFDA/CONUS60/rc/2008020512/wrfinput_d01 ./fg
Edit namelist.input
Change/add the following namelist.input settings to activate the pseudo single ob test. You can do so by modifying the namelist.input used in the previous WRFDA-3DVAR tutorial case:
cp /classroom/wrfhelp/DATA/WRFDA/CONUS60/namelist.input.3dvar ./namelist.input
vi namelist.input
&wrfvar15
num_pseudo = 1,
pseudo_x = 23.0,
pseudo_y = 23.0,
pseudo_z = 14.0,
pseudo_err = 1.0,
pseudo_val = 1.0,
/
&wrfvar19
pseudo_var = 'u'
/
Note: pseudo_var can be u, v, t, p, q, or several other pseudo-observation types. If pseudo_var is q, then reasonable values of pseudo_err and pseudo_val are 0.001 rather than 1.0. For more details, see the relevant section of the Users Guide.
By setting num_pseudo = 1, WRFDA will ignore real data and simply assimilate the pseudo-observation
Run WRFDA (da_wrfvar.exe)
The pseudo-single ob test takes very little memory to run compared to a real-data assimilation run, so we can just run it on a single processor:
mpirun -np 1 /classroom/users/${USER}/DA/WRFDA/var/build/da_wrfvar.exe
Check output
As with every run of WRFDA, you should first make sure that the rsl.out.0000 file ends with "*** WRF-Var completed successfully ***".
Check the statistics file to view diagnostics related to your pseudo-obs run.
Use ncdiff and ncview to generate and view the analysis increment file.
ncdiff -v U,V,T,QVAPOR,MU,P,PSFC wrfvar_output fg increment.nc
ncview increment.nc
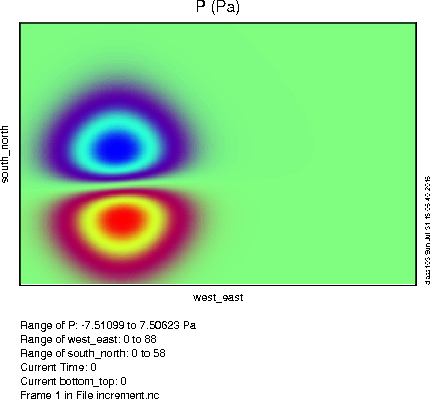
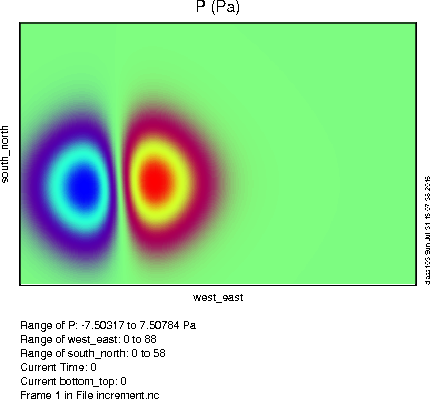
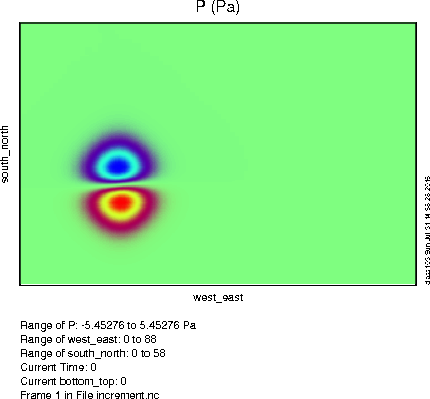
To the right you can see what your pressure perturbation should look like with the above settings (click the image for a larger version). Try using "v" instead of "u" as your test variable. How would you expect the pressure perturbation to change? (click here to see) |
 |
Graphics
Some useful NCL scripts for this exercise are:
/classroom/wrfhelp/DATA/WRFDA/TOOLS/graphics/ncl/WRF-Var_plot.ncl
/classroom/wrfhelp/DATA/WRFDA/TOOLS/graphics/ncl/WRF_contributed.ncl.test
/classroom/wrfhelp/DATA/WRFDA/TOOLS/graphics/ncl/psot_xy_auto.ncl
/classroom/wrfhelp/DATA/WRFDA/TOOLS/graphics/ncl/psot_xz_auto.ncl
/classroom/wrfhelp/DATA/WRFDA/TOOLS/graphics/ncl/psot_yz_auto.ncl
/classroom/wrfhelp/DATA/WRFDA/TOOLS/graphics/ncl/psot_h.ncl
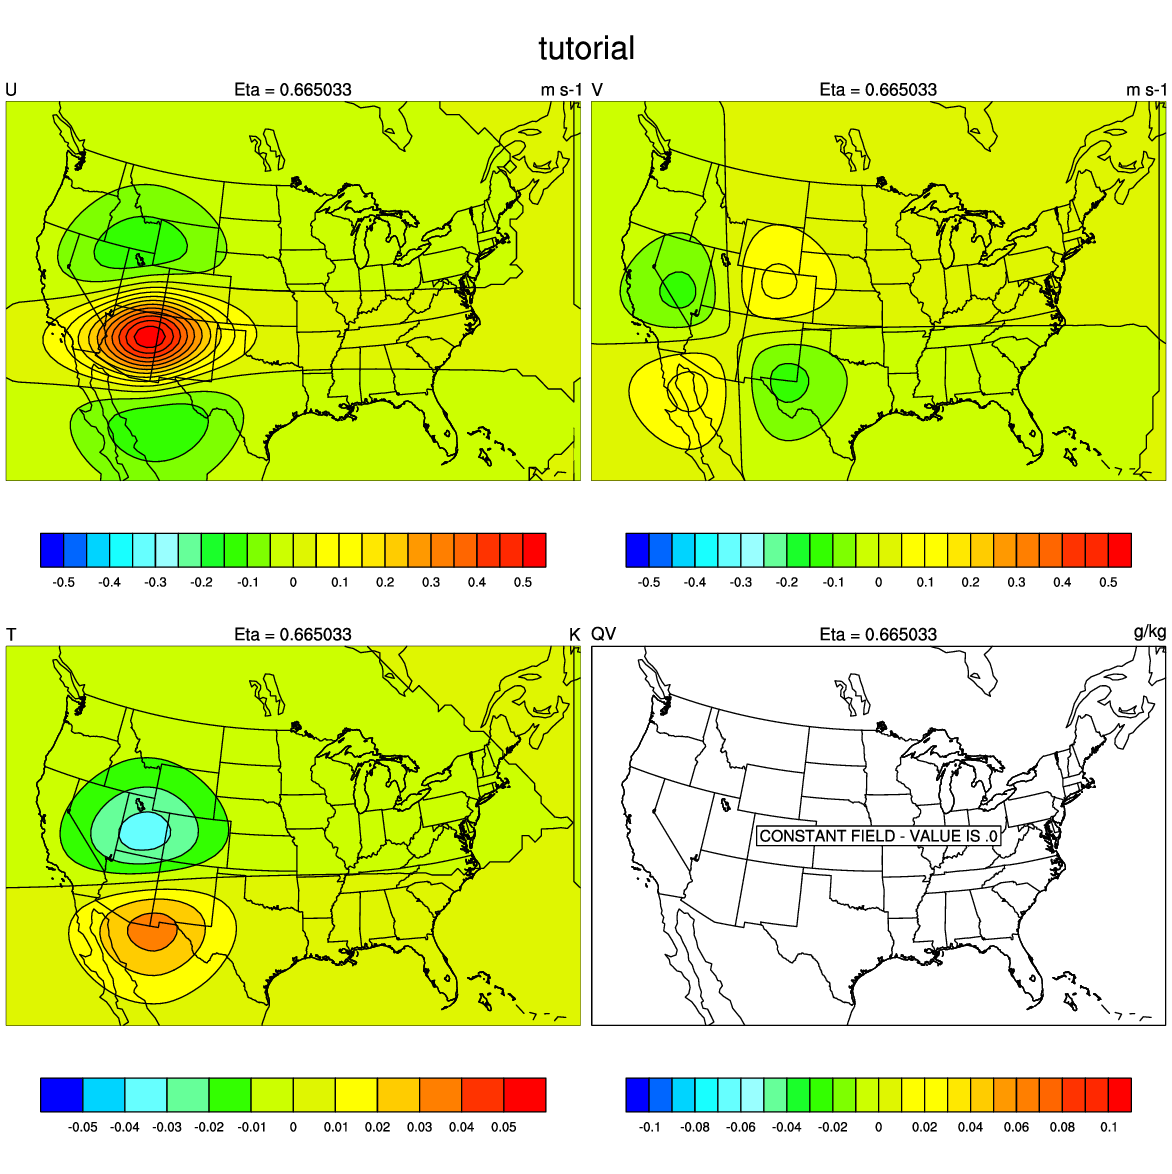
The plot at right was generated using psot_h.ncl using the following settings:
works = "pdf"
expt = ""
directory = "/classroom/users/$USER/DA/singleob/"
first_guess = addfile(directory+"fg.nc", "r")
analysis = addfile(directory+"wrfvar_output.nc", "r")
kl=12
Using these settings as a guide, try out the other scripts listed above.
|
 |
Other practice
Run single ob test with the following additional parameters. All of these can be used on real data runs as well, but it's easier to see their exact effects in the single-ob test.
