Main menu
You are here
Tapestry v3.0
| Attachment | Size |
|---|---|
| 422.45 KB | |
| 296.37 KB | |
| 335.1 KB |
"Tapestry v3.0"
A Gimp script to break down a photo into cross stitch colours.
Micomicon - February 2011. Tested with Gimp-2.6.
An implementation of Saul Goode's decompose-indexed script
To install (Linux):
Download and unzip the archive. Move the script file Tapestry.scm to /yourhome/.gimp-2.x/scripts.
Tapestry will be available the next time you start the Gimp and can
be found in the menu <IMAGE><FILTERS><ARTISTIC>.
Description:
This Gimp plug-in will not make a woven tapestry for you but it will create a coloured pattern from any image size, which can be used to make up a tapestry using cross stitch. If you like to work using the usual paper patterns, this script may not be for you as it does not generate a symbol chart (later versions may do this) or give you a list of what threads to buy but for now, it separates a reduced number of colours - between 2 and 128 - into separate layers which are then overlaid with guide grids.
"Tapestry” v3.0 will work on any image type, even a PDF
It allows you to choose the number of colours to use.
It does not tie you to a particular floss palette.
It allows you to see the final result before you make a start.
It allows you to change colours or combine little used colours.
It allows you to work on a really large canvas with ease.
Making cross stitch art this way means that you work from a screen so having a laptop or a netbook is helpful.

Before running Tapestry:
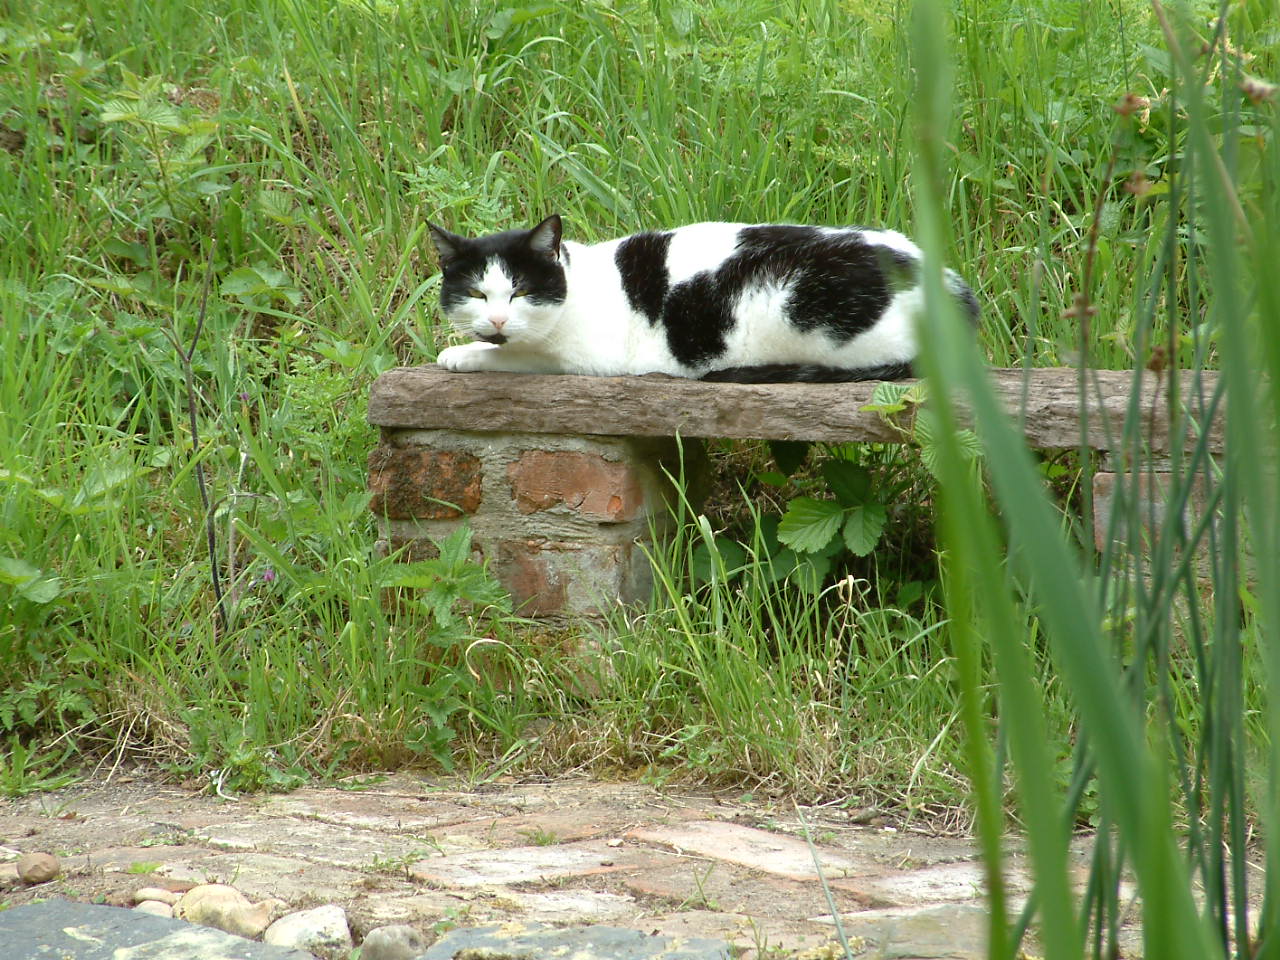
RGB source image containing 16 million colours

After running Tapestry:
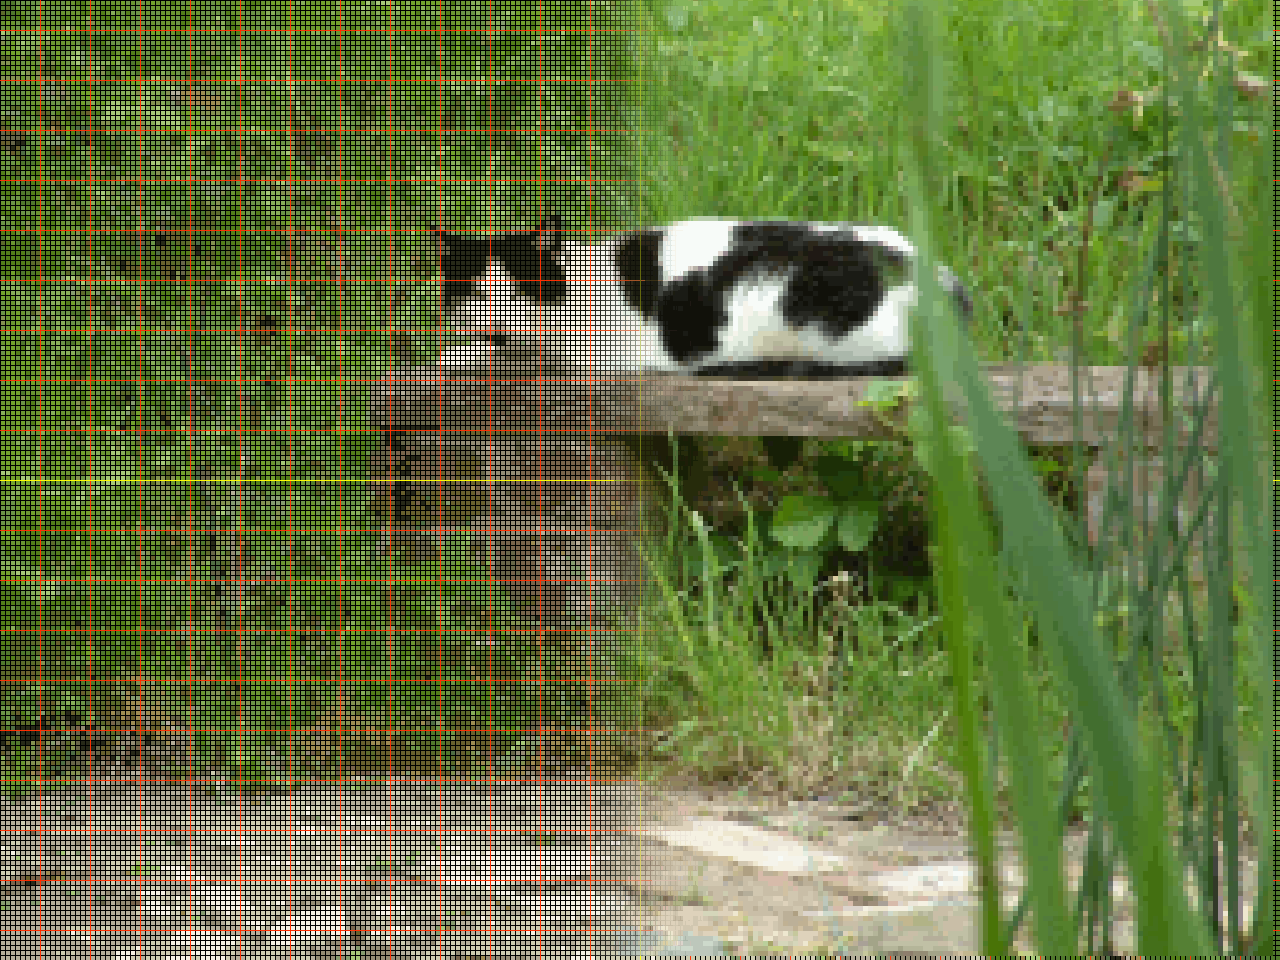
Image reduced to 20 colours plus grids


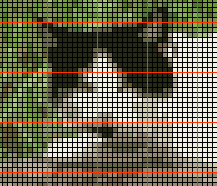
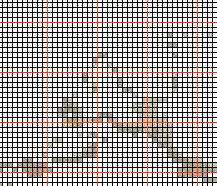
Detail of composite . . . . . . Detail of light grey layers
This is the way I work:
Depending on your source image, it may be a good idea to increase the brightness and contrast levels before you start and to scale to the size of your canvas. Count the number of stitches to the inch your chosen canvas provides - say 14 stitches per inch. There are 5 pixels to a stitch so 14x5 = 70 pixels per inch. For a canvas 24 by 32 inches, that's 24x70 by 32x70 = an image size of 1680x2240. I run the plug-in and look at the result of choosing various numbers of colours (this is really fast) before separating into layers, which takes a bit longer. When I am happy with the look of the design, I then run the tapestry plug-in again on the original image, this time checking the 'make layers' box. This gives me each of my colours on a separate layer. VERY IMPORTANT: This result is your master file. Save it as an .xcf so that you can work on the layers in the Gimp. I decide on the thread colour I want to use for each of the layers; sometimes the
variations in colour are very subtle and I can combine layers, using
just one thread colour for those. I then turn layers on or off - using the 'eye' symbol beside each layer to see the colour I want to use, either against the grid or another dominant colour. In practice I have found that there is often a dominant colour, eg Black, which I leave turned on permanently to use as a framework. I then create a series of work files by saving the layers as .bmp - do not use .jpg as the colours will not be preserved in the correct form. I can then use a simple viewer when I am working the tapestry - I have found 'Eye of Gnome' to be excellent for this, it enables me to enlarge and move around the picture without accidentally altering it in any way.
- Log in to post comments

Recent comments