Main menu
You are here
Highlight from selection (German/English)
| Attachment | Size |
|---|---|
| 2.5 KB | |
| 2.45 KB |
Sometimes you’re in the need to direct your viewers attention to a certain part of an image (or you just like to play around with that *g*). There are several ways to do so, this script provides another way: Highlighting.

English version of the user interface, there is a German version available, too. Dies ist die Englische Benutzeroberfläche. Eine Version mit Deutscher Benutzeroberfläche ist ebenfalls verfügbar (siehe Anhänge). Beide Versionen können parallel installiert werden.
Examples
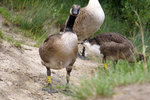
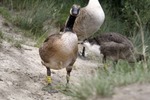
When applied to a layer with a selection using the default parameters you get this result (left: before, right: after).
Here’s another example with slightly tweaked values.

Options
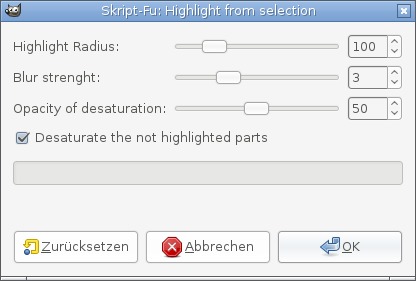
The options should be self-explanatory, but here’s a description of them.
Highlight Radius
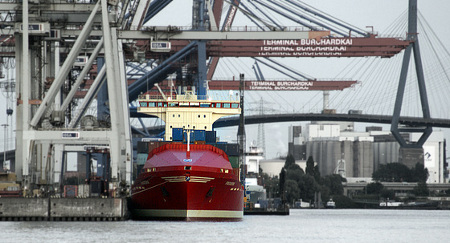
When you select the parts of the layer that will be highlighted you don’t need to be 100 percent accurate (see this example). The highlight radius defines the amount of feathering added to the selection. When set to 0 there will be no feathering at all (good for exact highlights – but the effect doesn’t look so good)
Blur strength
By default non-highlighted parts of the layer are blurred. With this slider you define how much this parts will get blurred. Same as with radius: you can disable this completely by setting to 0.
Opacity of desaturation
The colors of the non-highlighted parts of the layer are a result of the desaturated part and a normal color part. The higher you set the opacity of desaturation the less color you have. When set to 100 its completely grayscale, when set to 0, no desaturation will be used (see next description).
Desaturate the not highlighted parts
This is a convenient option. If you don’t want desaturation, just click this checkbox, and the non-highlighted parts of the image won’t be desaturated at all, no matter what “Opacity of desaturation” is set to.


Recent comments