Assembling the Flying Z
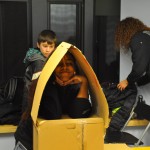
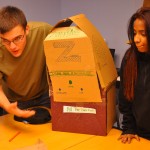
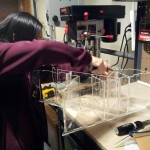
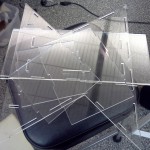
A big technical portion of our work this week was fabricating and assembling the outer casing for the Flying Z, which Carrie and Qian were in charge of. There were some delays because we first had to order more acrylic sheets for the base that we decided to add to the structure. We also had some trouble getting access to a laser cutter, but we were able to find one at the last minute. We finished laser cutting out all of the acrylic pieces based on the CAD model that Carrie created. Then, we brought the laser cut pieces back to the maker space in our dorm to assemble and fit all of the pieces together to make the final structure. This process involved hot gluing pieces together, and filing and chiseling pieces for smoothness. We were quite happy with how our assembled structure turned out!
We made an Instructable that has more details on this!!!
Painting and Prepping the Flying Z
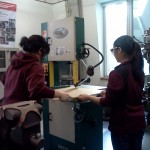
Courtney picked up the casing that Carrie and Qian had assembled and took it back to her place for some sanding and base-painting. Because the casing and the paint that we’re using are both acrylic, we needed to sand the pieces so that the paint would be able to stick to the surface. Otherwise, it could just peel right off after it dried. It took an hour or so to sand all of the pieces and then another couple of hours (or the length of time it takes to watch MUD and Zero Effect) to paint the items. Two coats were applied Saturday night; two more coats on Sunday; one final coat on Monday morning. The yellow paint was relatively translucent and required thick application. The blue and the black were easier; the black amp only required two coats in total.
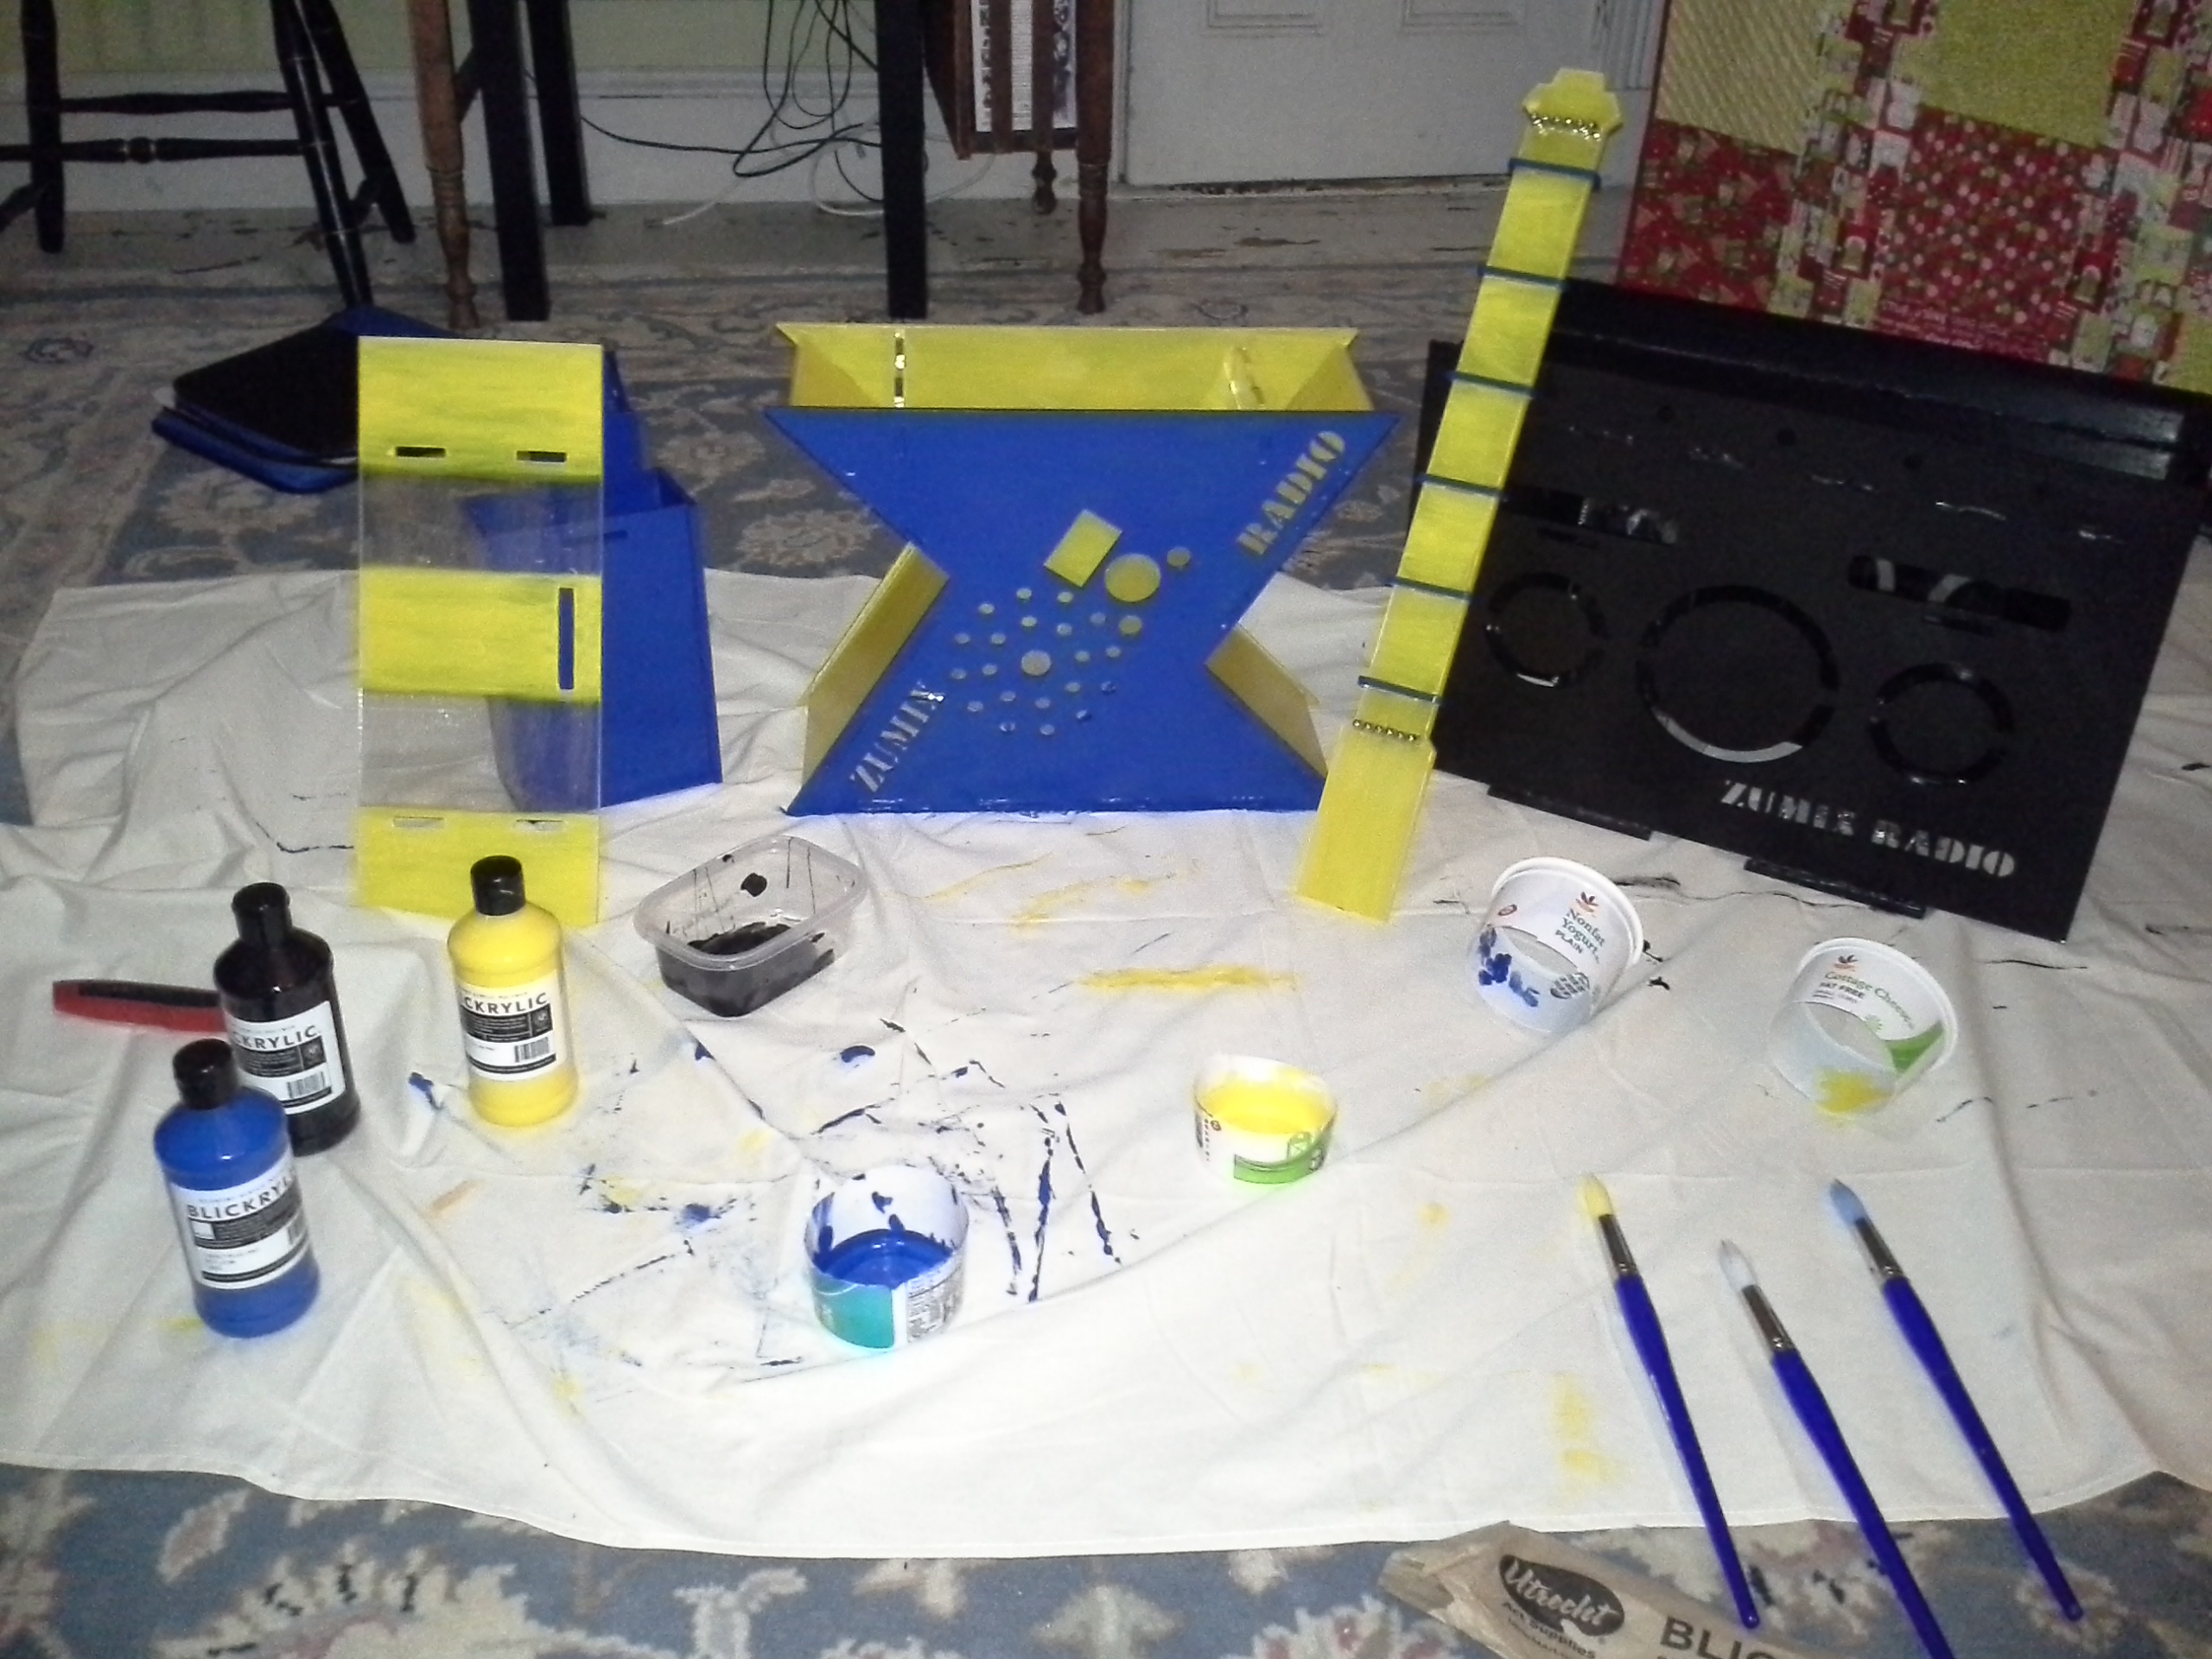
We’re currently having issues with the colors we selected. Lucia, our ZUMIX staff team mate, has informed us that other ZUMIX staff think that the yellow clashes with the current paint on the walls at ZUMIX and that the blue guitar and black amp clash. We’re hoping to resolve these issues tonight during our final workshop with the youth (see how that exciting dilemma turns out by continuing to read the next section!). Based on these issue and the experience of sanding and prepping the acrylic, it’s recommended that others trying to work with acrylics and paint choose their paint colors wisely (the darker, the better – or at least “the easier”). Also think very carefully about who else needs to weigh in on the color choice. The color scheme we have now is a direct reflection of the youth DJs’ design. These decisions were made as a group during our previous workshop, but it’s obvious now that ZUMIX staff should have been consulted. They do, after all, share the space where the radio will reside.
Recap of Decorating Workshop
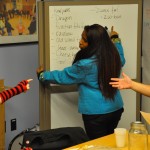
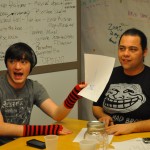
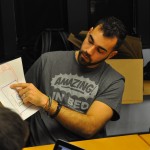
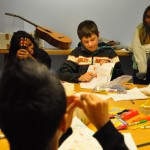
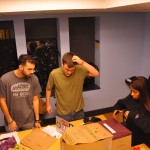
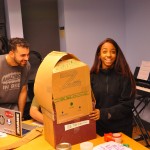
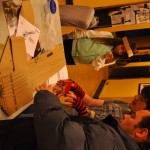
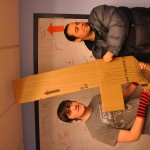
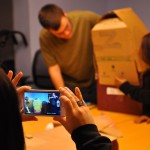
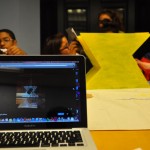
We had a meeting with nine youth DJs to present the assembled ‘Flying Z’ to them, and to decorate the casing. We started the meeting by showing the DJs pictures and videos on how Carrie and Qian cut and assembled the Flying Z. They had questions about how long it took, how the laser cuts the acrylic, and the assembly process. We also passed around the laptop so that the youth could individually scan through the pictures and video to get a better sense of how the casing was assembled. Courtney also talked a bit about sanding the casing and applying the base coats (which was a very time consuming process!)
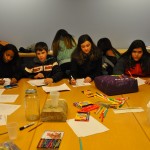
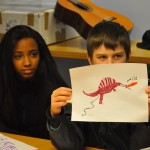
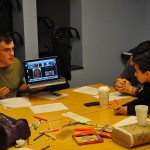
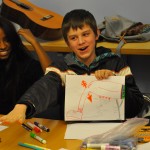
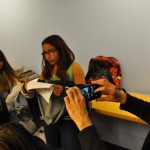
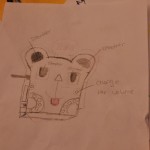
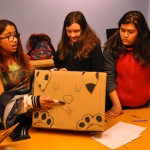
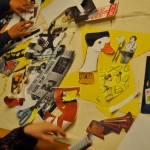
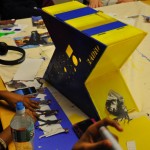
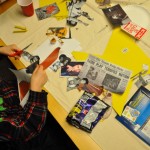
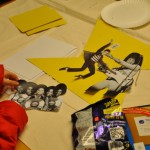
Many of the youth liked how the the casing turned out in terms of its shape, but had various opinions on the color scheme. Some thought that the colors would clash with other colors in the space, while others felt that the colors were good for grabbing attention. After getting comments on the casing, we transitioned to the main part of the meeting: getting youth to take the images that they printed out or drew and organize how they will be laid out on the casing. Lucia printed a lot of pictures of musicians for the youth to use, and over the course of the meeting they also found images online to use. We cut out cardboard panels for the youth to lay out drafts of their panels before actually glueing the images to the casing. This process took a lot longer than we thought it would. 1-2 youth chose to focus on one of the 8 panels of the radio (front, back, two panels on the left, two panels on the right, top, and guitar neck). Their choices of images in the collages reflected their musical interests, included images of Zumix youth and staff, and referenced inside jokes amongst the youth DJs.
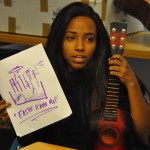
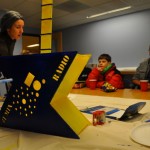
Since the process of organizing the collaged images took a lot longer than we thought, we didn’t have enough time to actually glue the images onto the Flying Z. Moreover, Lucia and other Zumix staff felt that the yellow color on the guitar clashed with the space, and want to paint it silver. We came to the conclusion that we won’t have all the collage panels done for Tuesday, but that Lucia will complete the top panel collage so that the class can get a taste of what the final product will look like. Here are some photos from the workshop:

Here is the link to our Case Study: http://bit.ly/1bSMeqU
Here is the link to our Presentation: http://bit.ly/19xQqGW
Here is a link to a video recap of our design workshop from last week: https://www.youtube.com/watch?v=6BI5j-zJCeo