Final Project: Peas in a Podcast – East Boston Voices

Abstract: “East Boston Voices” is a podcast special centered around events of gentrification and displacement in East Boston. The mission of Peas in a Podcast is to unveil the hidden stories of the neighborhood to the greater Boston community, hopefully instigating change among East Boston’s residents. Each member of our group interviewed someone in the community who’s dealing with the effects of gentrification and displacement directly, compiling their stories and presenting their contents to our audience with added data and thought-provoking questions.

Link to podcast: https://natespitia.wixsite.com/peasinapodcast

Link to presentation: http://bit.ly/2qpJAnr

Link to case study: http://bit.ly/2qpNkW6

‘Flying Z’ Assembly and Last Workshop with Zumix Youth DJs

Assembling the Flying Z

A big technical portion of our work this week was fabricating and assembling the outer casing for the Flying Z, which Carrie and Qian were in charge of. There were some delays because we first had to order more acrylic sheets for the base that we decided to add to the structure. We also had some trouble getting access to a laser cutter, but we were able to find one at the last minute. We finished laser cutting out all of the acrylic pieces based on the CAD model that Carrie created. Then, we brought the laser cut pieces back to the maker space in our dorm to assemble and fit all of the pieces together to make the final structure. This process involved hot gluing pieces together, and filing and chiseling pieces for smoothness. We were quite happy with how our assembled structure turned out!

We made an Instructable that has more details on this!!!

Painting and Prepping the Flying Z

Courtney picked up the casing that Carrie and Qian had assembled and took it back to her place for some sanding and base-painting. Because the casing and the paint that we’re using are both acrylic, we needed to sand the pieces so that the paint would be able to stick to the surface. Otherwise, it could just peel right off after it dried. It took an hour or so to sand all of the pieces and then another couple of hours (or the length of time it takes to watch MUD and Zero Effect) to paint the items. Two coats were applied Saturday night; two more coats on Sunday; one final coat on Monday morning. The yellow paint was relatively translucent and required thick application. The blue and the black were easier; the black amp only required two coats in total.

20131207_184225 20131208_185330


We’re currently having issues with the colors we selected. Lucia, our ZUMIX staff team mate, has informed us that other ZUMIX staff think that the yellow clashes with the current paint on the walls at ZUMIX and that the blue guitar and black amp clash. We’re hoping to resolve these issues tonight during our final workshop with the youth (see how that exciting dilemma turns out by continuing to read the next section!). Based on these issue and the experience of sanding and prepping the acrylic, it’s recommended that others trying to work with acrylics and paint choose their paint colors wisely (the darker, the better – or at least “the easier”). Also think very carefully about who else needs to weigh in on the color choice. The color scheme we have now is a direct reflection of the youth DJs’ design. These decisions were made as a group during our previous workshop, but it’s obvious now that ZUMIX staff should have been consulted. They do, after all, share the space where the radio will reside.

Recap of Decorating Workshop

We had a meeting with nine youth DJs to present the assembled ‘Flying Z’ to them, and to decorate the casing. We started the meeting by showing the DJs pictures and videos on how Carrie and Qian cut and assembled the Flying Z. They had questions about how long it took, how the laser cuts the acrylic, and the assembly process. We also passed around the laptop so that the youth could individually scan through the pictures and video to get a better sense of how the casing was assembled. Courtney also talked a bit about sanding the casing and applying the base coats (which was a very time consuming process!)

Many of the youth liked how the the casing turned out in terms of its shape, but had various opinions on the color scheme. Some thought that the colors would clash with other colors in the space, while others felt that the colors were good for grabbing attention. After getting comments on the casing, we transitioned to the main part of the meeting: getting youth to take the images that they printed out or drew and organize how they will be laid out on the casing. Lucia printed a lot of pictures of musicians for the youth to use, and over the course of the meeting they also found images online to use. We cut out cardboard panels for the youth to lay out drafts of their panels before actually glueing the images to the casing. This process took a lot longer than we thought it would. 1-2 youth chose to focus on one of the 8 panels of the radio (front, back, two panels on the left, two panels on the right, top, and guitar neck). Their choices of images in the collages reflected their musical interests, included images of Zumix youth and staff, and referenced inside jokes amongst the youth DJs.

Since the process of organizing the collaged images took a lot longer than we thought, we didn’t have enough time to actually glue the images onto the Flying Z. Moreover, Lucia and other Zumix staff felt that the yellow color on the guitar clashed with the space, and want to paint it silver. We came to the conclusion that we won’t have all the collage panels done for Tuesday, but that Lucia will complete the top panel collage so that the class can get a taste of what the final product will look like. Here are some photos from the workshop:

Here is the link to our Case Study: http://bit.ly/1bSMeqU

Here is the link to our Presentation: http://bit.ly/19xQqGW

Here is a link to a video recap of our design workshop from last week: https://www.youtube.com/watch?v=6BI5j-zJCeo

ZUMIX Radio Update

This past week has been quiet, but productive. Each of the team members has been working on individual components of the larger project. Qian created a basic template version of the website we’ll use for our final documentation. More pictures and content will be added later, as we finalize things. She’s also planning to add more colors and play around with the theme. Qian is also taking on Sasha’s recommendation for us to make an instructables site, which can be completed after Carrie finishes CADding and laser cutting (because we get to do cool stuff like CAD and cutting things with lasers in this group!). Over the weekend, Carrie produced a first version of the CAD model. Some issues with the dimensions required a “redo,” but the final model is finished and the laser cutting should be complete by class time on Tuesday!

On the less technical side of things, Ashwin and Courtney have been searching for our team’s back-up Plan B, the old-time radio. We’ve found some leads on craigslist, but haven’t been able to locate one that meets our specifications or price point. Ashwin and Courtney have also been working to craft the case study narrative and workshop template, which is still in draft form.
We’re looking forward to seeing the laser cut Flying Z guitar this week. We’re also looking forward to another workshop with the youth DJs on December 2, when they’ll put the finishing touches on the radio-guitar. We’ll keep you posted!

ZUMIX Update and Presentation Reflection

Most of the feedback we received about our presentation was positive, so we feel like we are on the right track. Most of the work that remains to be done is actually building the physical radio and evaluating/testing our work.

This week, Carrie made a small cardboard model of the design that can be used as a precise basis for laser cutting the acrylic casing. Below are images of her design. However, before we can actually build the physical product, we need to decide on a final design or designs.

zumix-3D-model

We have also purchased a smart internet radio from Amazon and we are working on having it stream ZUMIX radio. We are currently have some technological issues regarding this aspect, but it should work in theory and we will hopefully solve this problem.


It has been hard getting everyone together during the week, so we plan on meeting after class tomorrow to plan out the next step and finalize decisions for going forward. Stay tuned.

ZUMIX Update: 2nd Project Iteration and Presentation

Following feedback from the class exercise and the first project iteration, we have decided on the some changes for our ZUMIX radio project.

On the technical side, we have decided to purchase a smart radio that comes with the capability to stream internet radio instead of building our own with a raspberry pi. This will save us a lot of time not reinventing the wheel and will be more maintainable once we hand off the project. Originally, we discussed using a 3D printer to print out the final product, but since it is hard to get access to one, we have now decided to laser cut acrylic(hard clear plastic) sheets and piece it together.

At the last design workshop, the youth DJs came up with a few models for how the outward appearance of the radio should look. Going forward, we will choose one of them for laser cutting so that we will have a solid outer casing that the youth can then decorate. We will put our smart radio inside the casing and attach speakers for the final product.Carrie researched some of the qualities and specs we want in a speaker and have come up with 3 candidate choices. The research on speakers is found here.

Last class, someone had suggested that we put a phone next to our radio so people can call in and put in song requests. We thought that was a cool idea and would address some of the social impact challenges we had regarding this project. In particular, one concern we had after the FAIL workshop was that this project would get neglected, so the phone is a good idea for making it more interactive and interesting.

 
Our presentation is a work in progress and can be viewed here.

Mobile Radio Design Meeting with Zumix Youth

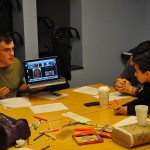
The goal of our meeting at Zumix on November 4th was to work with a team of Zumix youth to narrow down a few physical design ideas and functions for the mobile streaming radio. To recap, the aim of the mobile streaming radio is to 1) live stream Zumix radio shows, 2) bring attention of people in the Zumix space and at Zumix events to the radio, 3) provide information about the radio such as show times and ways to get involved.

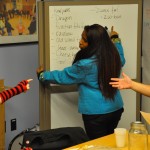
There was great turnout for the design event. 14 youth showed up and represented a wide range of ages and musical interests. After eating pizza and getting comfortable, we started by doing introductions since some of the youth were new to the group.  Their descriptions of their radio shows were lively, and it was clear that many of them brought a lot of energy to their radio shows and that they are very invested in the music or talk-radio topic. We heard about Valentino’s show about video games, and his radio persona as the “Butter-God”. We also heard about another love-themed show that focused on the soul music of Teddy Pendergrass, Marvin Gaye, and others.

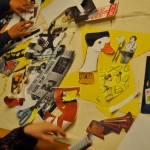
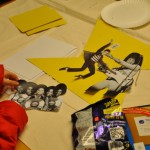
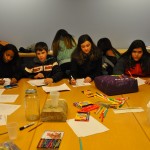
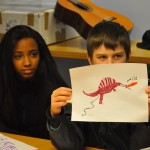
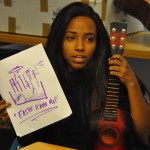
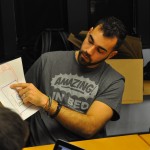
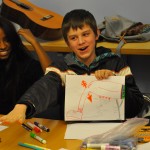
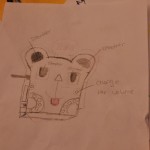
After doing introductions and recapping the progress we have made so far, we jumped right into a brainstorm of how the mobile radio will look, and how the functions will be integrated into the look. We encouraged the youth to think beyond the radio looking like a radio and encouraged them to think of it as a sculpture that represents East Boston, Zumix, or something else that they identify with. Some of the ideas from this initial brainstorm were a guitar, dragon, panda bear, East Boston skyline, a cheesebox, a jukebox, and a drumset. We then instructed the youth to draw out their ideas. Their drawings ranged from rough sketches to very detailed maps of the design, and also the functional elements such as volume control or scrolling text screens to give updates on shows. The youth then presented their drawings to the larger group.

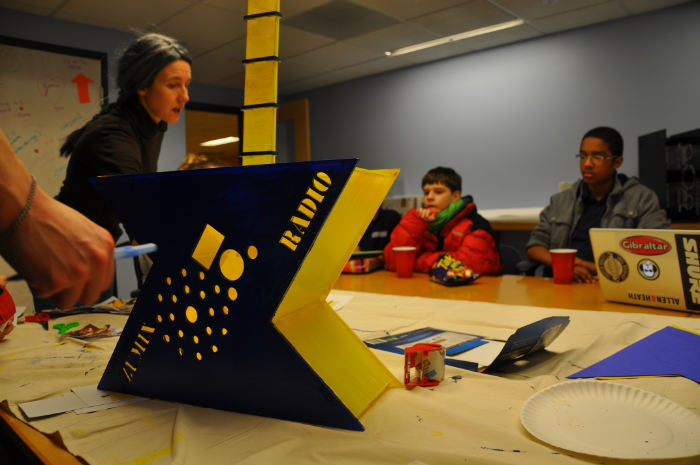
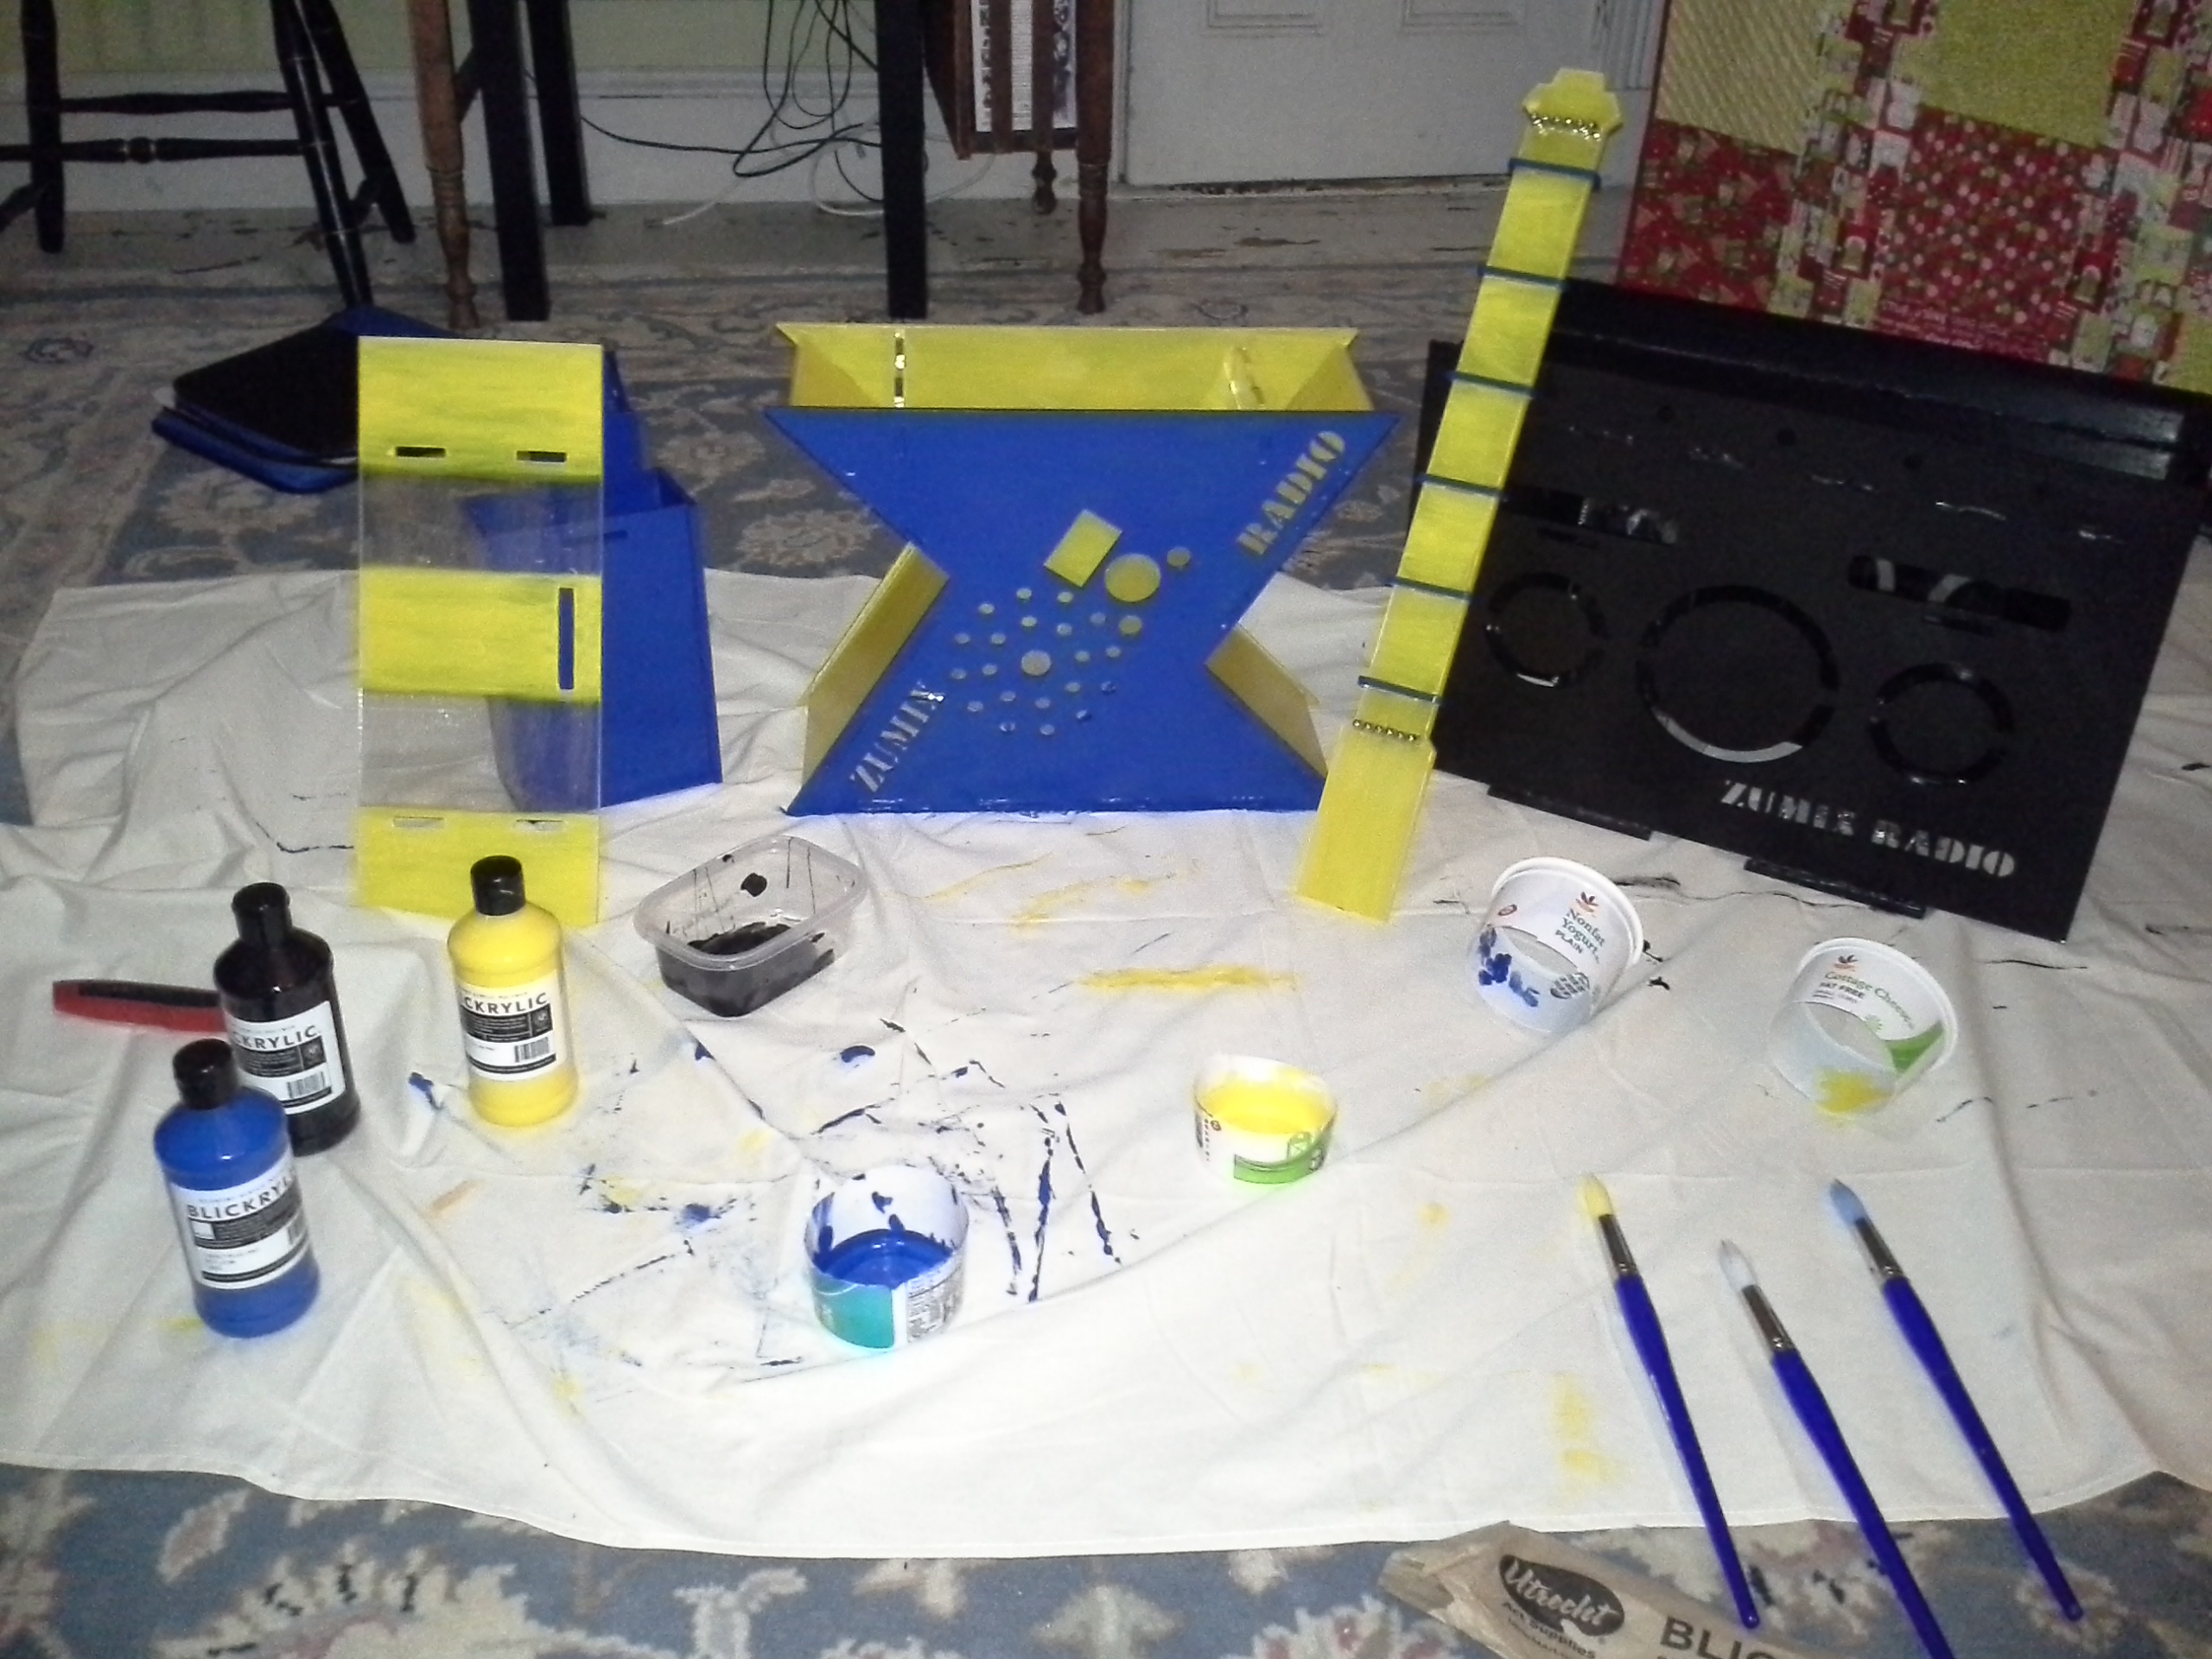
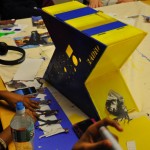
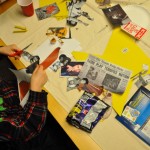
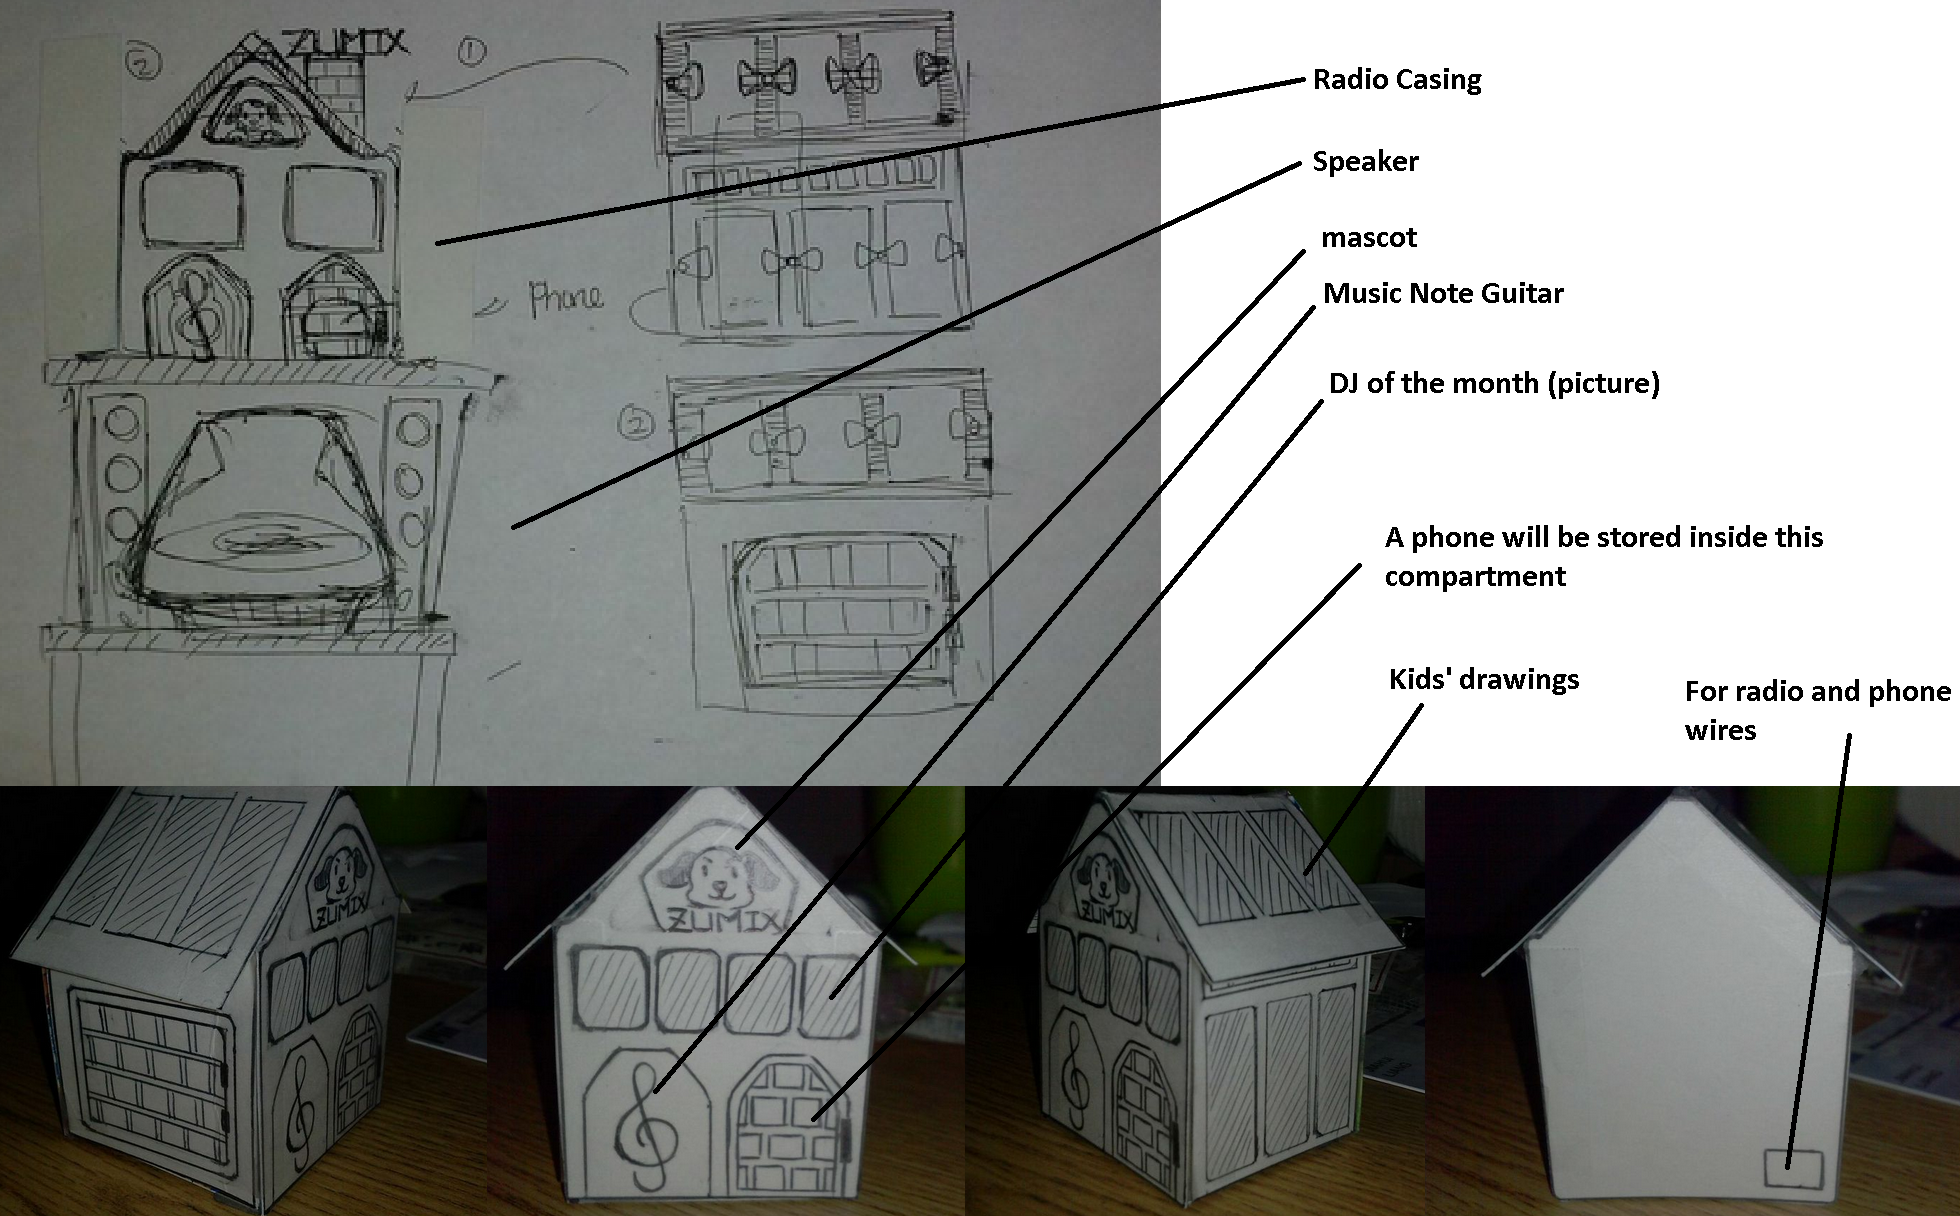
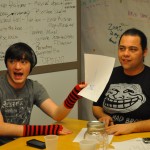
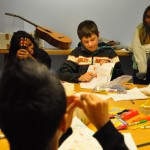
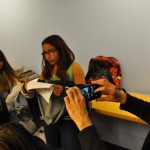
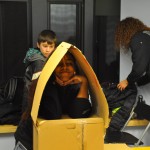
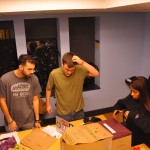
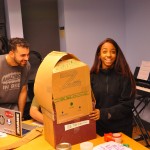
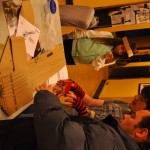
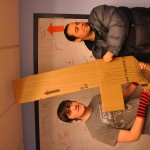
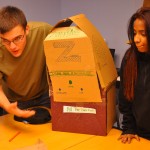
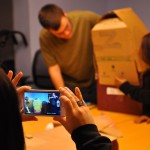
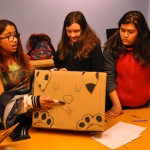
After the presentations we asked if people wanted to form groups around ideas that they liked, and we narrowed the design ideas down to four designs: a jukebox, a ‘flying-Z’ guitar, a Dalmatian (tied to the fact that Zumix is in a firehouse!), and an arrow shot through a knee (an inside joke amongst some Zumix DJs). The youth then had a half hour to create 3D models of their ideas by using cardboard, tape, markers, and scissors. It was great to see the youth making decisions about the designs for their cardboard prototypes. I was impressed that the groups were able to get contributions from most of their members, and that one person didn’t seem to dominate the group’s design (except for Valentino who was the only person working on the arrow-through-the-knee design). We wrapped up with a presentation of the 3D models, and through this process the ideas of how the radio will look, feel, and function became much more material. Because of this, we were able to conclude the meeting with a sense of accomplishment and excitement around building the real radio.

We debriefed after clean up and after the youth left, and we felt the meeting was successful on a few levels. First, the meeting started and ended on time, so we were able to generally keep the young people’s attention and get through the agenda successfully.  Secondly, folks got to know each other better and find out more about the codesign class, MIT, and Zumix. Lastly, youth were able to make collective decisions on a few final designs and then model those designs. We will still need to narrow it down to one final design, or meld a few designs, but at least we are well past the brainstorming phase and getting close to the final build.

To get a better sense of how the meeting was organized, take a look at the agenda:

6 – 6:15 pm : Food and Welcome

  • Eat some pizza and get comfortable!

  • Icebreaker activity (if we have enough time)

6:15 – 6:30 pm : Recap

  • Recap the work that had been done so far on co-design project

  • Discuss brainstorm of design ideas for mobile radio

6:30 – 7 pm : Brainstorm Design Ideas for Mobile Radio

  • Decide whether you want to brainstorm in a group or individually

  • Draw out your ideas on paper (don’t worry it can be messy!!!)

7 – 7:15 pm : Share Ideas with Whole Group

  • Share your design ideas with the larger group

  • Discuss all the ideas and collectively decide on 1-3 design ideas for the mobile radio that we want to make a reality

7:15 – 8 pm: Build a Cardboard Prototype

  • Decide which design idea you like the most, and form a group with others that like the same idea

  • Make a 3D version of the mobile radio idea by using cardboard, tape, and markers

ZUMIX Update: First Project Iteration

Reflections on First Project Iteration

Our radio playhouse project can be divided into two parallel components: the electronics and the outward appearance. In our proposal, we decided that the outward looks of the radio should be designed collaboratively with the youth and possibly staff of Zumix since they will be impacted the most. We are beginning to plan a workshop for designing the outward appearance of the radio with members of ZUMIX. Then, we will hold additional workshops for building the shell.

The electronics of the radio is mostly a fun technical project. We took the initial technical designs that we created for the proposal and added more details to them, based on the feedback that we got. In this first iteration, we mainly experimented and researched possible softwares to use. We hacked on the raspberry pi and built a small demo of how music would be played via the pi. One of the suggestions from the proposal feedback was to document our build process, so we decided to make a video to demo what we have so far. We think a video and photo format would be a great way to document our build process so that other people who are interested in making a cheap modern radio can easily follow what we do. Once we order the sensors, we will be able to start attaching the hardware to the radio. All the code that we write will be open source, and we will have careful instructions for software installations, so that it easy for others to do it themselves.

Below is a video of our proof of concept demo!

http://www.youtube.com/watch?v=JWJgufdtFG8

Updated technical design can be found here.

We are meeting tomorrow after class to confirm the details of our proposal and see if changes are needed based on the feedback.

Zumix Proposal and MOU process

Over the last two weeks, the ZUMIX Radio team has been developing and honing our potential project ideas and the processes by which we’ll design and build the chosen project. After the brainstorming workshop with the ZUMIX DJs, team members took on various aspects of the ideas the youth generated to do some feasibility research. We considered our budgetary, space, and time constraints, as well as our pool of shared resources to determine what we’d be able to accomplish.

We started with three idea groups:

Portable storytelling booth
Old-time radio
Both!

While we were all excited about the idea of building a portable storytelling booth, as we did more research, we began to think that it might be beyond the scope of both our class and ZUMIX Radio’s capacity to tackle at the moment. ZUMIX Radio hopes to work on it in the future, potentially in future Co-design studios.

In the same “let’s be realistic about what we can do” vein, the “both” option was shelved, as well.

We’re now focusing on the “old-time radio” idea. That being said, our conception of it has changed since our first few brainstorming sessions. The whole point of the point of the project is to get ZUMIX Radio more integrated in the larger ZUMIX organization and to attract more youth to the ZUMIX Radio, both as listeners and participants. Coupled with the fact that the brainstorming workshop was such a success, we’re now stepping back from our initial “old-time radio” idea and instead looking toward the youth and staff for design ideas. We’ll hold design workshops with both groups or in a single mixed group. We’ll also engage the youth in the building of radio. We hope this to be a mutually beneficial experience with all participants – staff, youth, and MIT students – broadening their perspectives and learning new skills.

The process of developing the MOU and proposal was challenging and thought-provoking. We were forced to think about not only what was feasible, but also to think critically and openly about the planning, decision-making, and implementation processes that this project entails. Who gets to decide which project we choose? Who participates in designing and building the final product. Ultimately, the choice is ours. This seems like a central lesson that this course is trying to convey. We’re in the position to choose who participates and who doesn’t. This gives us power. This may not be our preferred set of circumstances (indeed we may be actively working to overturn it), but given that it’s the ones we’re in, we have to choose how we work within it. Collaboratively, from the top-down, or somewhere in between.

You can find our Project Proposal and MOU here.

The hardware design and software design are linked as well.