2.1 Connecting To Snap
You will need to download Snap!
Note: You will need to Unzip the file after you download.
Download Now
Step 0- Unzip and Open Snap.html
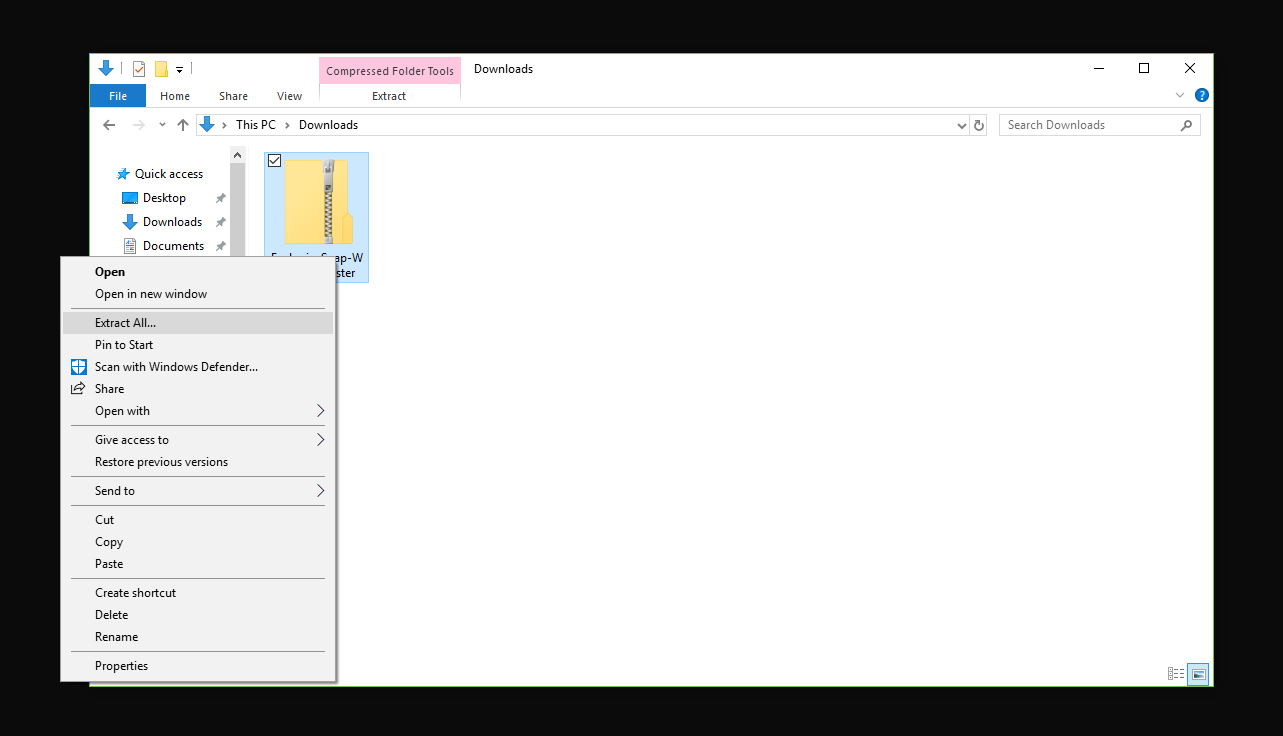
Download and Unzip the Snap! software.
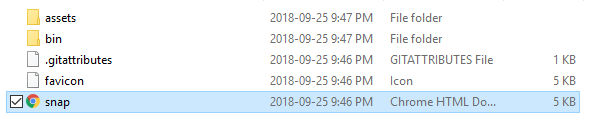
Open the folder and click on Snap.html Please open using Google Chrome
Step 1 - Turn EveBrain On.
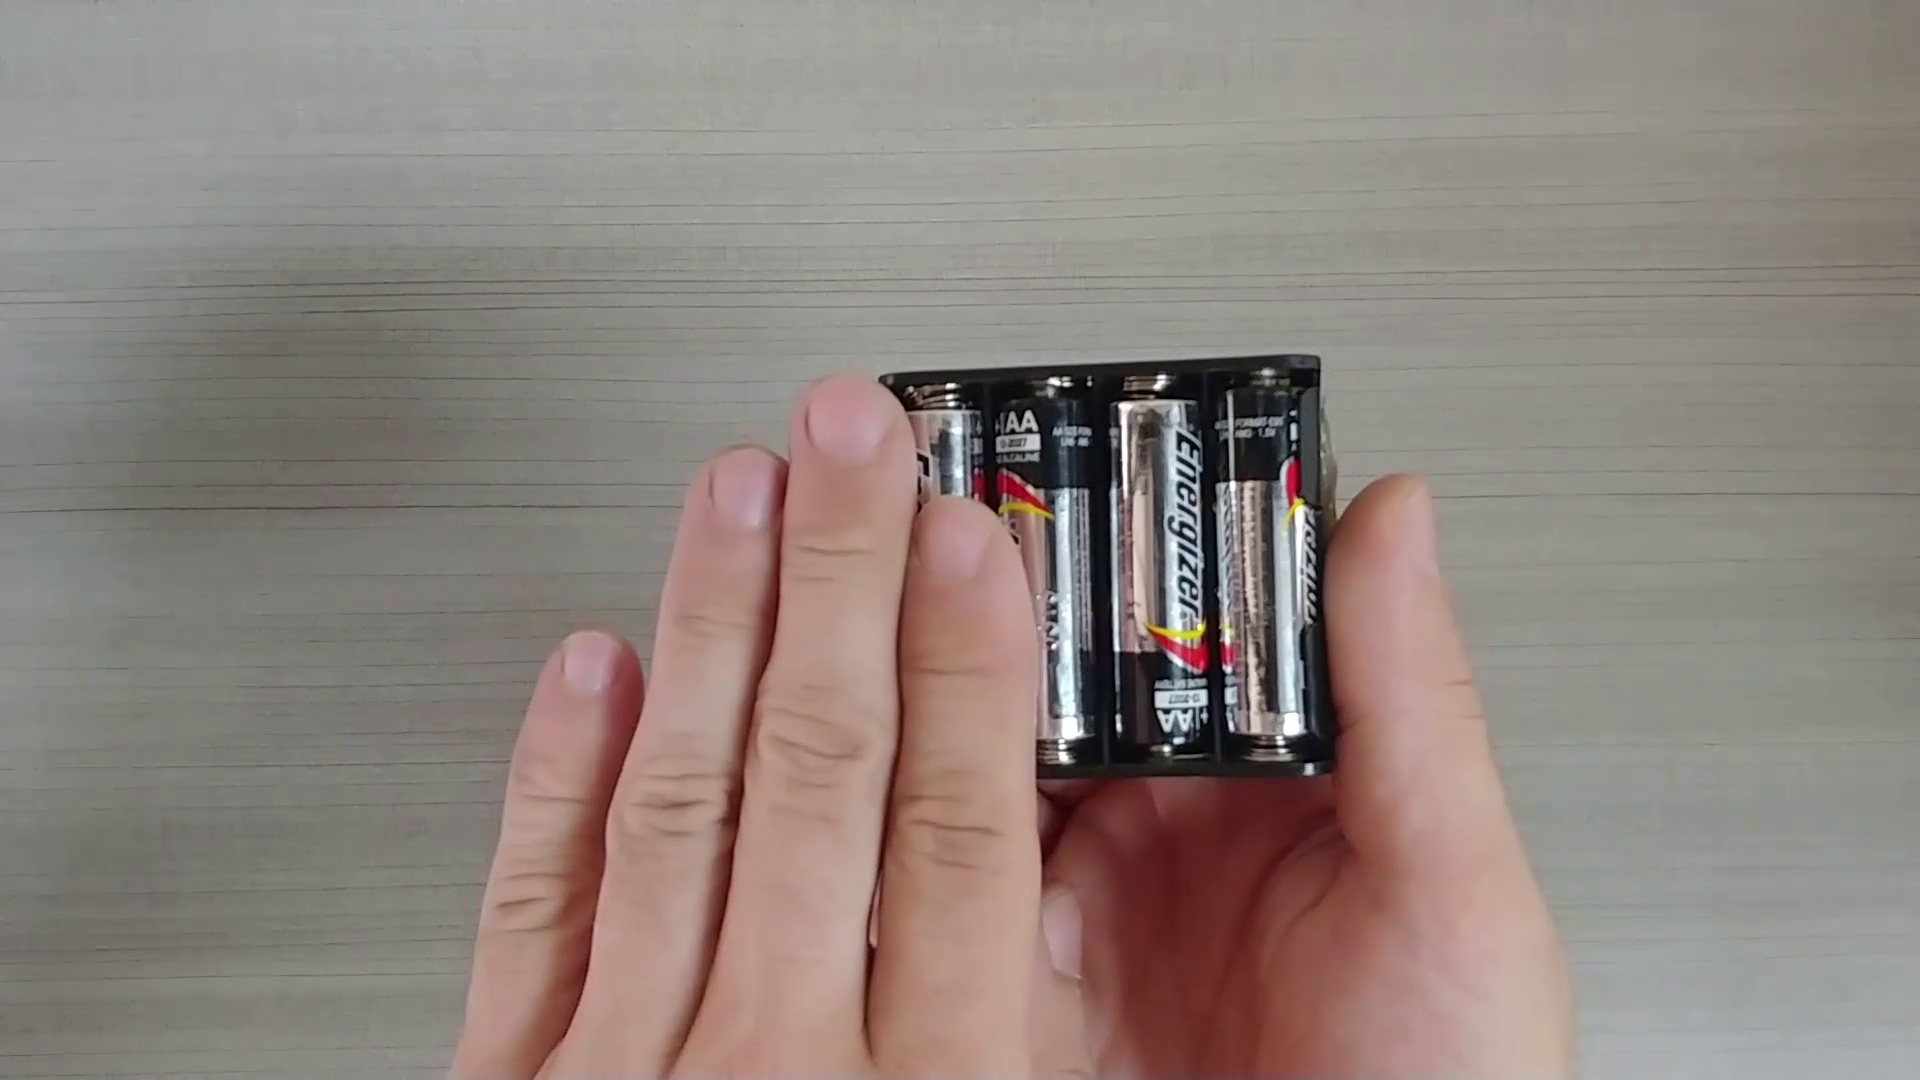
Place 4 x AA Batteries in back of the Evebrain
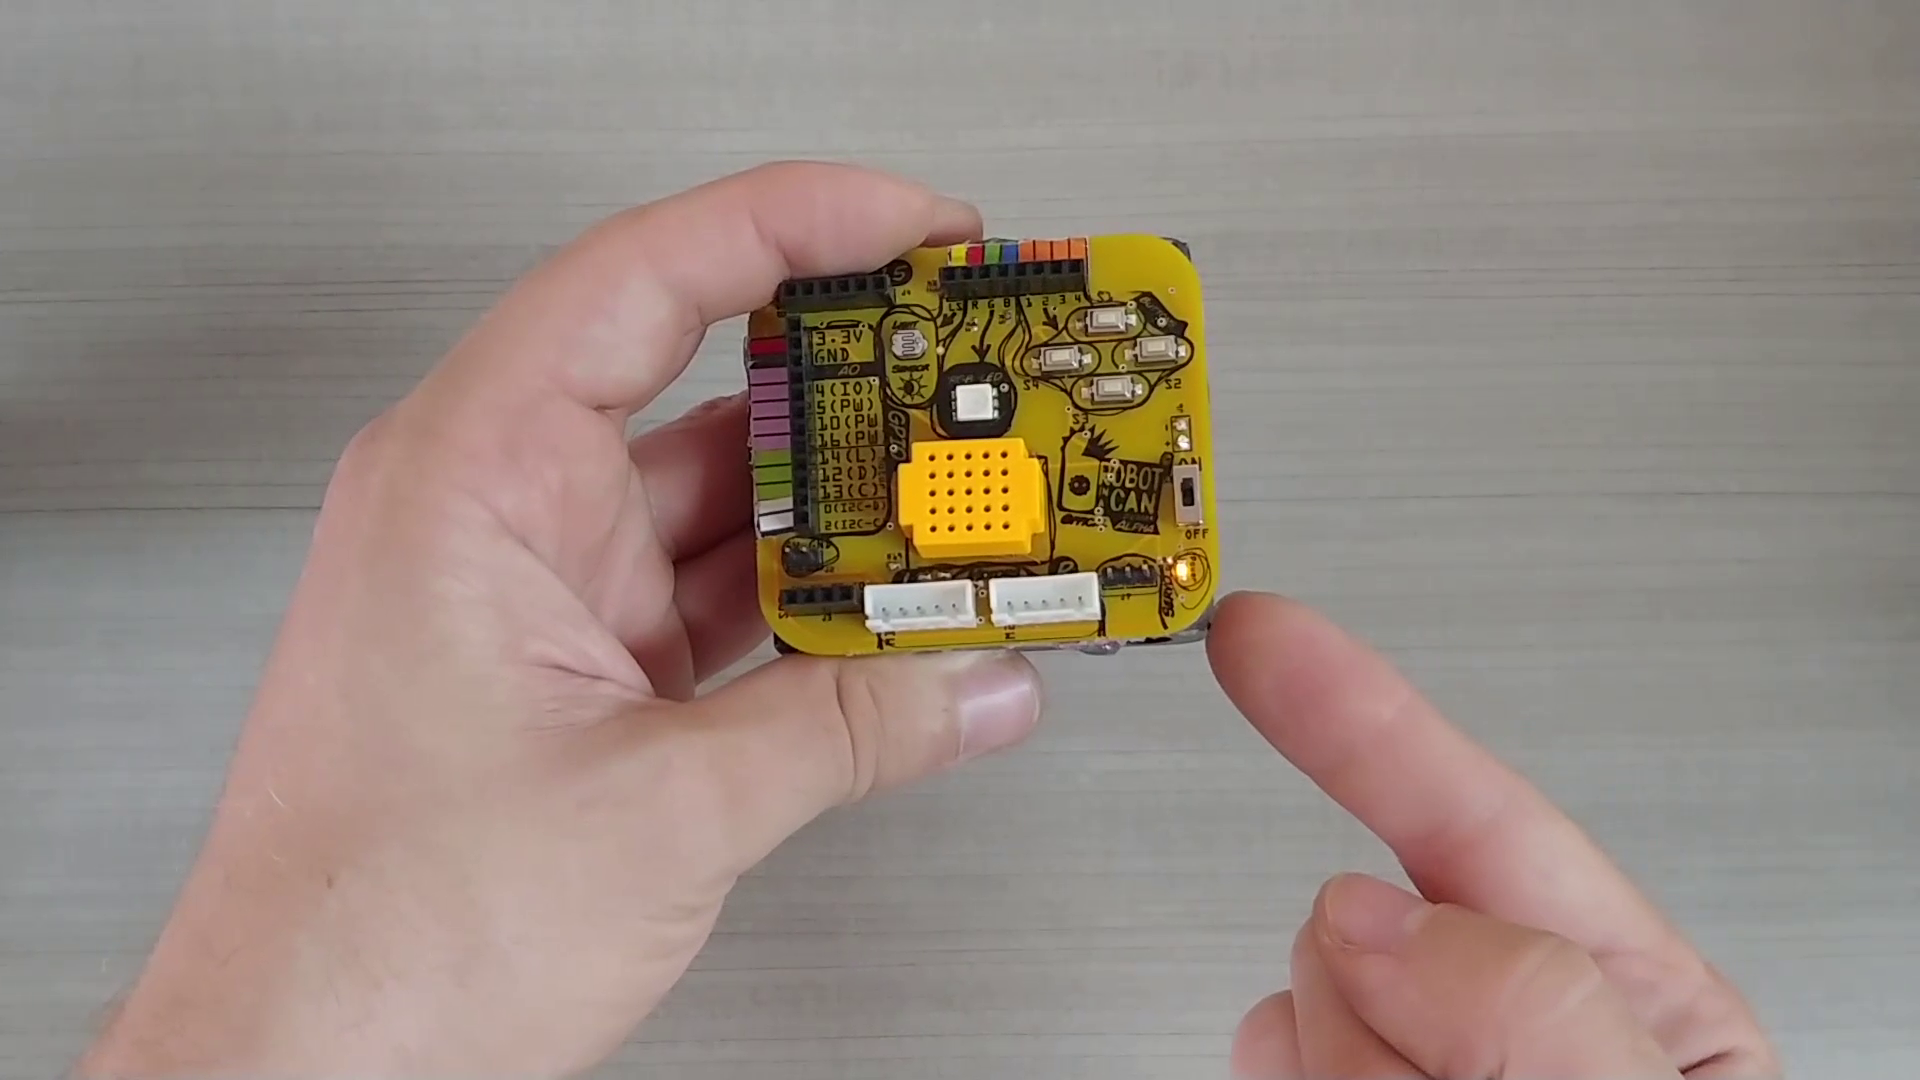
Locate the on switch and turn the kit on
Step 2 - Connect the Evebrain to Snap!
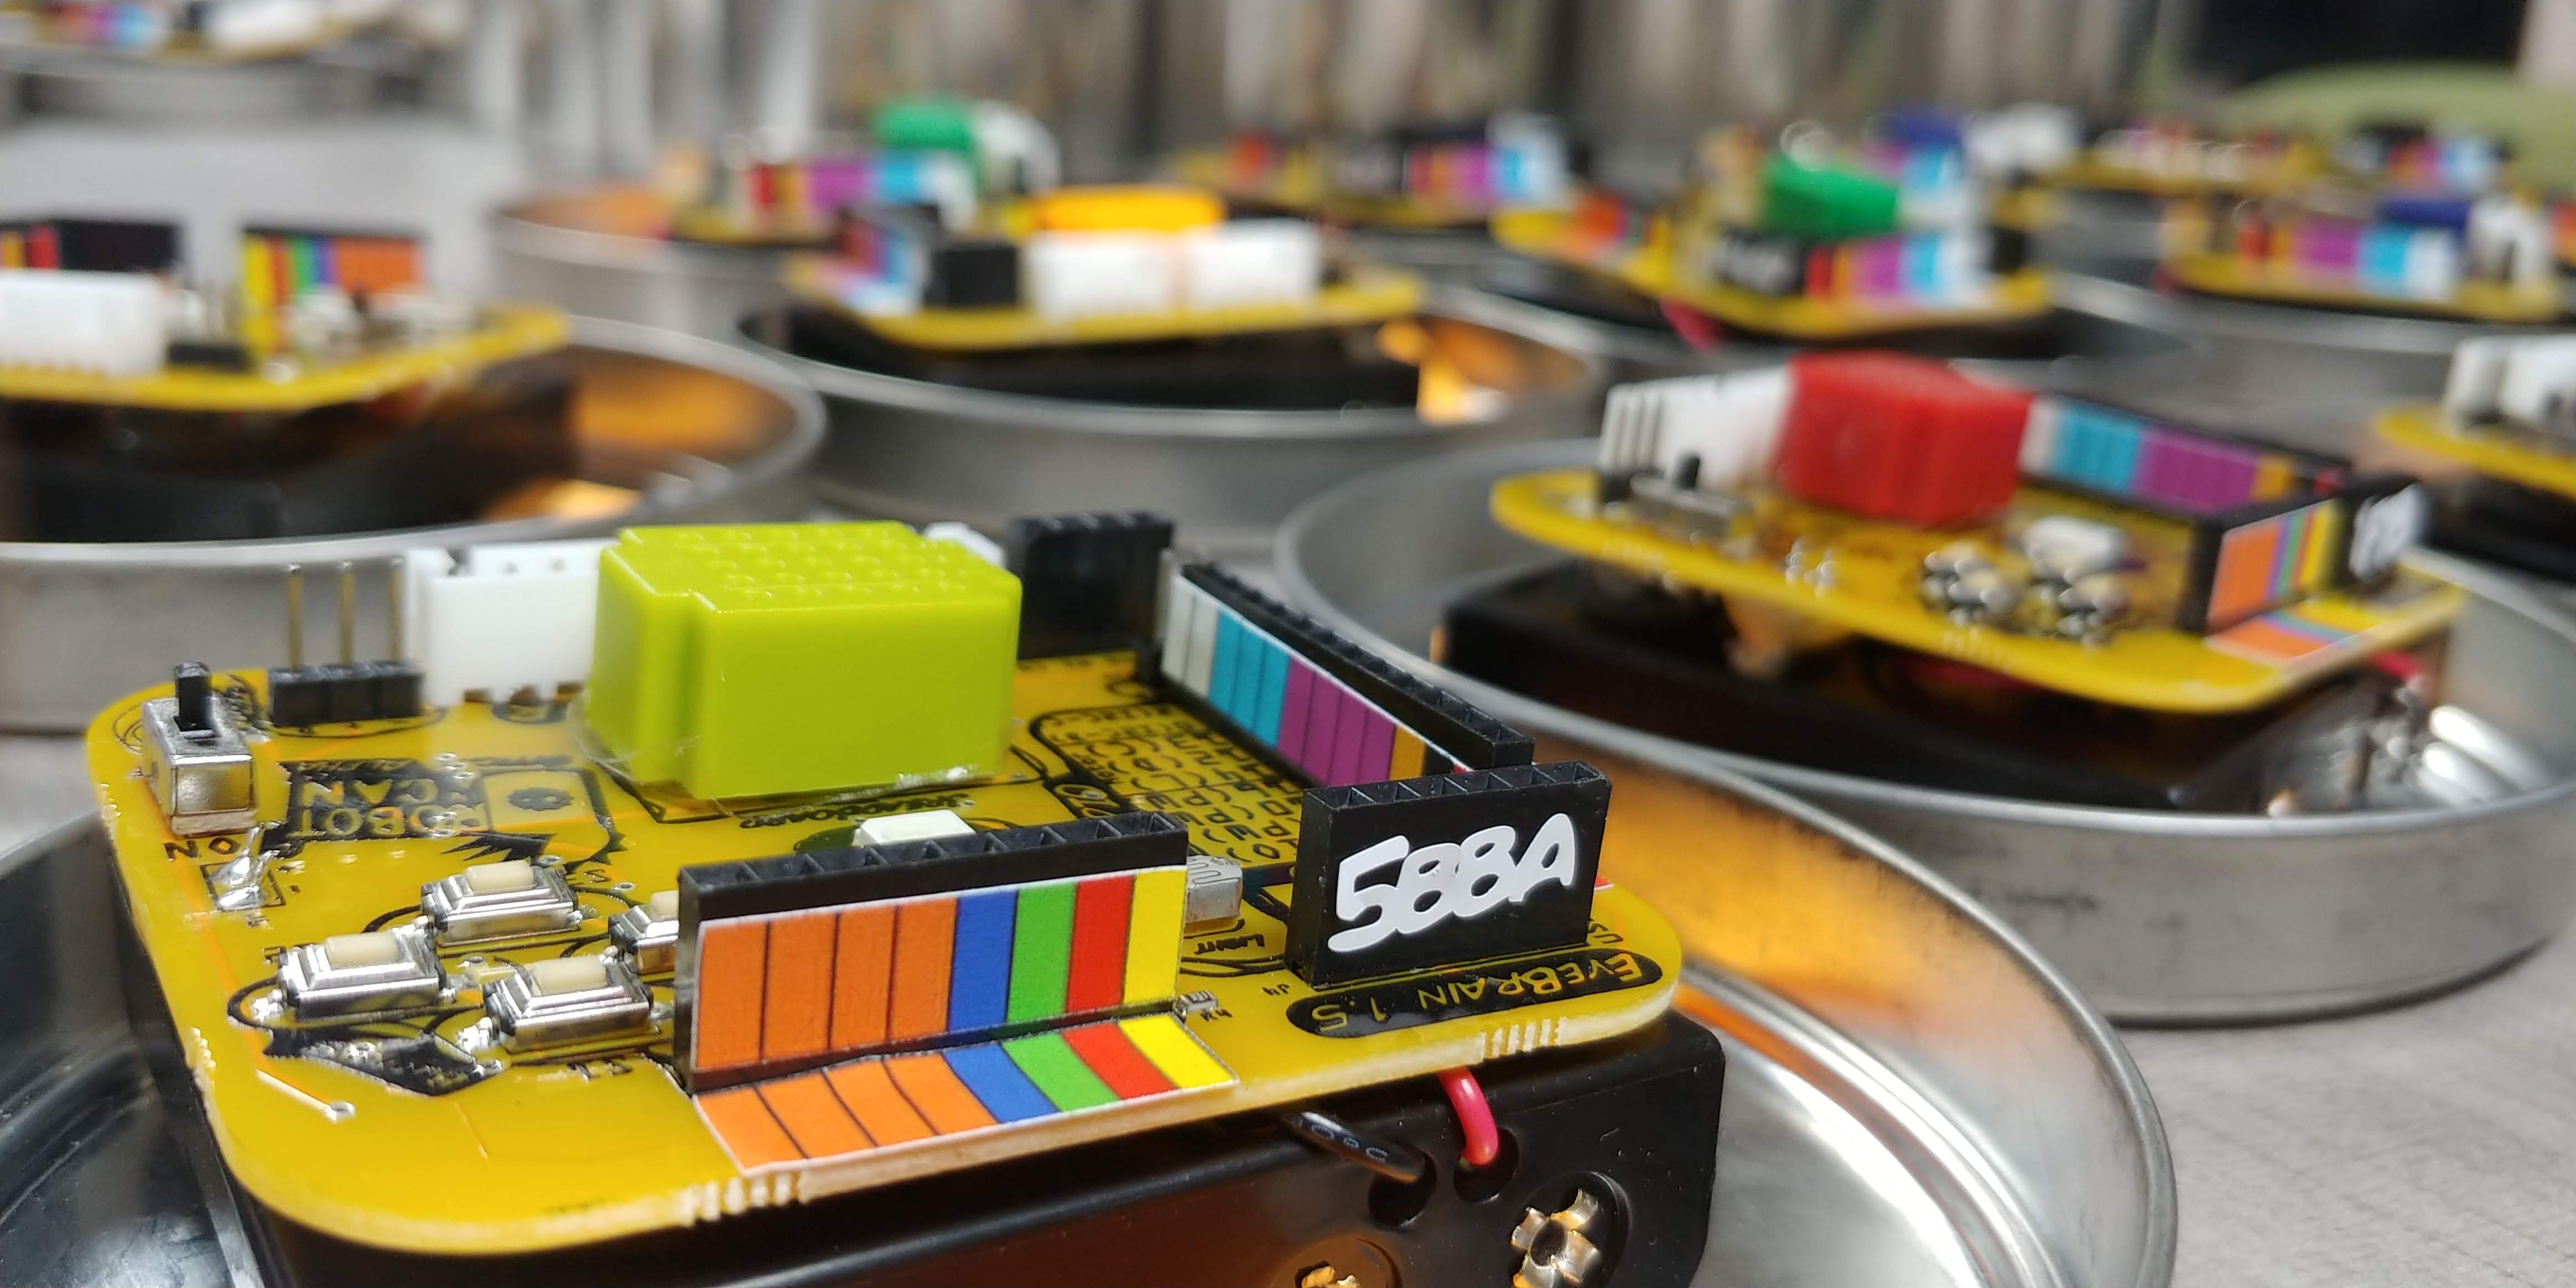
Look for the 4 Letters and Numbers at the back of your Evebrain, this same address with appear in the WiFi network, use it to identify your kit
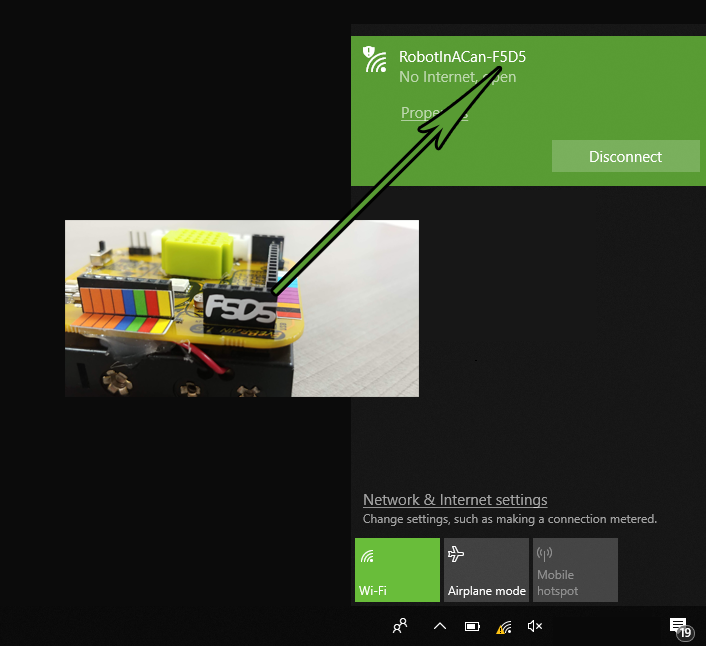
Check your WiFi connections and check for the EveBrain WiFi Network (You may have to refresh your connections) Connect to the WiFi network of your kit. You may see that your Internet connection is limited, this is normal since you are not connected to the Internet, rather you are connected directly to your kit
Step 3 - Configure EveBrain Connection
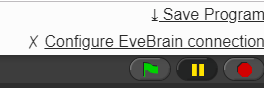
Click Configure EveBrain connection at the top right of the screen
192.168.4.1
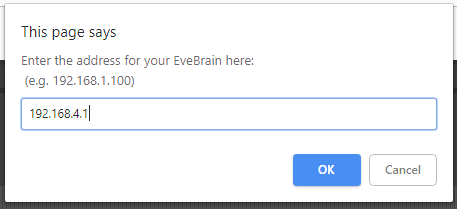
Type 192.168.4.1 into the box. Press okay.

Wait a second and it should now be connected.
You are now connected! It’s time to start Coding…
Video Connection Guide
192.168.4.1, What is that about?
That number is the Internet Protocol address or IP address of the EveBrain. This address lets Snap know how to communicate with the EveBrain. It’s like a phone number for Snap to chat with the EveBrain, and they can send and receive information between them. When you connect directly to the EveBrain over WiFi the EveBrain uses the number 192.168.4.1
This is its ‘phone number’ on the EveBrain WiFi network. The EveBrain can also connect to other networks. You can set it up to connect to your home WiFi. If it does it will have a different ‘phone number’ or IP address on that network, because on other networks that number is given out by a router (you know the black box that gives your house WiFi) and the router gets to choose the address of each computer connected to it.