# Details Center Pulley Preparation
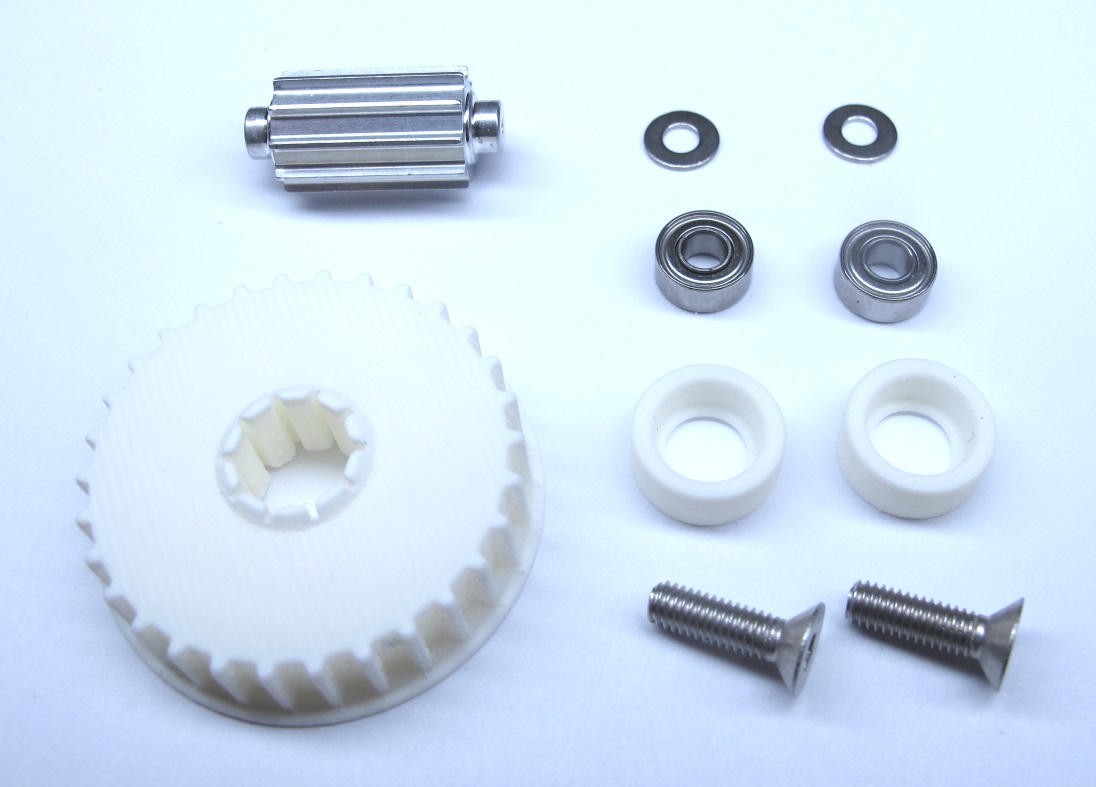
*Starting Point: Center Pulley and Timing Belt Tensioner Components*
*End Result: Center Pulley and Timing Belt Tensioners assembled*
## Description
* This page describes how to prepare the center pulley and the timing belt tensioners for the brushless actuator modules
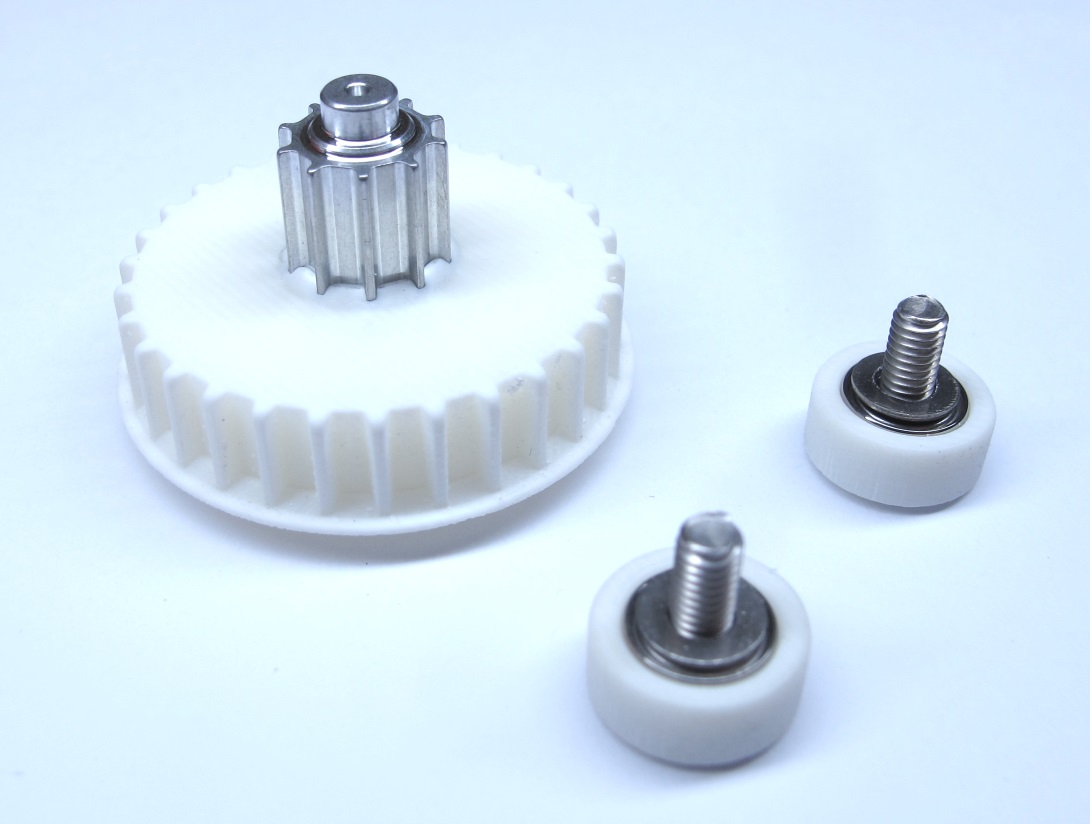
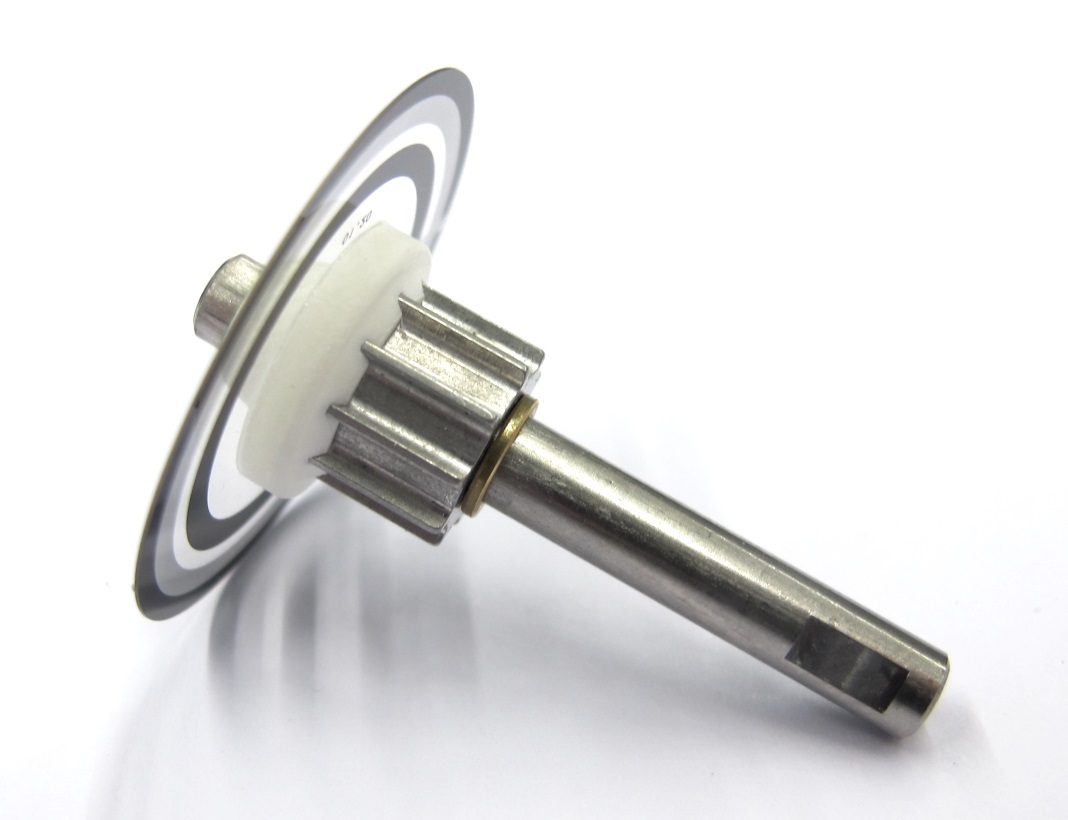
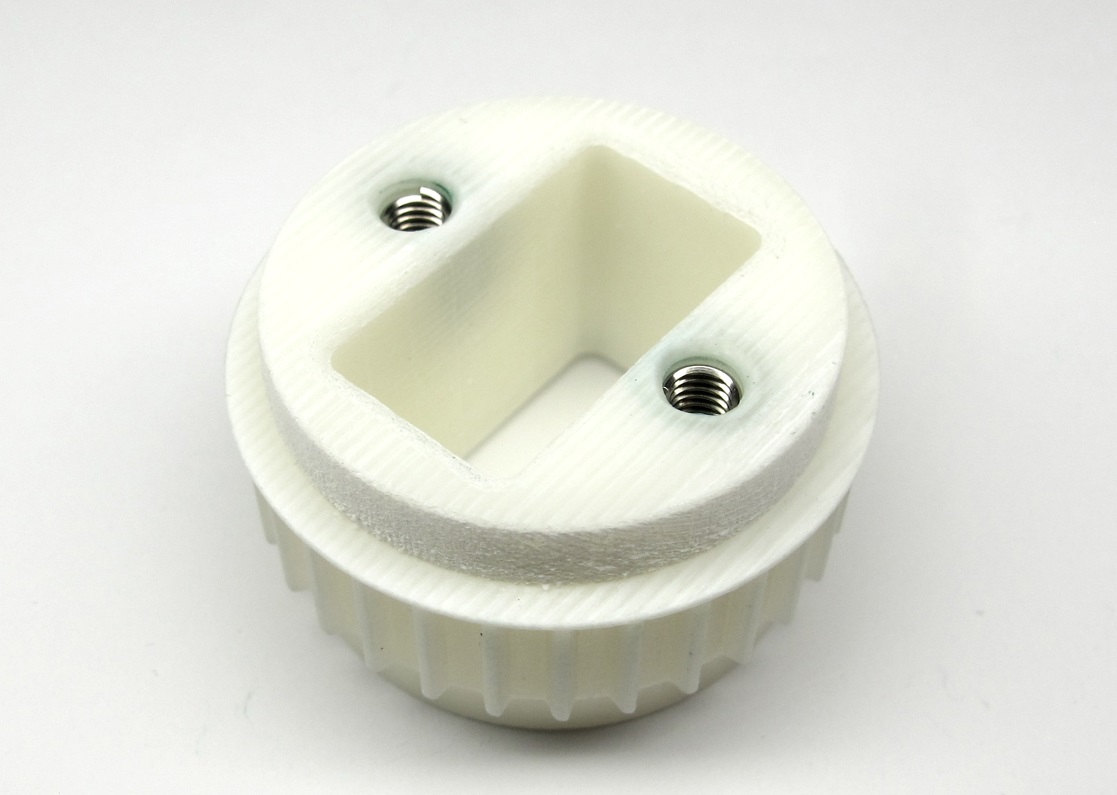
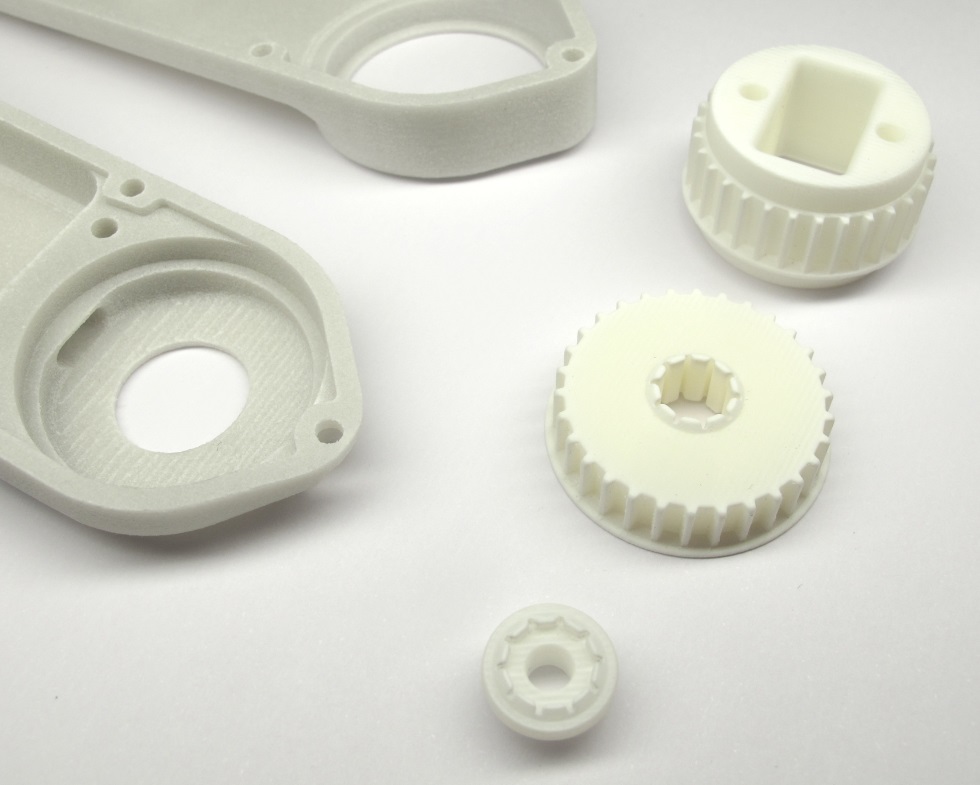
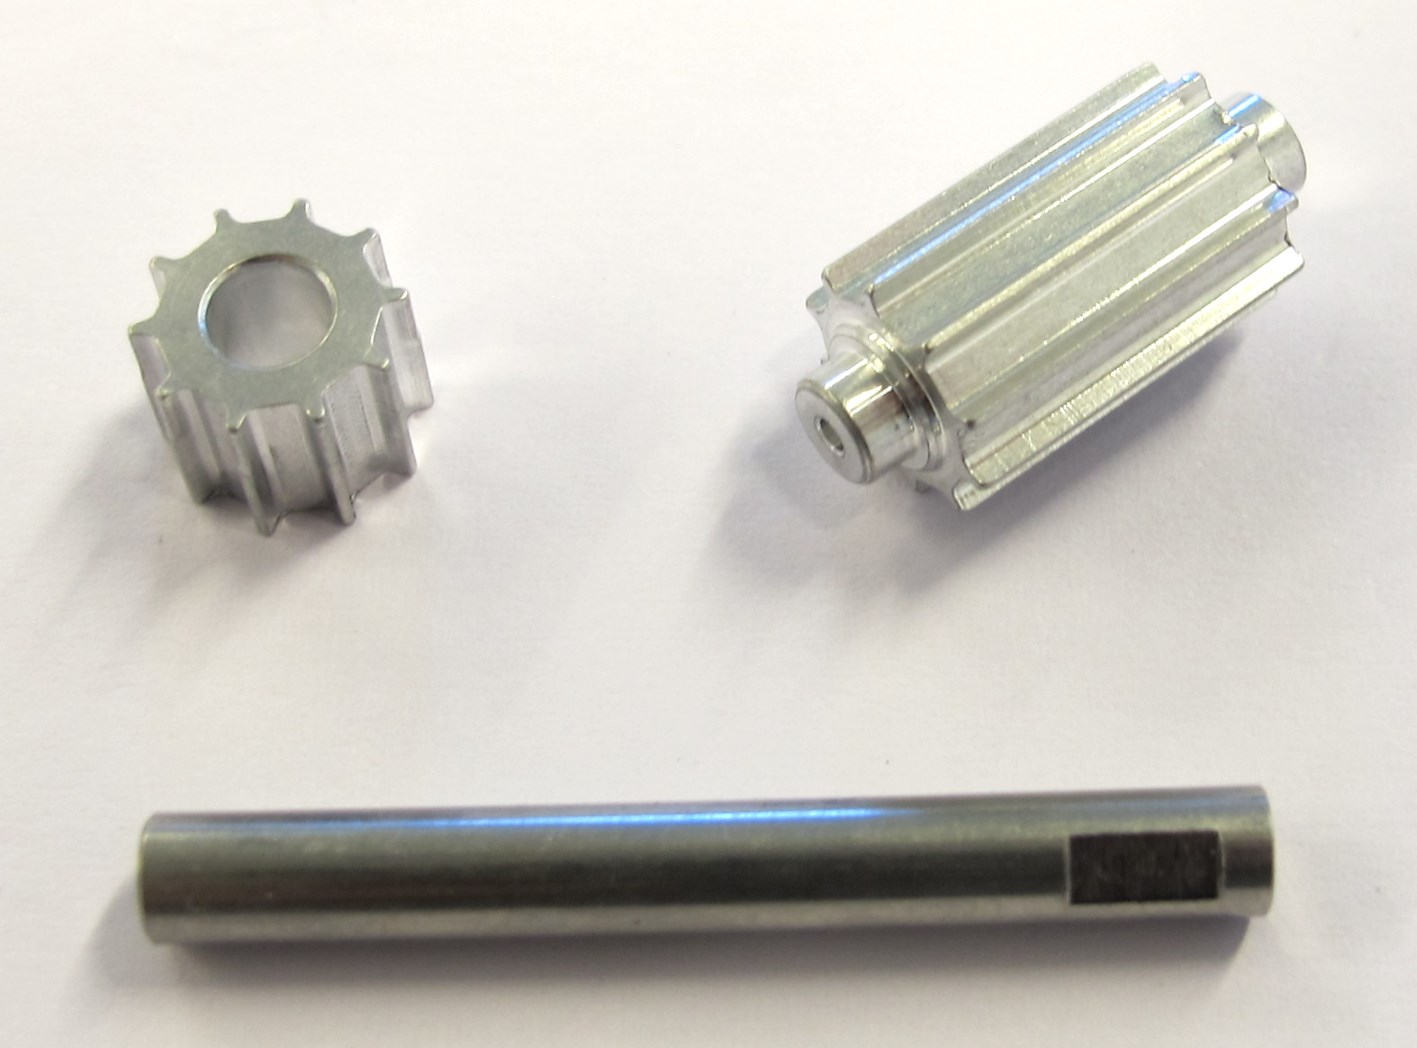
* The center pulley consits of the 10 tooth aluminium pulley and the 30 tooth 3d printed pulley.
* The pulleys are press-fit using an arbor press and 3d printed tools. [-> Press-Fitting the Pulleys](#press-fitting-the-pulleys)
* The timing belt tensioners are prepared and assembled. [-> Assembling the Timing Belt Tensioners](#assembling-the-timing-belt-tensioners)
### More Information
* More information on the 3d printing: [Details 3d Printed Parts](details_3d_printed_parts.md#details-3d-printed-parts)
* More information on the machined part: [Details Machined Parts](details_machined_parts.md#details-machined-parts)
* [PDF File - Pulley AT3 T10 Center](../drawings/center_pulley_at3_t10.PDF)
* [STL File - Pulley AT3 T30 Center](../stl_files/transmission_pulley_at3_t30_center.STL)
* [STL File - Timing Belt Tensioner Rollers 10mm](../stl_files/transmission_belt_tensioner_roller_10.0mm.STL)
* [STL File - Tool Center Pulley Protection](../stl_files/tool_center_pulley_protection.STL)
* [STL File - Tool Center Pulley Assembly](../stl_files/tool_center_pulley_assembly.STL)
## Press-Fitting the Pulleys

*Apply a bit of Loctite 648 onto the internal tooth profile of the 3d printed pulley.*
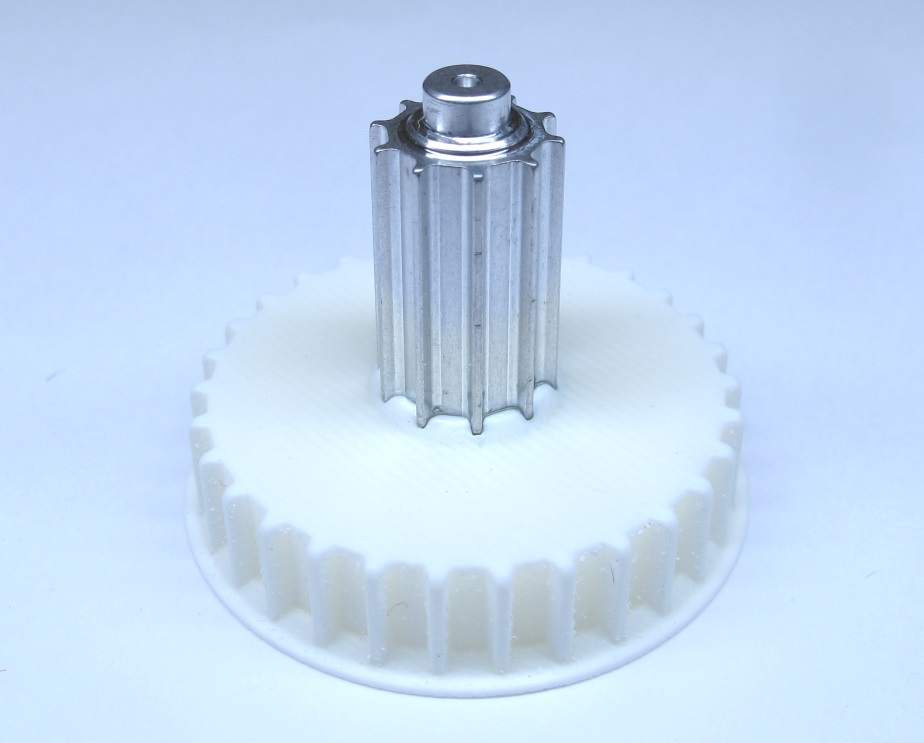
*Place the aluminum pulley on the 3d printed pulley.
Make sure it's vertical and matches the tooth pattern.
Push it in a bit by hand - the centering hole should be facing upwards.*

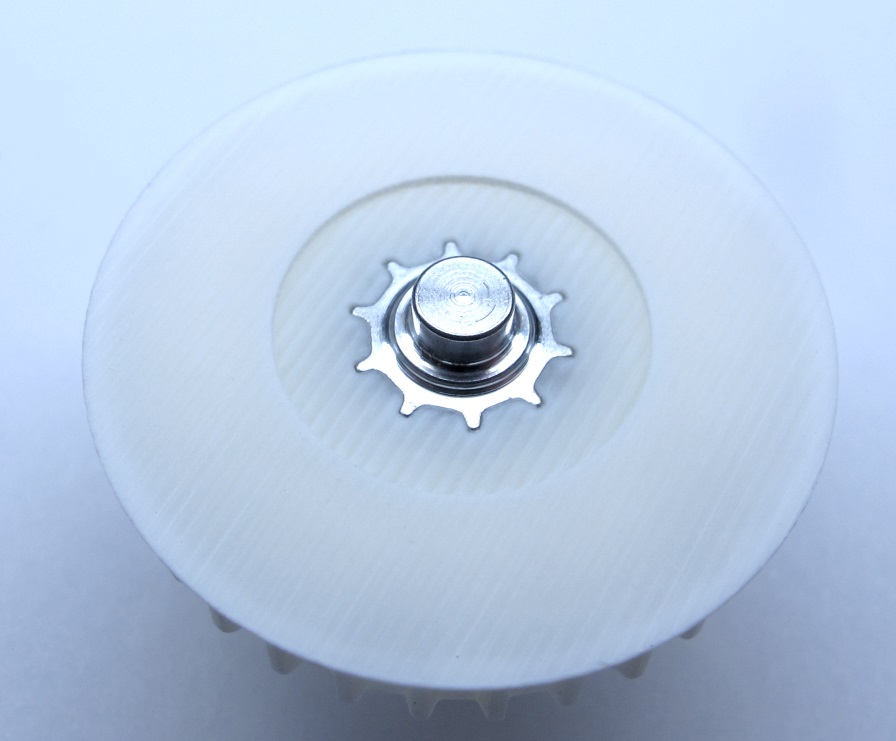
*Make sure that the centering hole is facing upwards.*
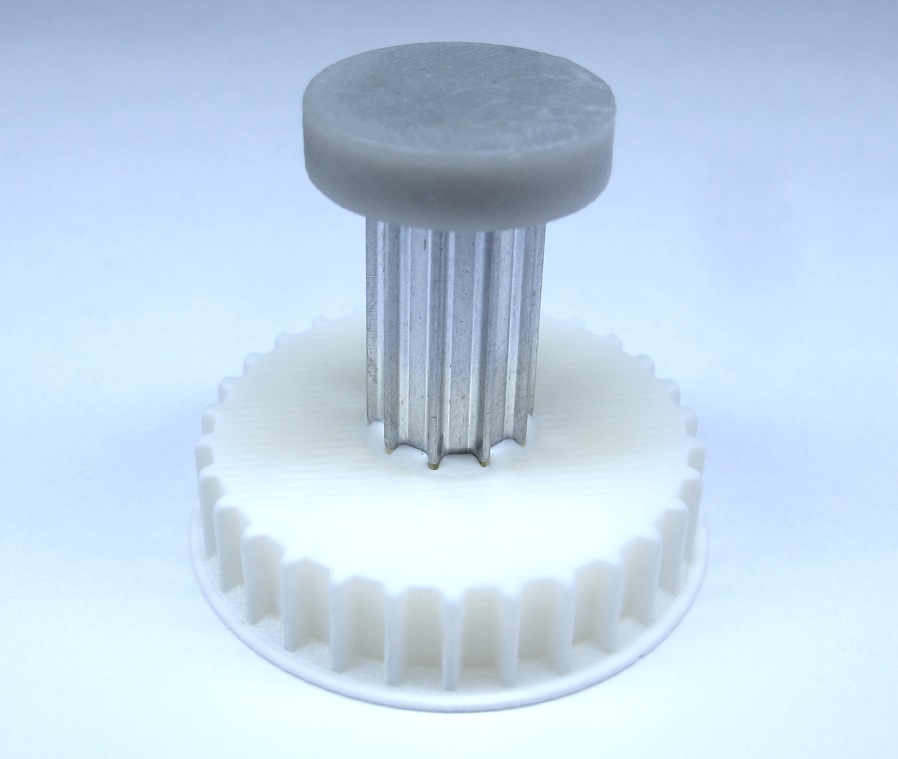
*Place the 3d printed protection tool on the aluminum pulley.*
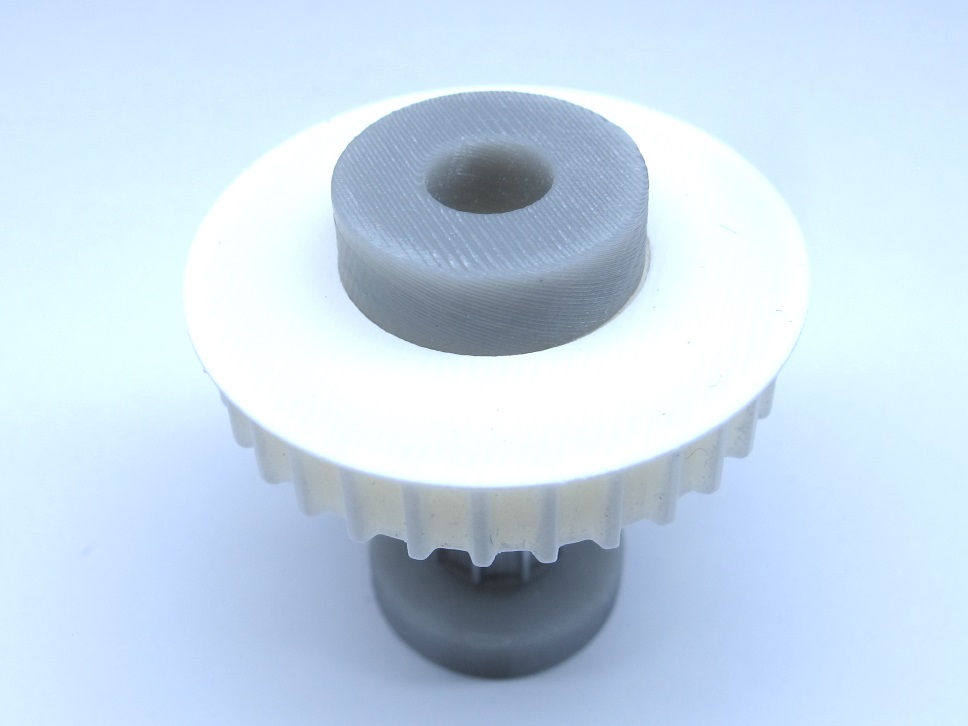
*Turn your assembly around.
Place and center the 3d printed assembly tool on the bottom side.*
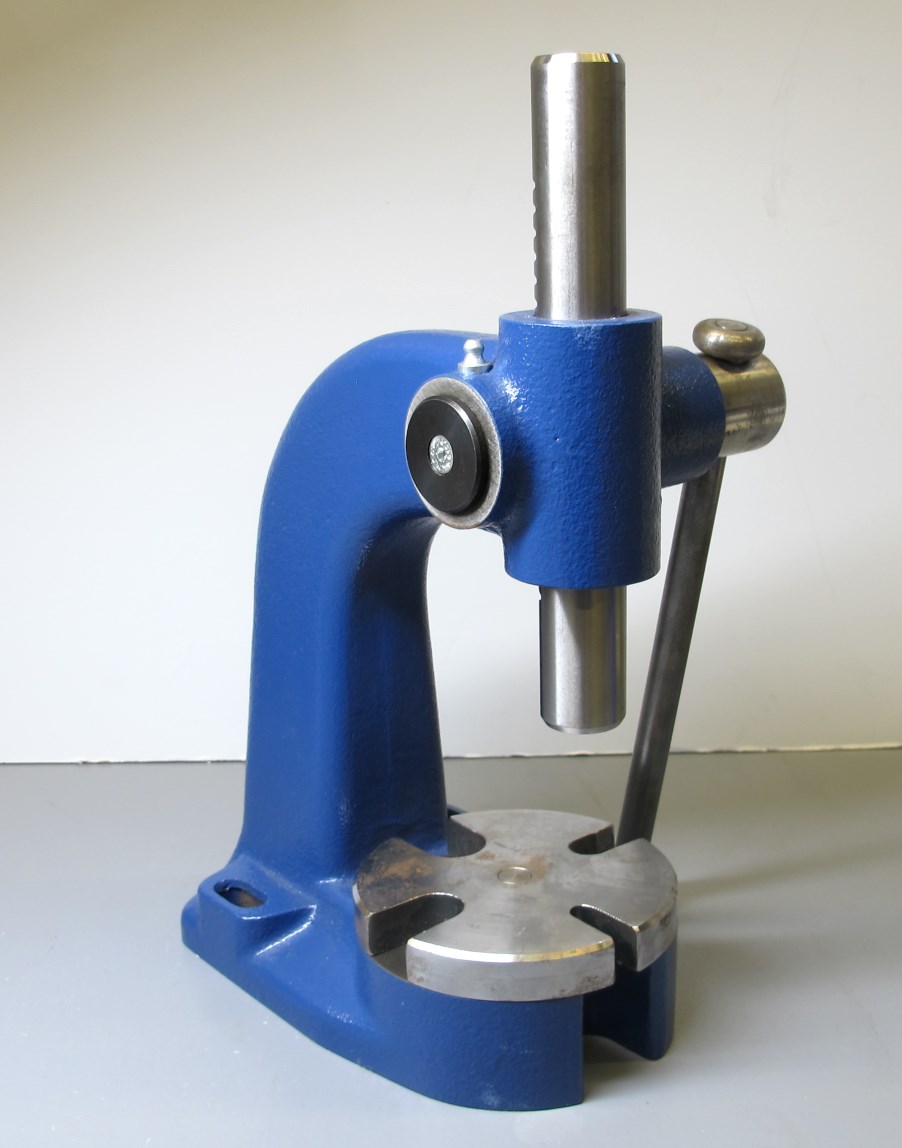
*We use an arbor press to join the parts.*
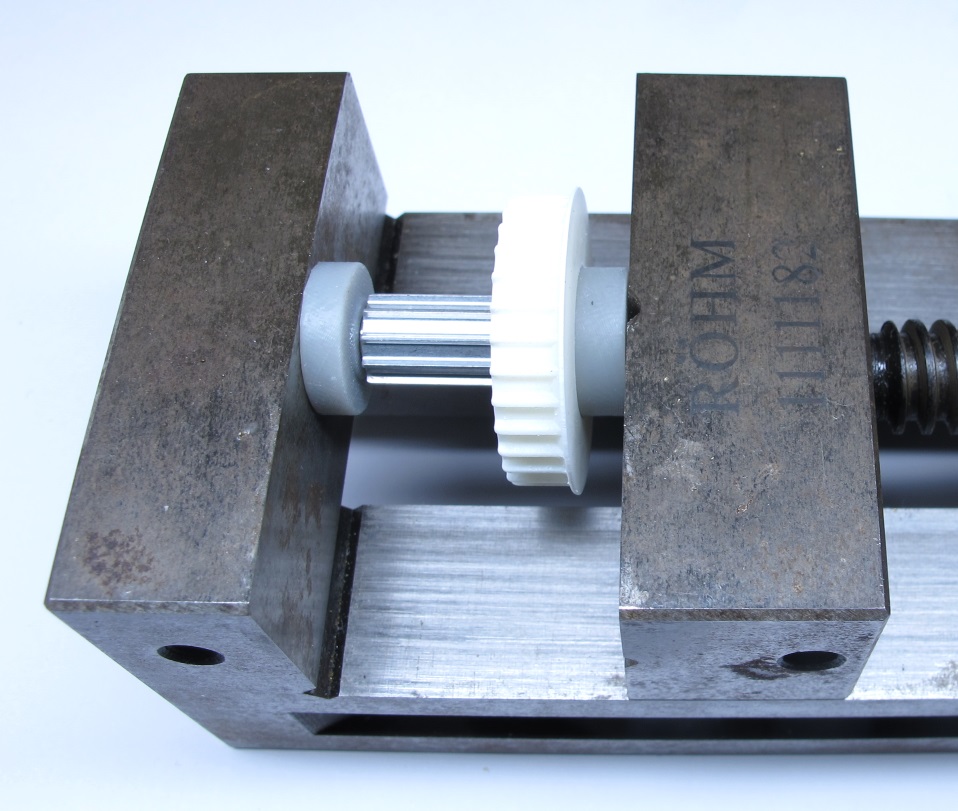
*Alternative: You can also use a vise to press-fit the parts.*
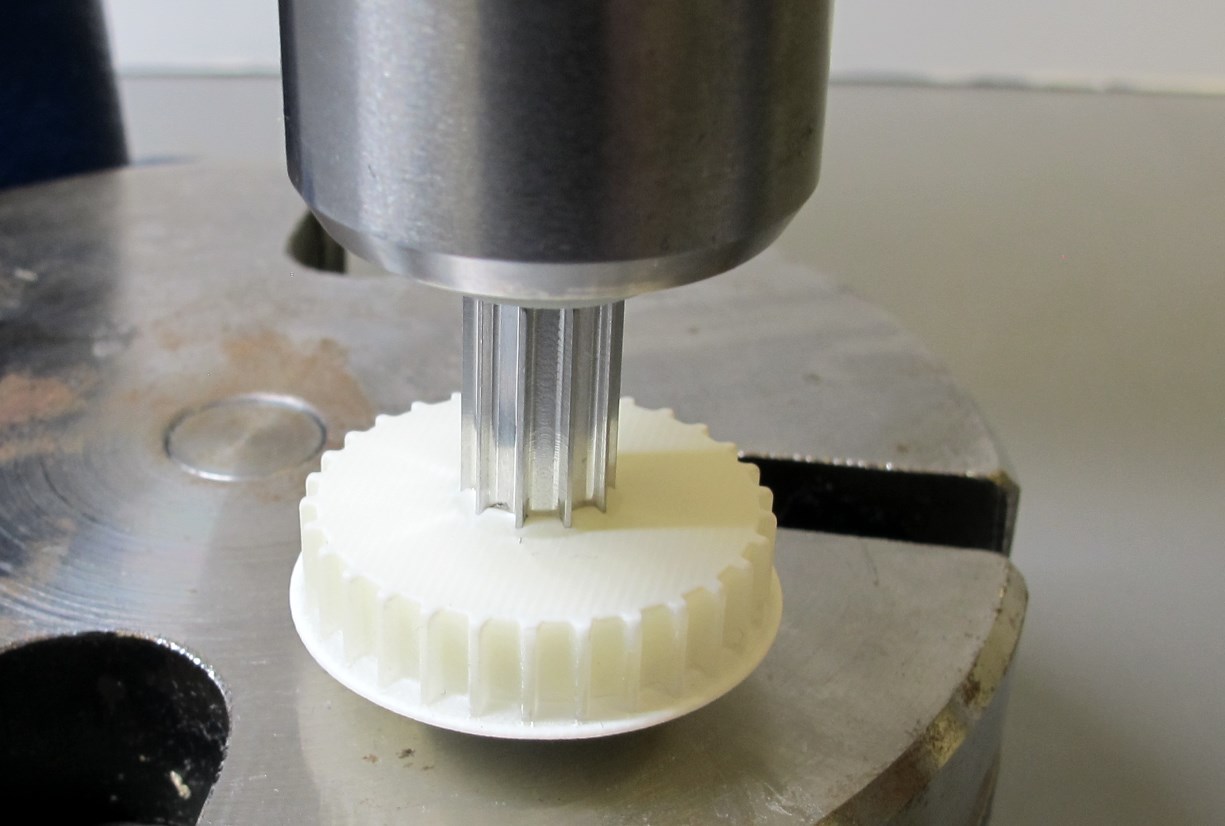
*Place your stack of parts on the arbor press.
Slowly push the aluminum pulley all the way down.*
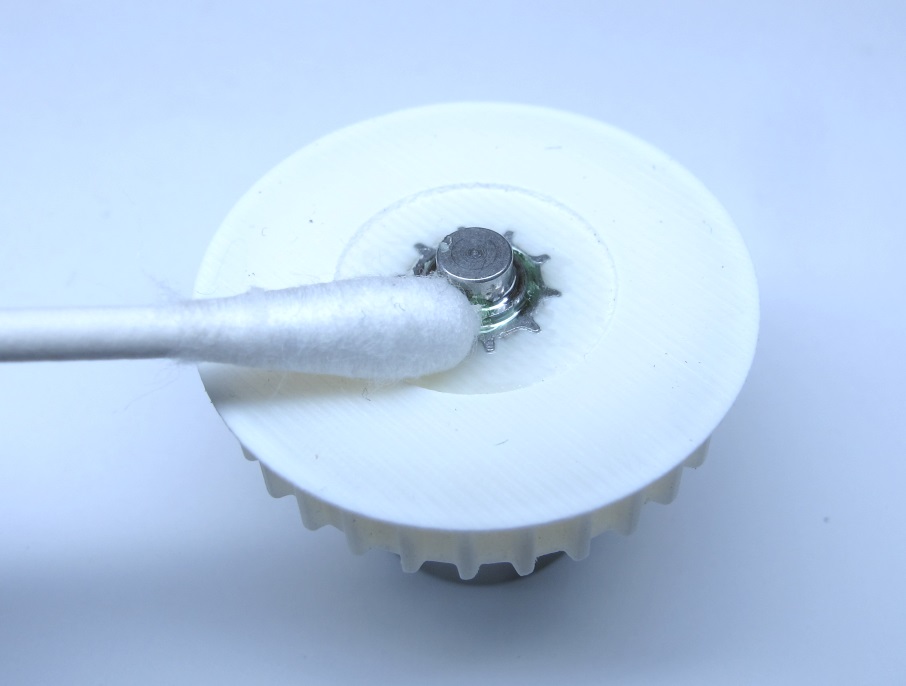
*Remove the protection and the assembly tool.
Use a cotton swab to remove excess Loctite.*
*The parts should be flush on the bottom side.
Remove scraped-off material with a tooth brush.
Use the arbor press again if the parts don't line up.*
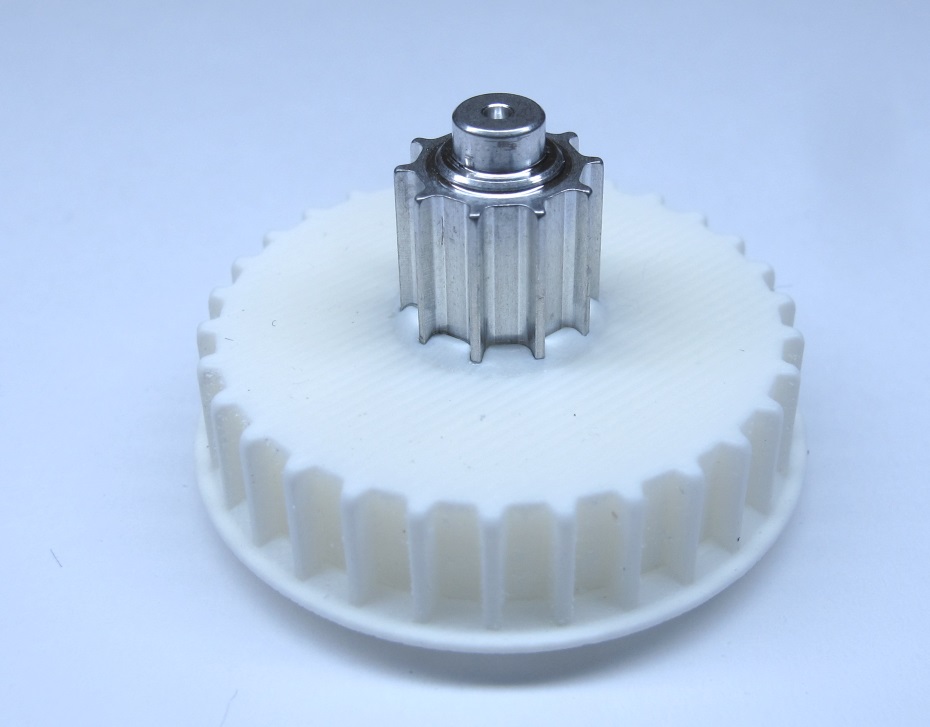
*The center pulley is now ready for installation.*
## Assembling the Timing Belt Tensioners
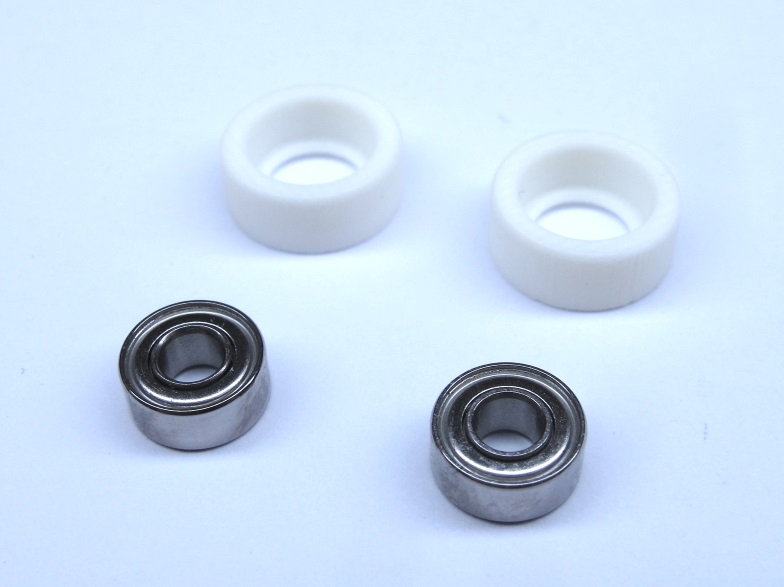
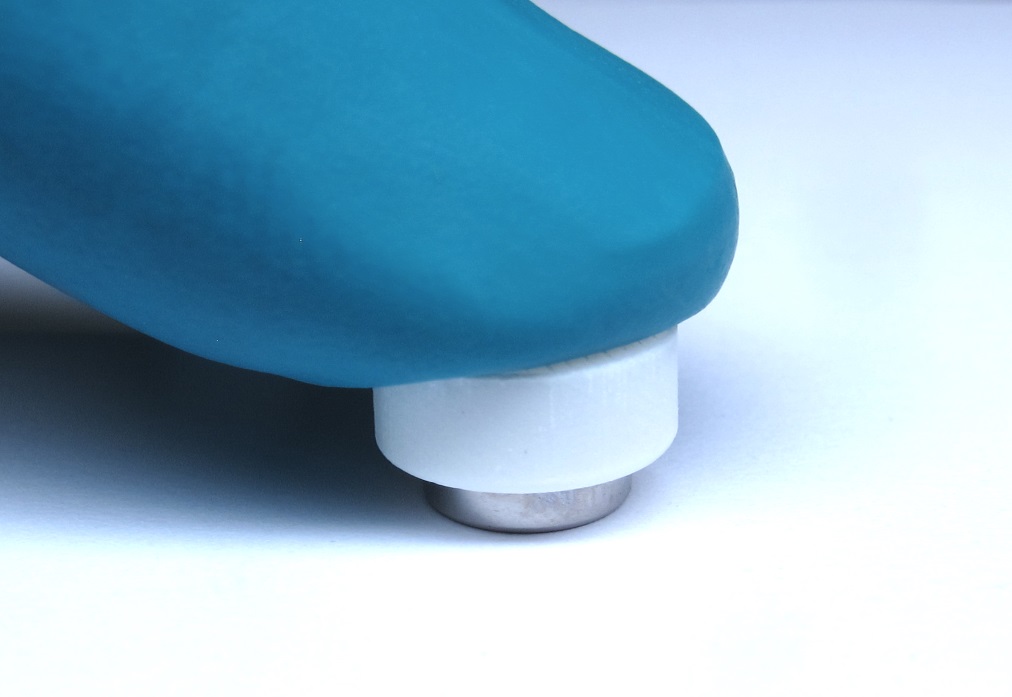
*Timing belt tensioner bearings and 3d printed rollers.
For each actuator module two timing belt tensioner assemblies are required.
We use the 10mm diameter roller as default size.
Larger roller diameters can be used to adjust the timing belt tension.*
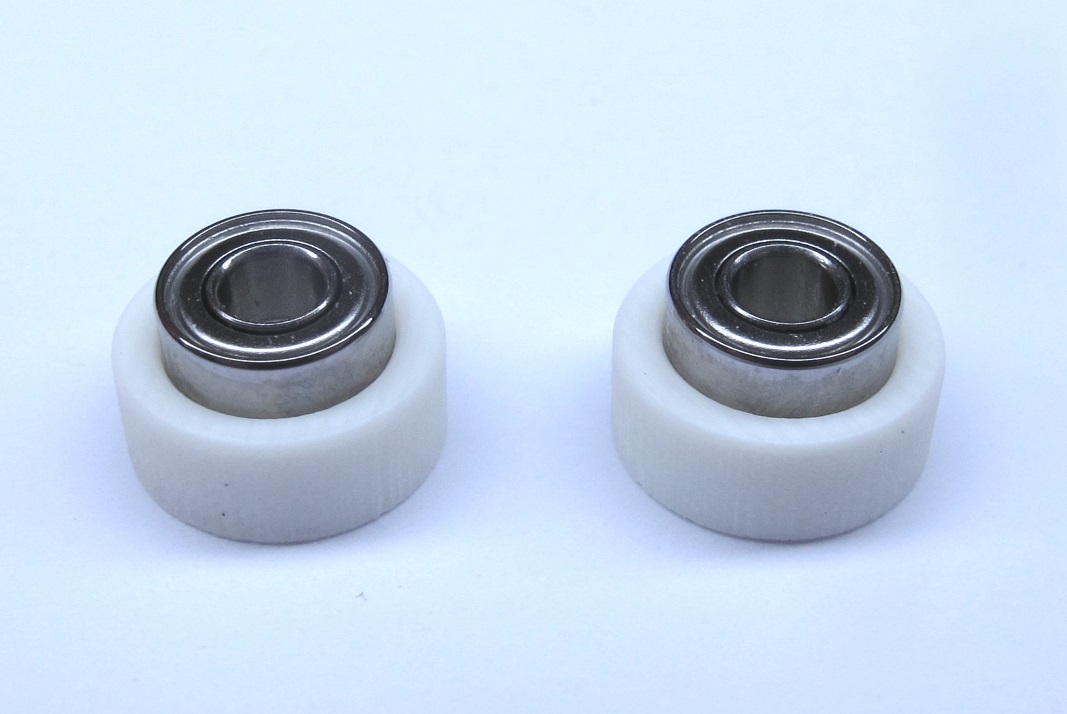
*Place the bearings on the 3d printed rollers.*
*Turn the parts around and push the roller onto the bearing.*
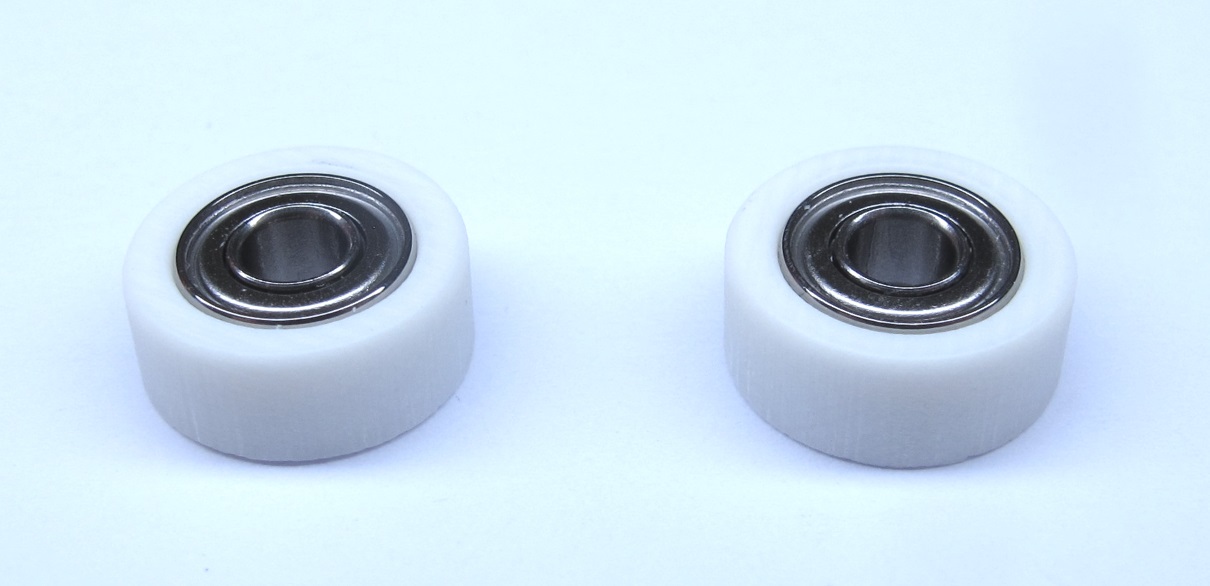
*Make sure that the bearings are inserted all the way.*

*We use stainless steel washers as a rigid surface for supporting the inner ring of the bearing.
We use M3 screws but M3 washers are too large and prevent the outer ring of the bearing to rotate freely.
Therefore we modify M2,5 washers to fit the M3 screws.*
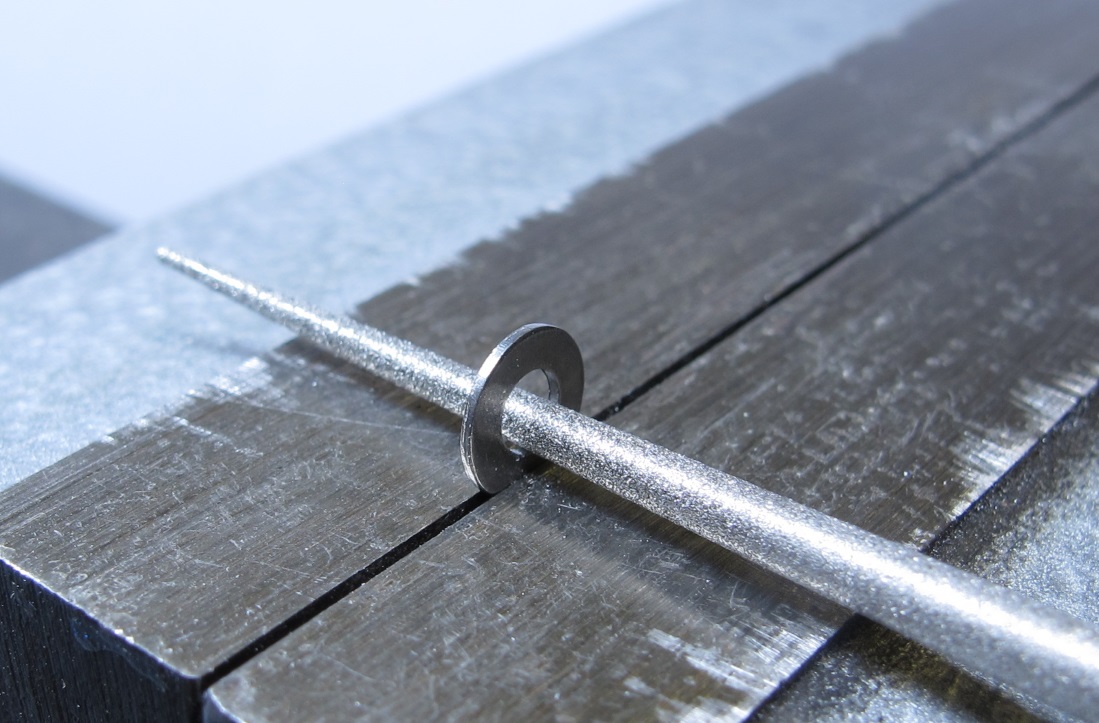
*The M2,5 washers have the following dimensions: ID 2,7mm / OD 5,8mm
Use a round file to evenly increase the inner diameter of the washer to about 3mm.
*
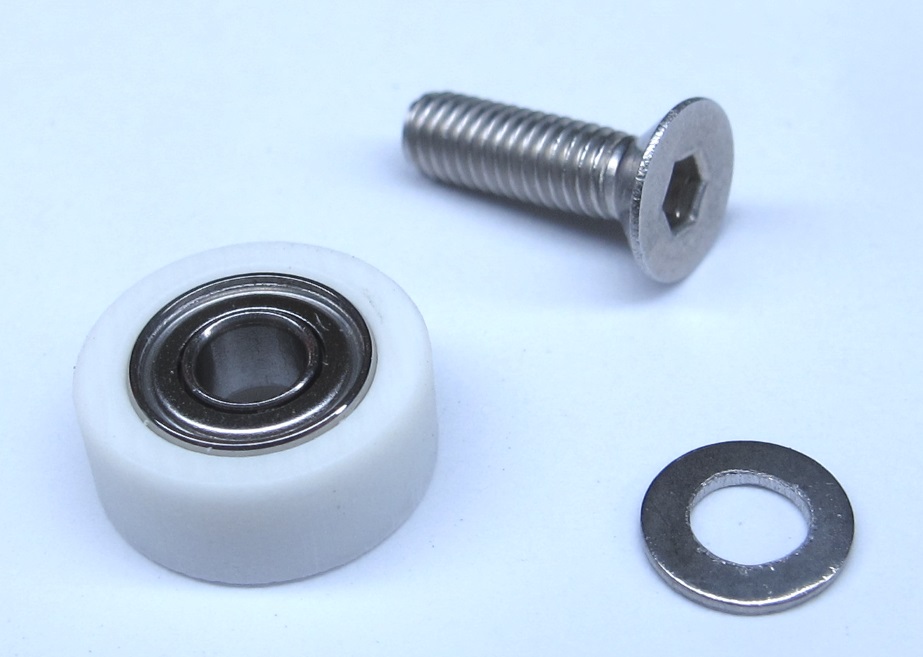
*Timing belt tensioner, M3x10 flat head screw and modified M2,5 washer.*

*Insert the M3 screw into the side with the ledge as shown in the picture.
Turn the assembly around and install the modified M2,5 washers.*
*The center pulley and the two timing belt tensioners are now ready for assembly.*
---
## Step-by-Step Instructions
| Motor Preparation | Motor Shaft Preparation | Encoder Preparation |Center Pulley Preparation|
| --- | --- | --- | --- |
|  |
|  |
|  | |
| Output Pulley Preparation | Shell Preparation | Actuator Module Assembly |Actuator Module Testing|
| --- | --- | --- | --- |
|
| |
| Output Pulley Preparation | Shell Preparation | Actuator Module Assembly |Actuator Module Testing|
| --- | --- | --- | --- |
|  |
|  |
|  |
| |
---
## More Details
| Details 3d Printed Parts | Details Machined Parts | Mechanical Tools and Consumables |Electronic Components and Tools|
| --- | --- | --- | --- |
|
|
---
## More Details
| Details 3d Printed Parts | Details Machined Parts | Mechanical Tools and Consumables |Electronic Components and Tools|
| --- | --- | --- | --- |
| |
| |
| |
| |
---
## More Information
[Open Dynamic Robot Initiative - Webpage](https://open-dynamic-robot-initiative.github.io)
[Open Dynamic Robot Initiative - YouTube Channel](https://www.youtube.com/channel/UCx32JW2oIrax47Gjq8zNI-w)
[Open Dynamic Robot Initiative - Forum](https://odri.discourse.group/categories)
[Open Dynamic Robot Initiative - Paper](https://arxiv.org/pdf/1910.00093.pdf)
[Hardware Overview](../../../README.md#open-robot-actuator-hardware)
[Software Overview](https://github.com/open-dynamic-robot-initiative/open-dynamic-robot-initiative.github.io/wiki)
[Back to Actuator Module](../README.md)
[Back to Top of Page](#details-center-pulley-preparation)
---
## Authors
Felix Grimminger
## License
BSD 3-Clause License
## Copyright
Copyright (c) 2019-2020, Max Planck Gesellschaft and New York University
|
---
## More Information
[Open Dynamic Robot Initiative - Webpage](https://open-dynamic-robot-initiative.github.io)
[Open Dynamic Robot Initiative - YouTube Channel](https://www.youtube.com/channel/UCx32JW2oIrax47Gjq8zNI-w)
[Open Dynamic Robot Initiative - Forum](https://odri.discourse.group/categories)
[Open Dynamic Robot Initiative - Paper](https://arxiv.org/pdf/1910.00093.pdf)
[Hardware Overview](../../../README.md#open-robot-actuator-hardware)
[Software Overview](https://github.com/open-dynamic-robot-initiative/open-dynamic-robot-initiative.github.io/wiki)
[Back to Actuator Module](../README.md)
[Back to Top of Page](#details-center-pulley-preparation)
---
## Authors
Felix Grimminger
## License
BSD 3-Clause License
## Copyright
Copyright (c) 2019-2020, Max Planck Gesellschaft and New York University