# Details Encoder Preparation
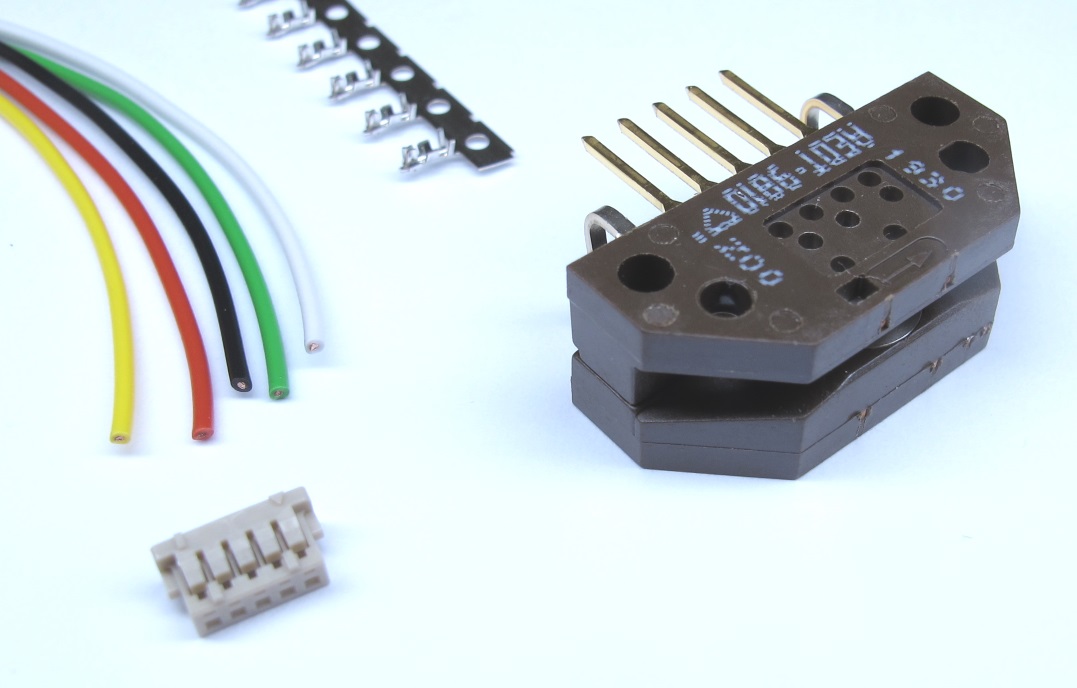
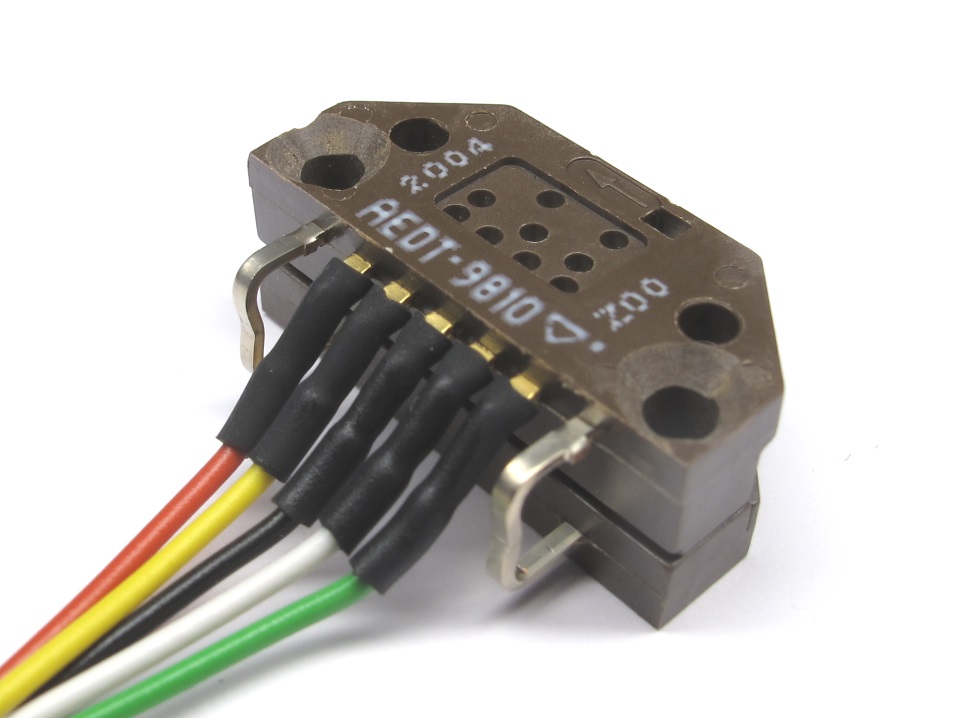
*Starting Point: Encoder, wires, Hirose connector and crimp contacts.*
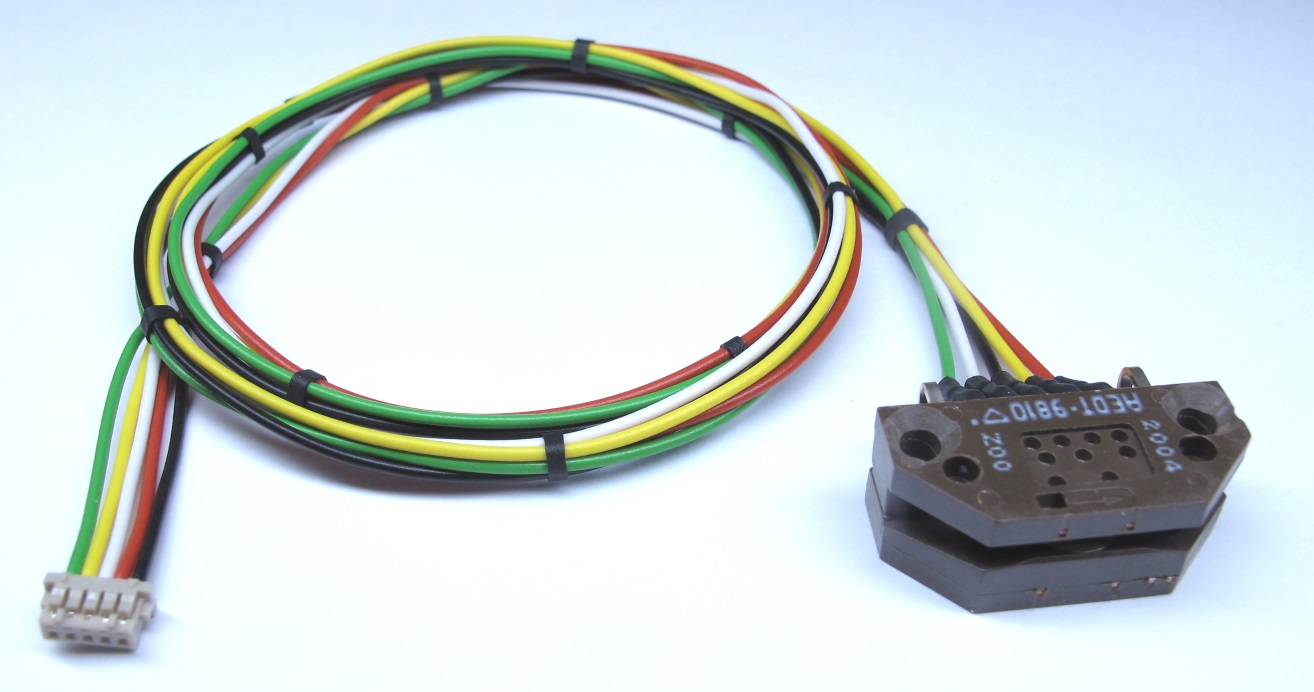
*End Result: Modified Encoder with extension wires and connector*
## Description
* this page describes how to prepare the encoder for the brushless actuator modules
* the mounting holes of the encoder are modified [-> Mechanical Modification Encoder](#mechanical-modification-encoder)
* the extension wires are attached to the encoder pins [-> Soldering Extension Wires](#soldering-extension-wires)
* the Hirose connector is crimped to the extension wires [-> Crimping Hirose Connector](#crimping-hirose-connector)
## Mechanical Modification Encoder

*Use a 3mm drill bit to increase the diameter of the two mounting holes.
The original diameter is 2,8mm.*
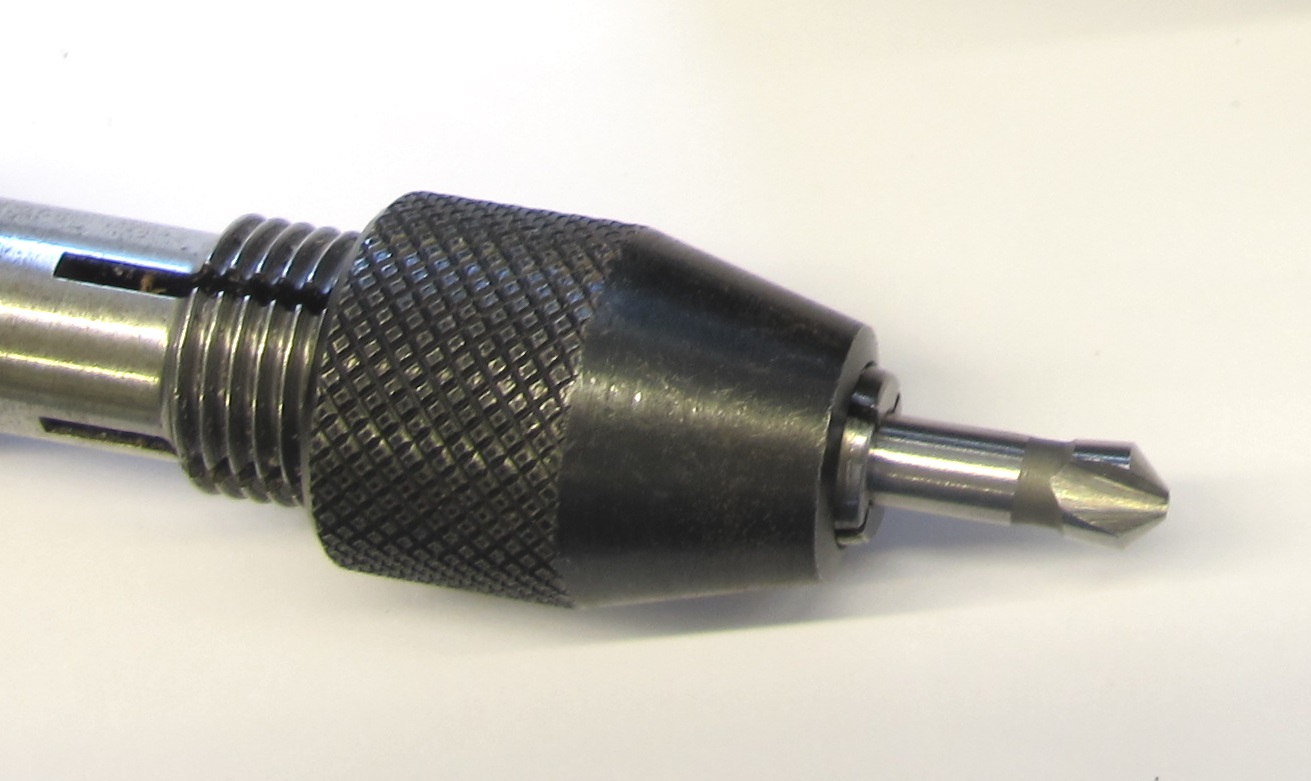
*Use a 45 degree chamfer tool to prepare the encoder for the flat head screws.*

*Chamfer the mounting holes.*
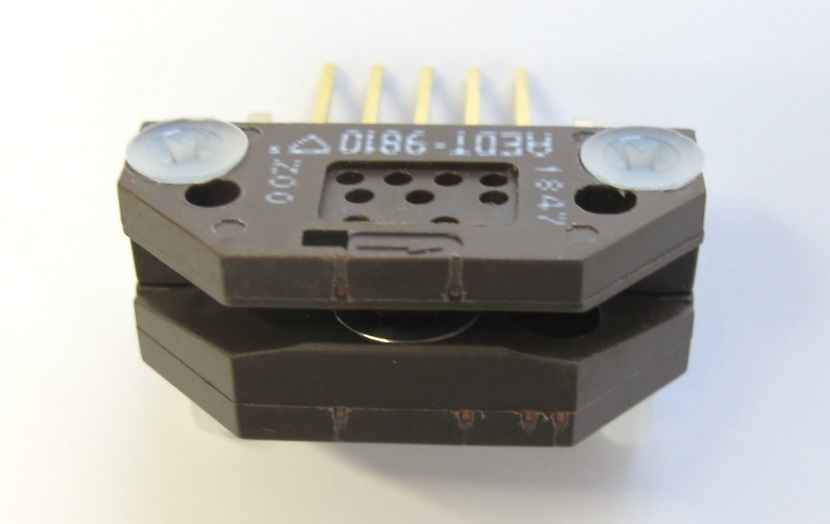
*The M3 flat head screws should be flush with the surface of the encoder.*
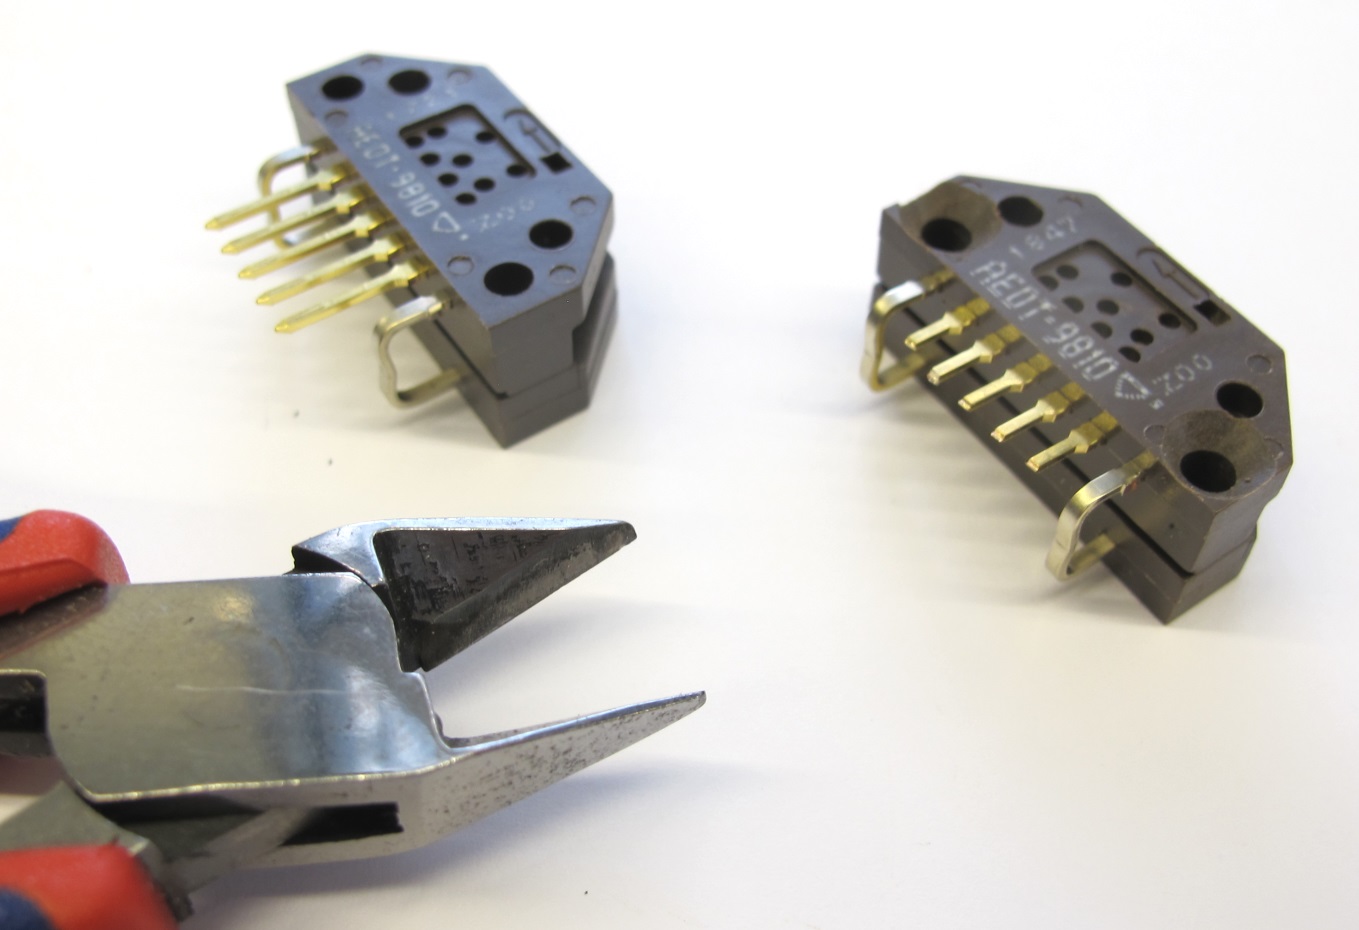
*Shorten the pins*

*Use flat pliers to bend the pins 45 degrees downwards.*

*You can now attach the extension wires.*
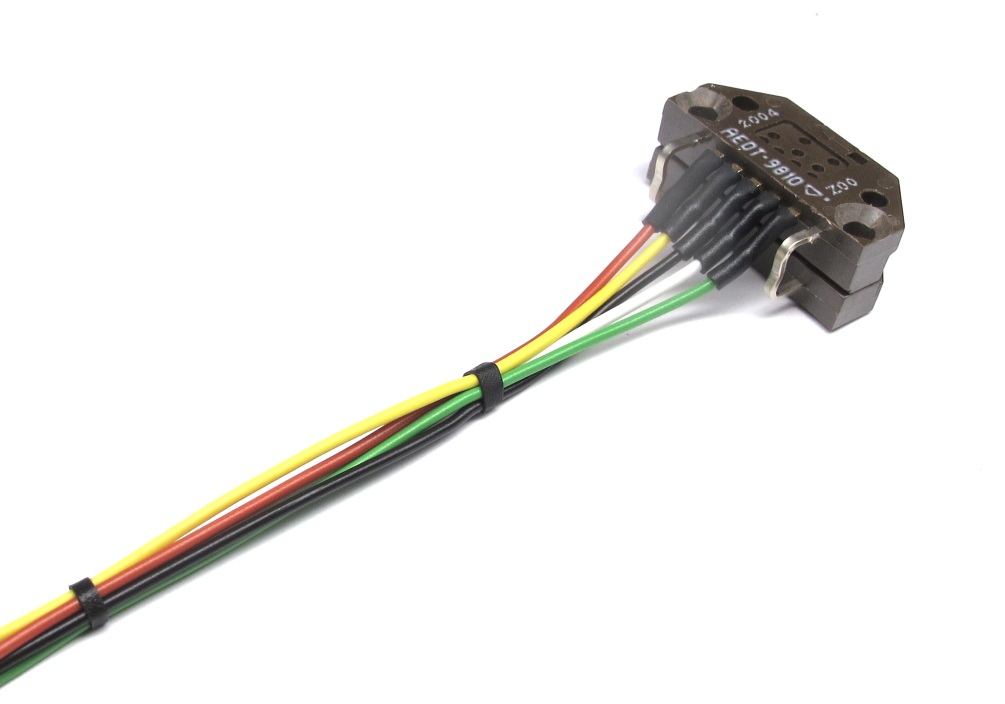
## Soldering Extension Wires

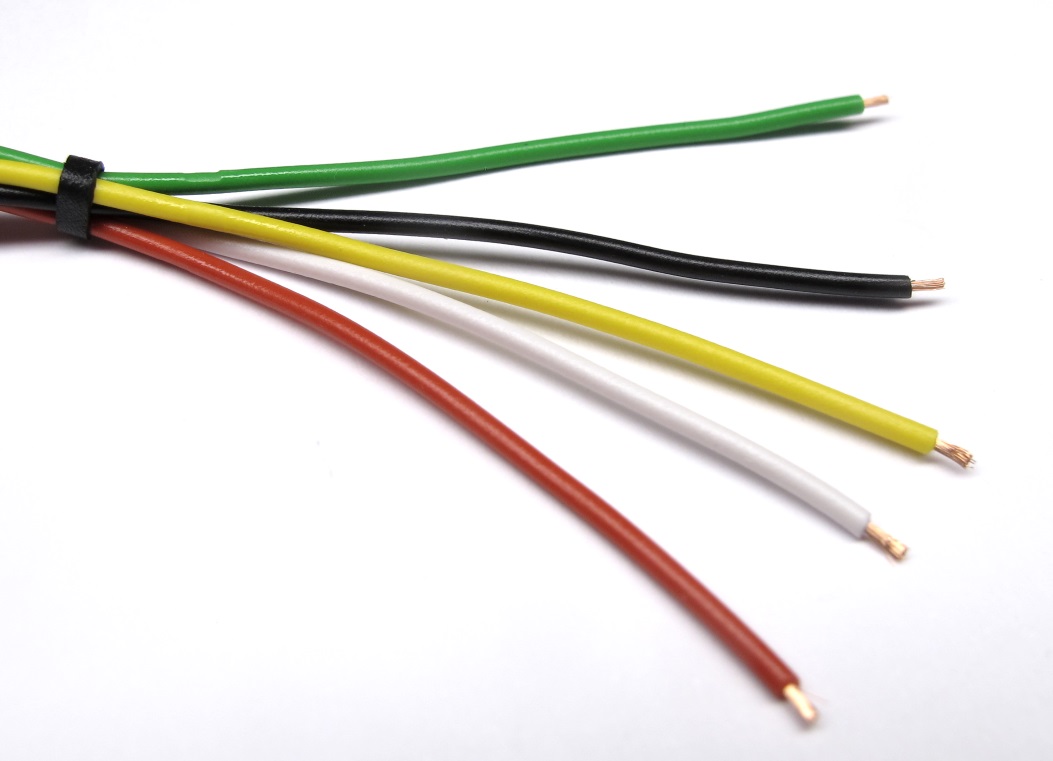
*Prepare 5 extension wires - we use 0,14mm² wires from Kabeltronik.
The [wiring diagram](#wiring-diagram) is below.*

*Remove the insulation at the ends, twist, solder and shorten the wires.*

*Put a bit of solder onto the encoder pins.*

*Solder the wires to the pins according to the [wiring diagram](#wiring-diagram).*

*Prepare the heat shrink - try to keep it short.*

*Apply the heat shring using a heat gun.*

*Cut some small pieces of larger diameter heat shrink to bundle the wires.*
*Place the heat shrink pieces on the wires and leave a couple of centimeters between them.
Apply the heat shrink pieces with a heat gun.*
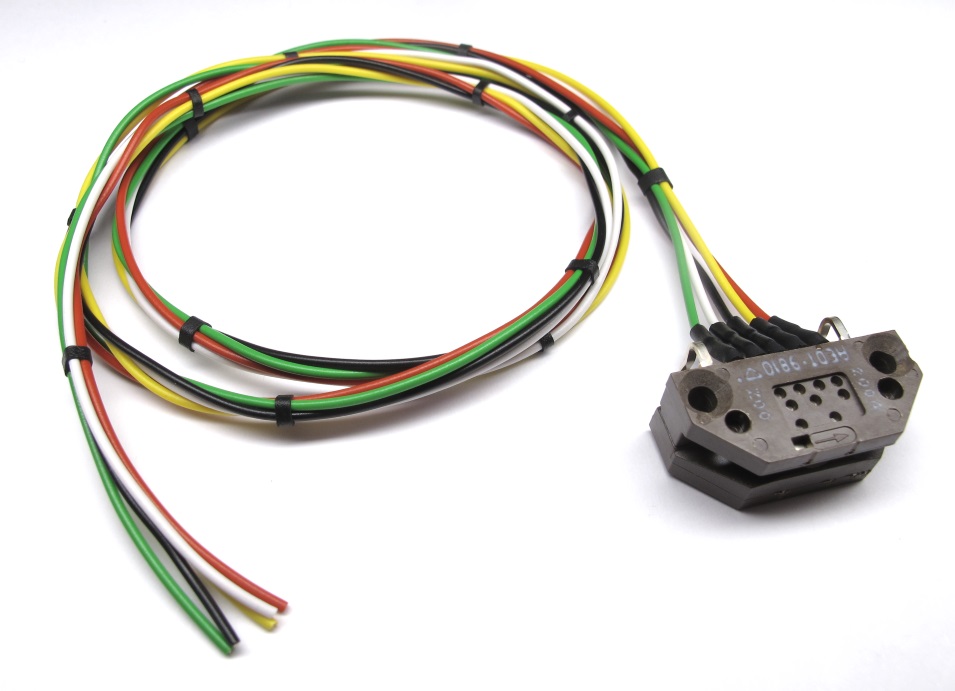
*If you are unsure about the correct wire length you can stop here.
Follow the other preparation steps and fully assemble the actuator module.
You can then determine the right wire length and crimp the Hirose connector later.*
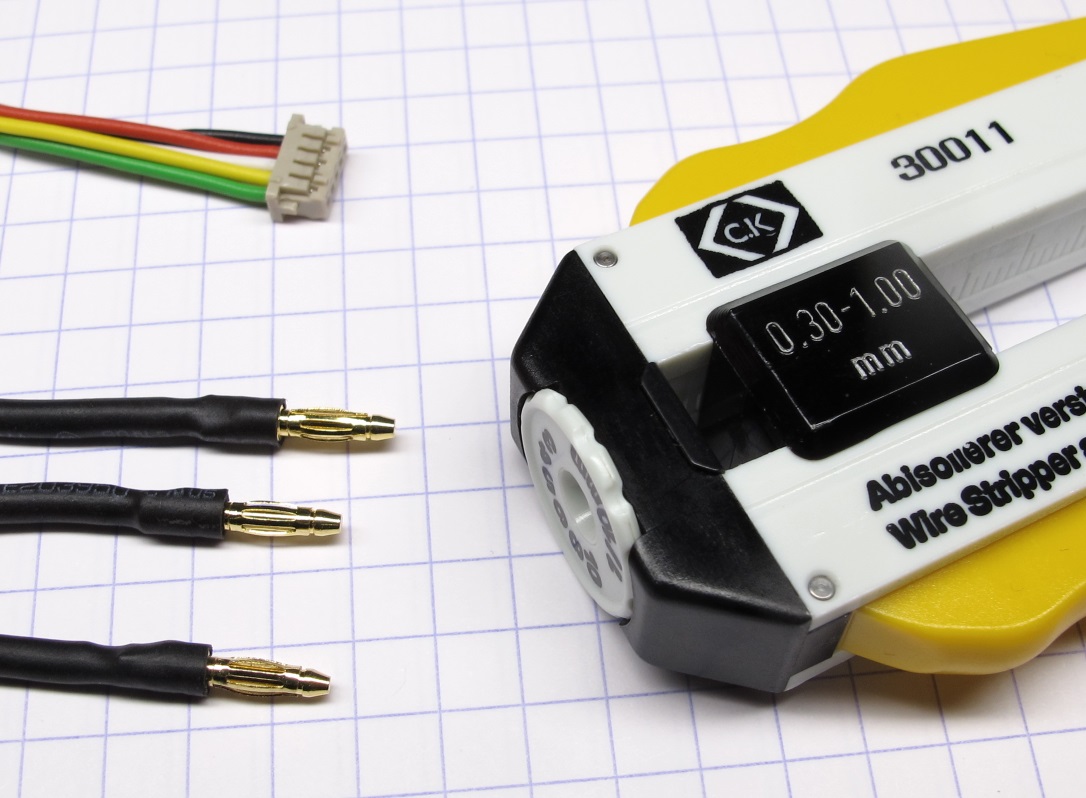
## Crimping Hirose Connector

*For this step you will need the Hirose DF13 Crimping Tool, the crimp contacts and a wire stripper.*

*For crimping about 1mm of the insulation has to be removed.*
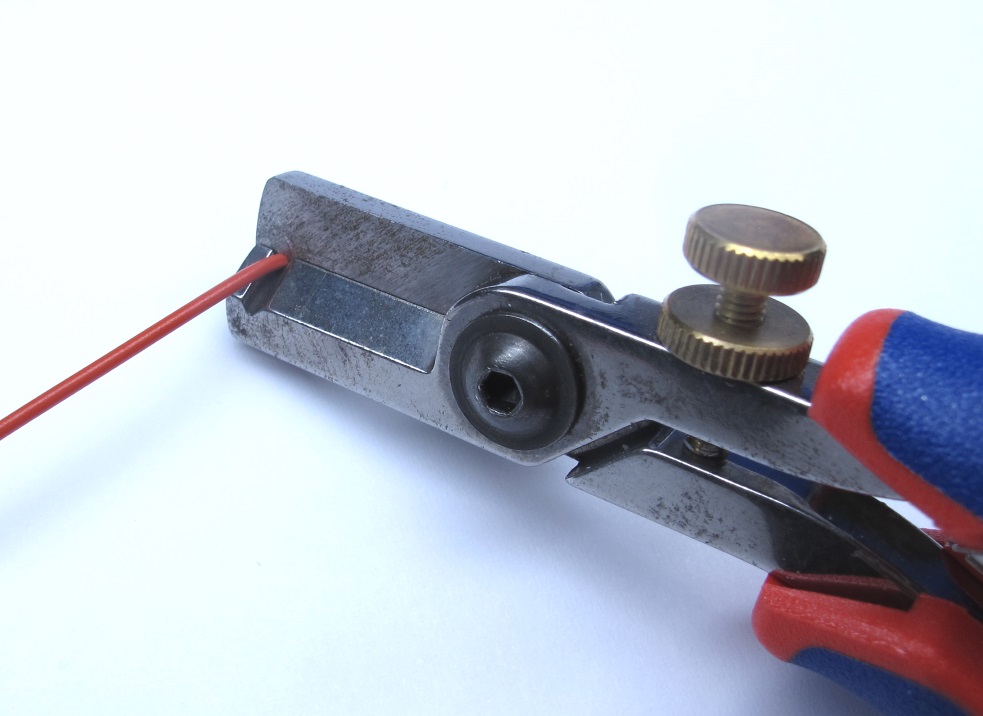
*Cut the wires to the required length.
Use a wire stripper to remove about 1mm of the insulation at the end.*
*Wires prepared for crimping.*

*Insert the wire as straight as possible into the crimping tool.
Carefully move the wire inwards until the wire strands touch the end stop of the tool.
Close the handle all the way and release.*

*The insulation should be captured by the first clamp of the crimp.
The wire strands should be captured by the second clamp of the crimp.*
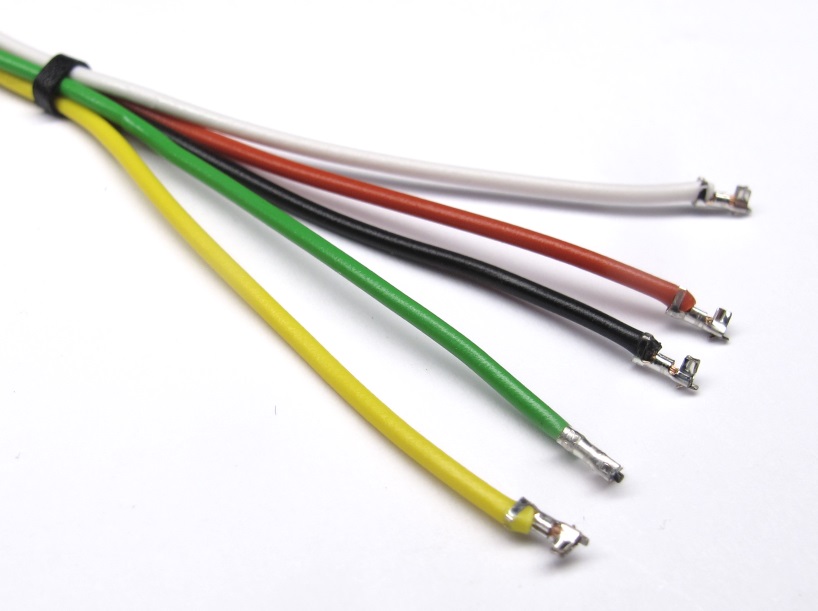
*Apply a crimp contact to all the wires.*

*Prepare the Hirose 5pin connector.*
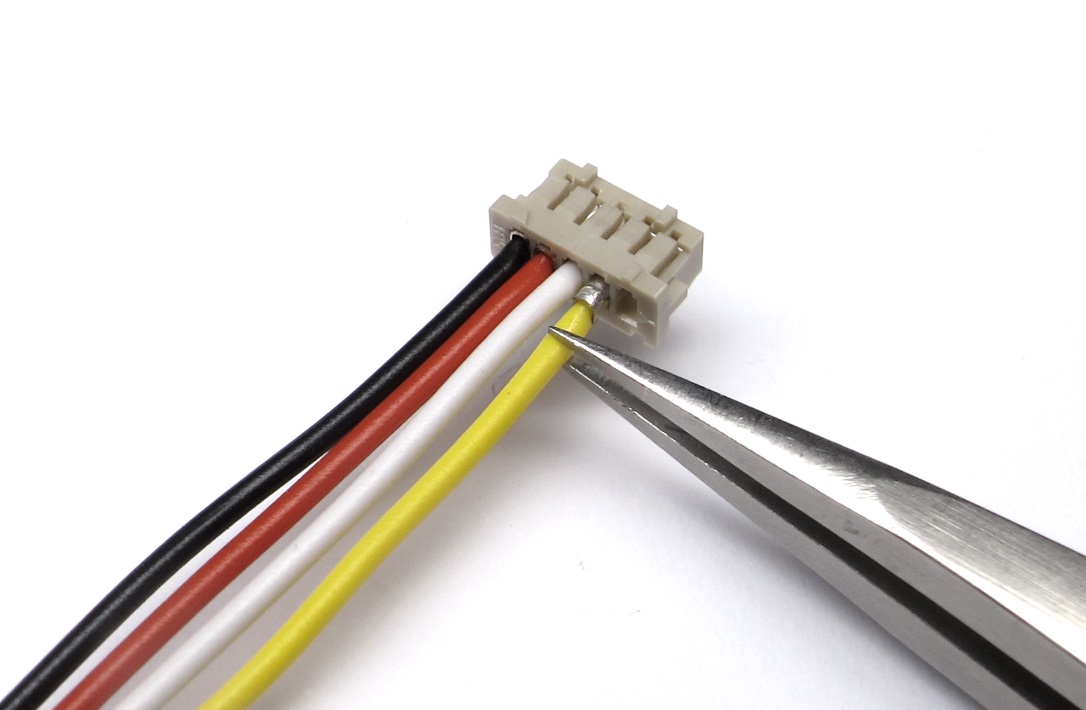
*Insert the crimped wires into the connector.
Tweezers make it easier to insert the contacts.
The order is documented in the wiring diagramm below.*
*The encoder is now ready for installation.*
## Wiring Diagram
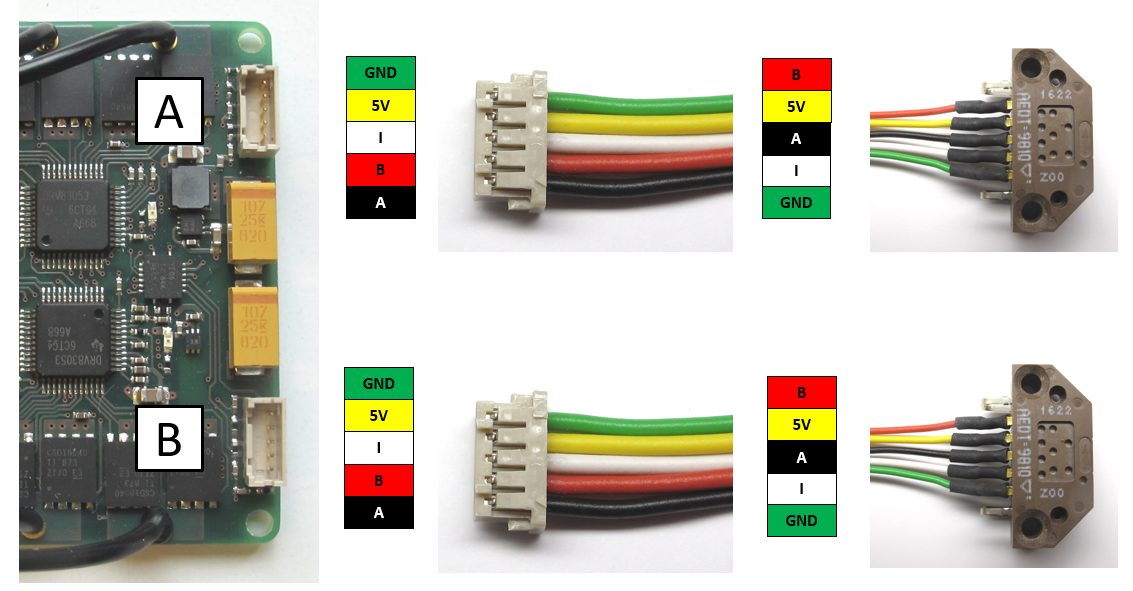
*Encoder Wiring for the Micro Driver Electronics*
---
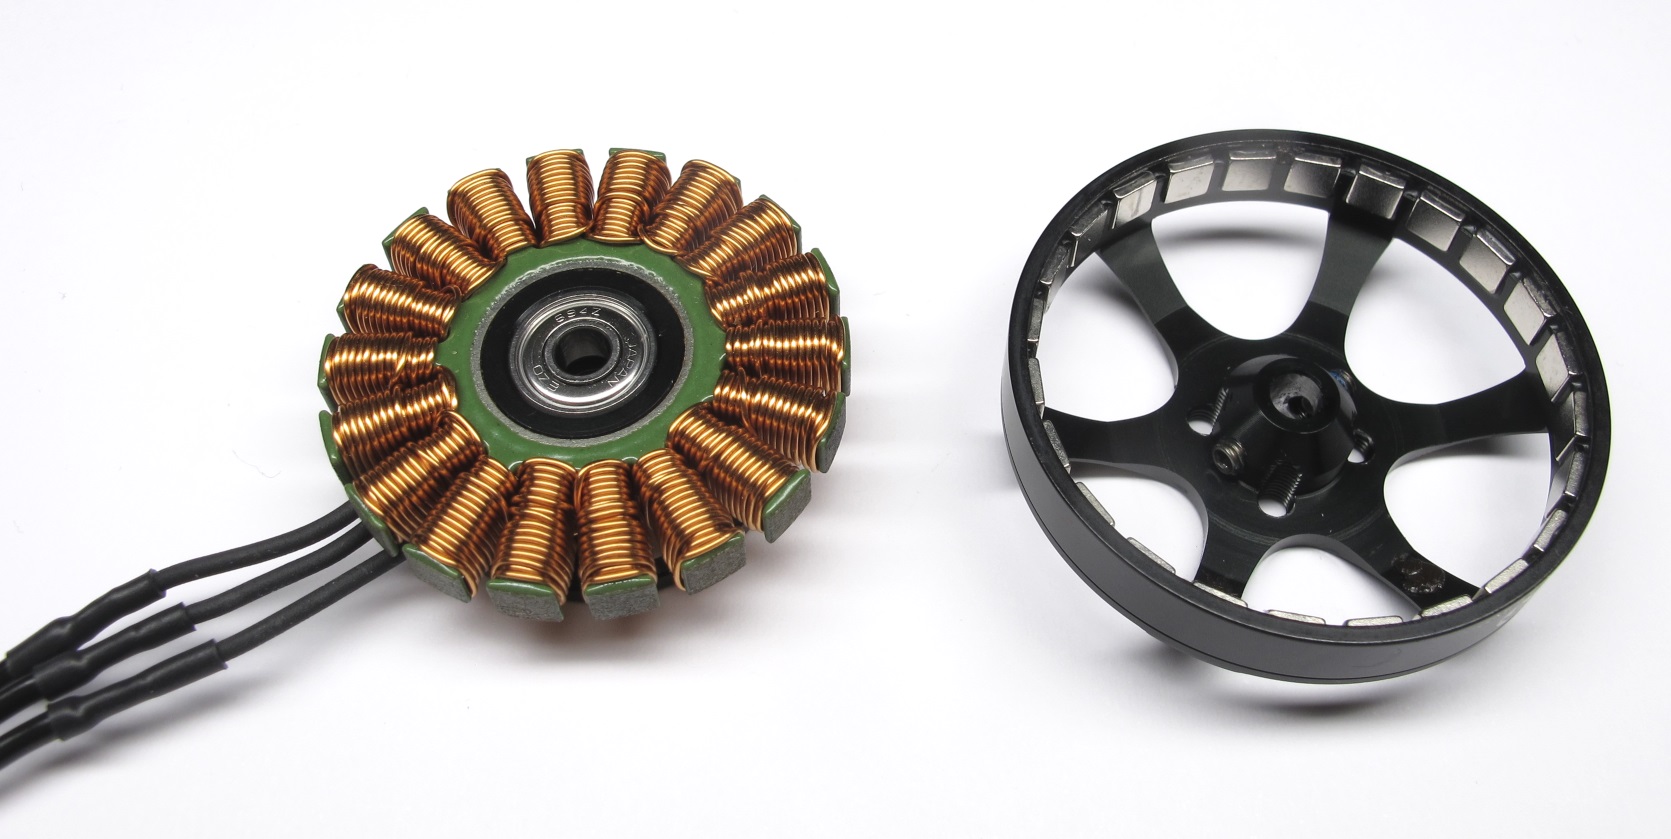
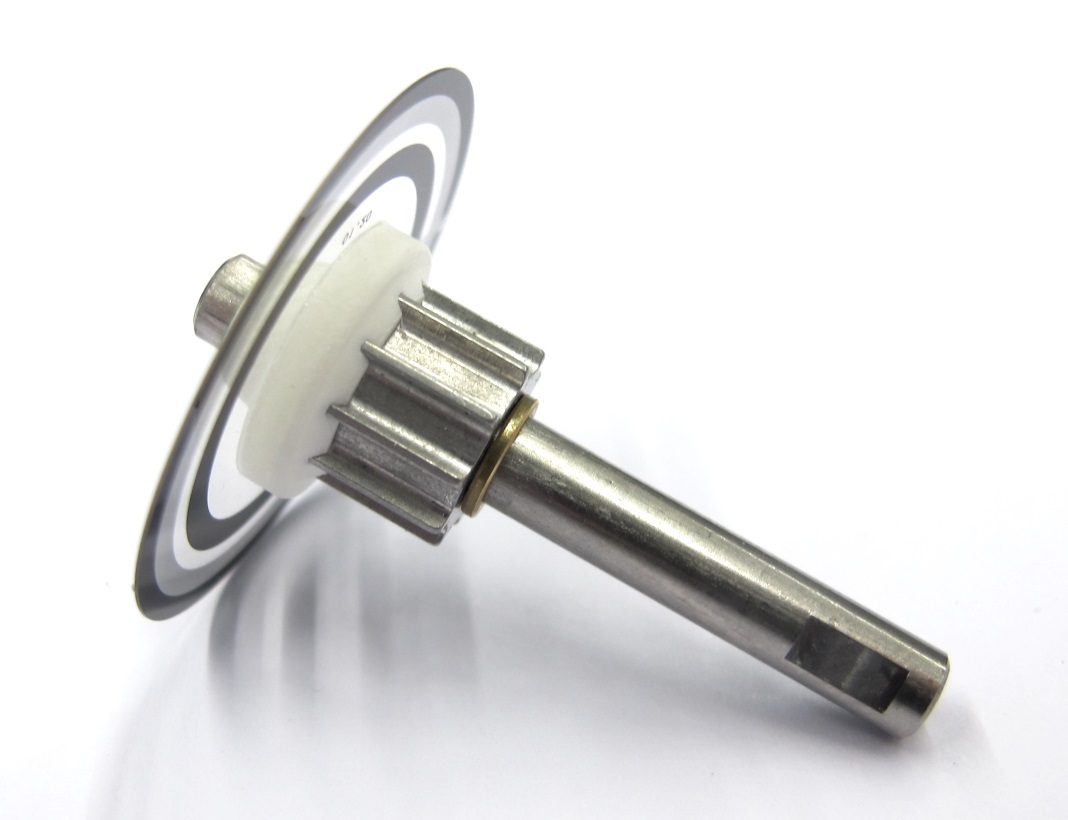
## Step-by-Step Instructions
| Motor Preparation | Motor Shaft Preparation | Encoder Preparation |Center Pulley Preparation|
| --- | --- | --- | --- |
|  |
|  |
|  |
|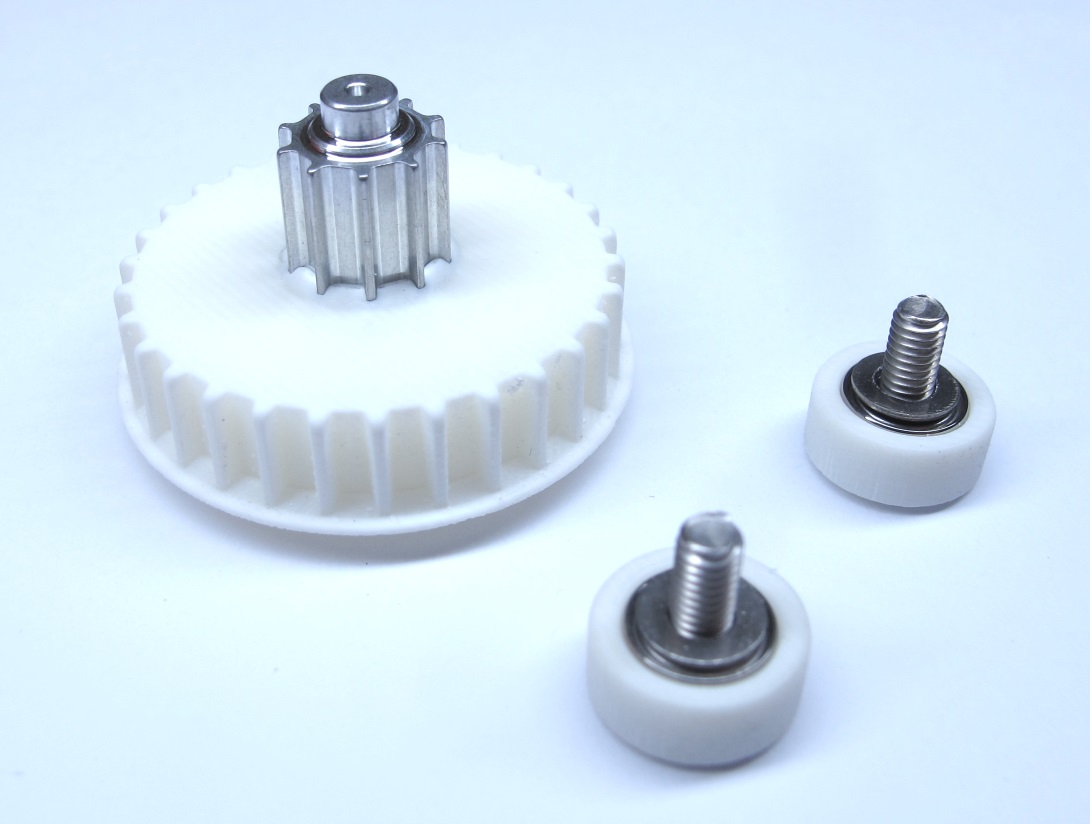 |
| Output Pulley Preparation | Shell Preparation | Actuator Module Assembly |Actuator Module Testing|
| --- | --- | --- | --- |
|
|
| Output Pulley Preparation | Shell Preparation | Actuator Module Assembly |Actuator Module Testing|
| --- | --- | --- | --- |
|  |
|  |
|  |
| |
---
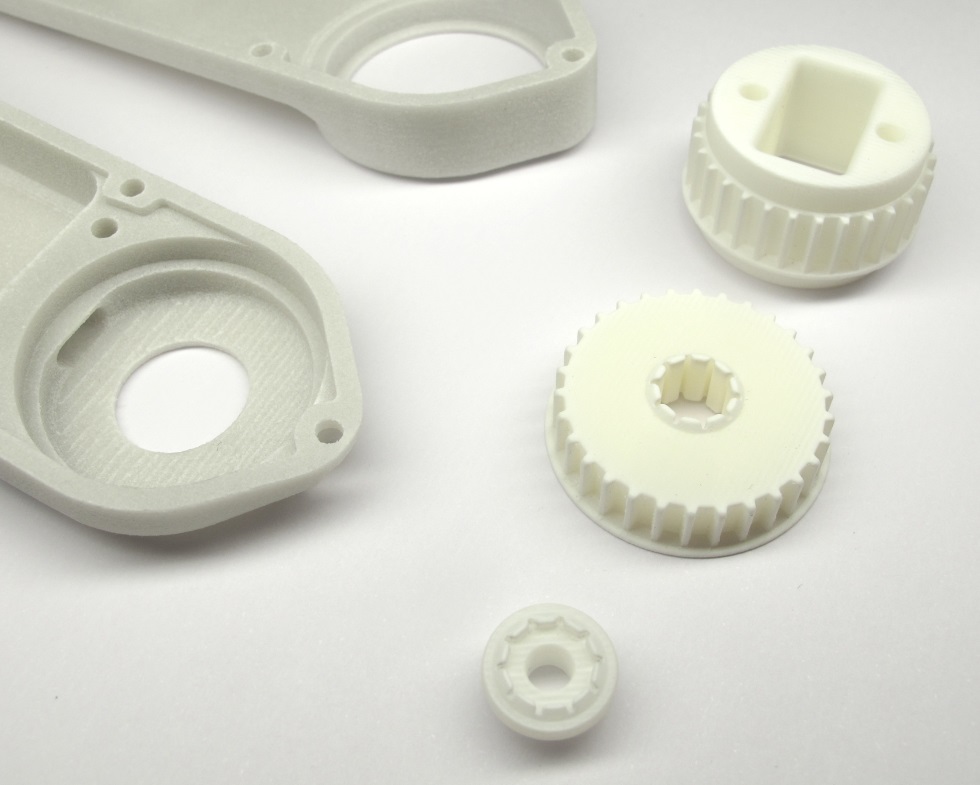
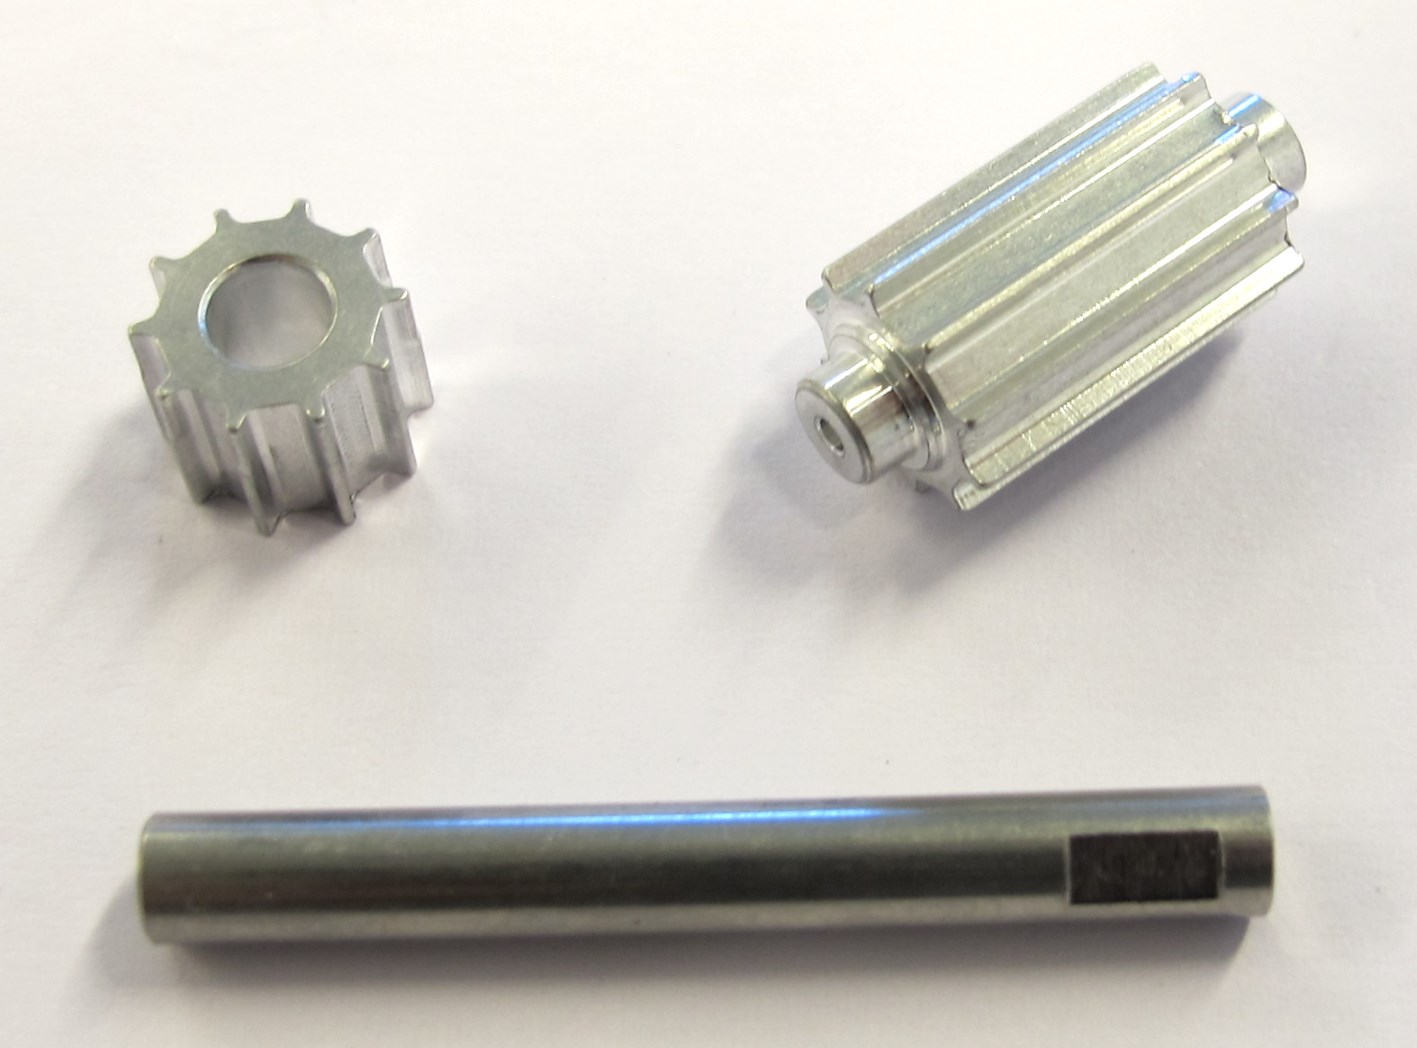
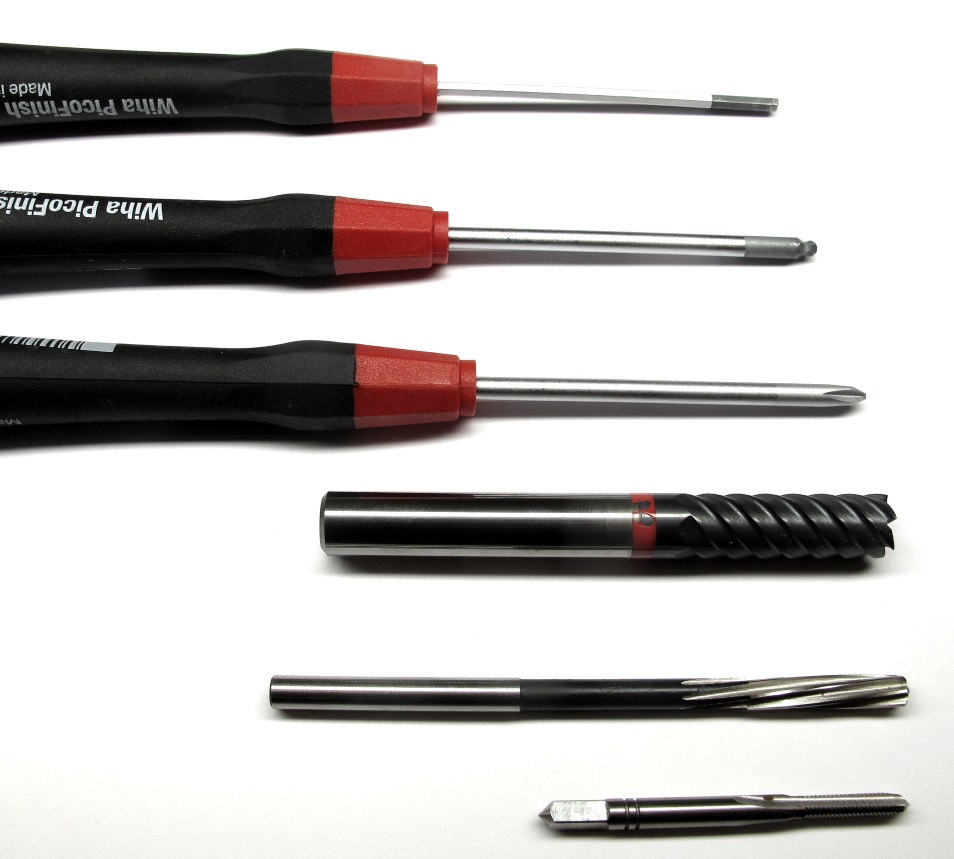
## More Details
| Details 3d Printed Parts | Details Machined Parts | Mechanical Tools and Consumables |Electronic Components and Tools|
| --- | --- | --- | --- |
|
|
---
## More Details
| Details 3d Printed Parts | Details Machined Parts | Mechanical Tools and Consumables |Electronic Components and Tools|
| --- | --- | --- | --- |
| |
| |
| |
| |
---
## More Information
[Open Dynamic Robot Initiative - Webpage](https://open-dynamic-robot-initiative.github.io)
[Open Dynamic Robot Initiative - YouTube Channel](https://www.youtube.com/channel/UCx32JW2oIrax47Gjq8zNI-w)
[Open Dynamic Robot Initiative - Forum](https://odri.discourse.group/categories)
[Open Dynamic Robot Initiative - Paper](https://arxiv.org/pdf/1910.00093.pdf)
[Hardware Overview](../../../README.md#open-robot-actuator-hardware)
[Software Overview](https://github.com/open-dynamic-robot-initiative/open-dynamic-robot-initiative.github.io/wiki)
[Back to Actuator Module](../README.md)
[Back to Top of Page](#details-encoder-preparation)
---
## Authors
Felix Grimminger
## License
BSD 3-Clause License
## Copyright
Copyright (c) 2019-2020, Max Planck Gesellschaft and New York University
|
---
## More Information
[Open Dynamic Robot Initiative - Webpage](https://open-dynamic-robot-initiative.github.io)
[Open Dynamic Robot Initiative - YouTube Channel](https://www.youtube.com/channel/UCx32JW2oIrax47Gjq8zNI-w)
[Open Dynamic Robot Initiative - Forum](https://odri.discourse.group/categories)
[Open Dynamic Robot Initiative - Paper](https://arxiv.org/pdf/1910.00093.pdf)
[Hardware Overview](../../../README.md#open-robot-actuator-hardware)
[Software Overview](https://github.com/open-dynamic-robot-initiative/open-dynamic-robot-initiative.github.io/wiki)
[Back to Actuator Module](../README.md)
[Back to Top of Page](#details-encoder-preparation)
---
## Authors
Felix Grimminger
## License
BSD 3-Clause License
## Copyright
Copyright (c) 2019-2020, Max Planck Gesellschaft and New York University