# Details Motor Shaft Preparation
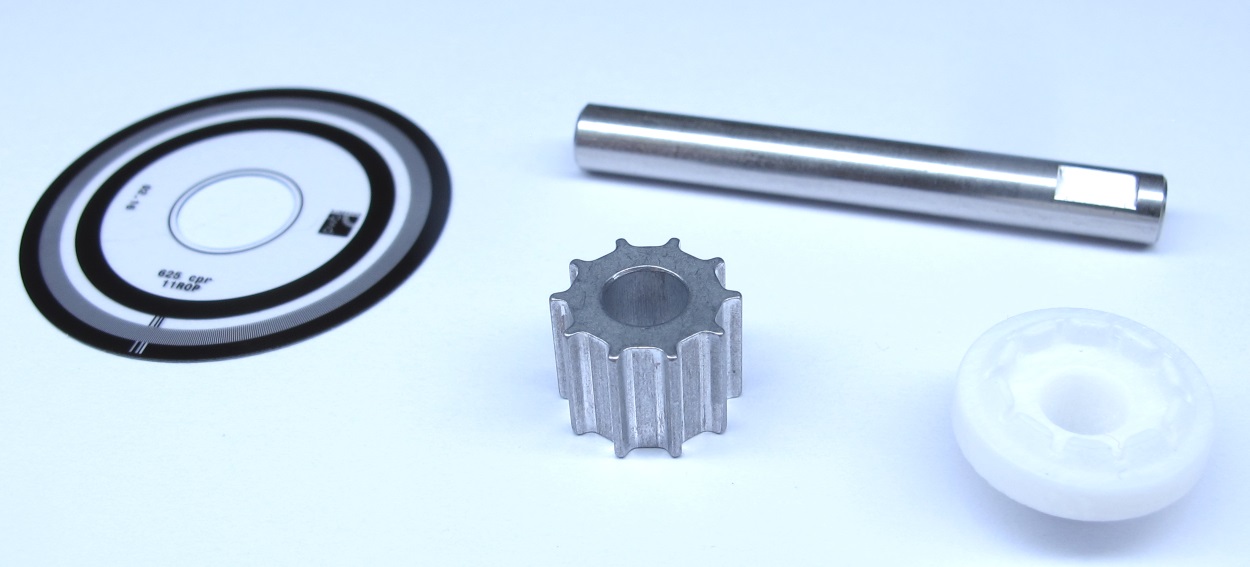
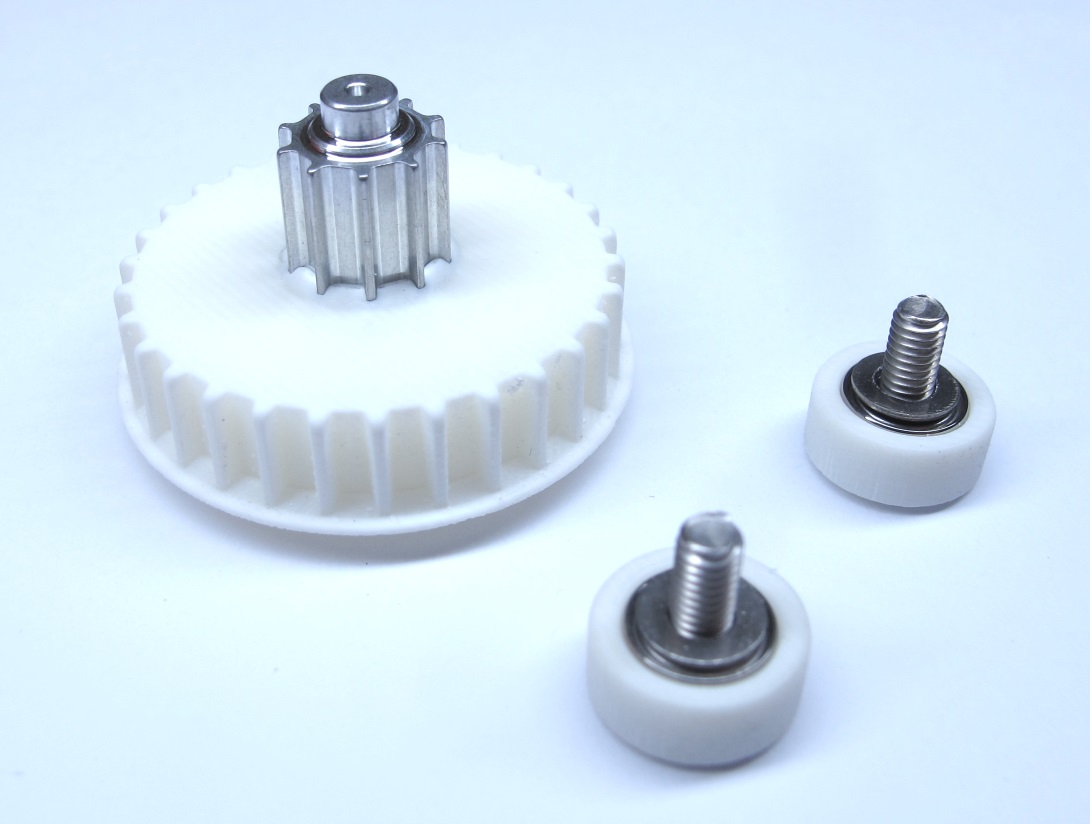
*Starting Point: Components for the motor shaft assembly.*
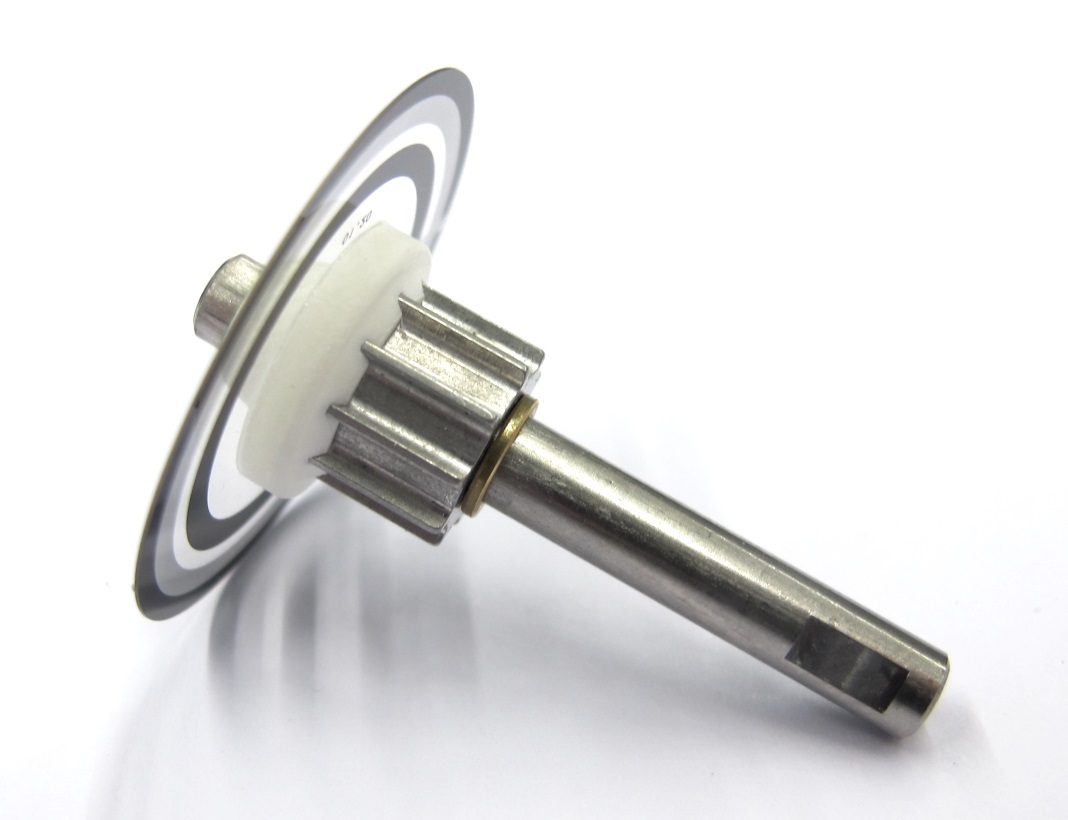
*End Result: Motor shaft, pulley and codewheel fully assembled.*
## Description
* this page describes how to prepare the the motor shaft assembly for the brushless actuator modules
* the aluminum motor pulley and the stainless steel motor shaft are bonded with Loctite 648
[-> Bonding the Pulley to the Motor Shaft](#bonding-the-pulley-to-the-motor-shaft)
* the code wheel mount is installed and the code wheel is bonded to the mount
[-> Bonding the Codewheel](#bonding-the-codewheel)
### More Information
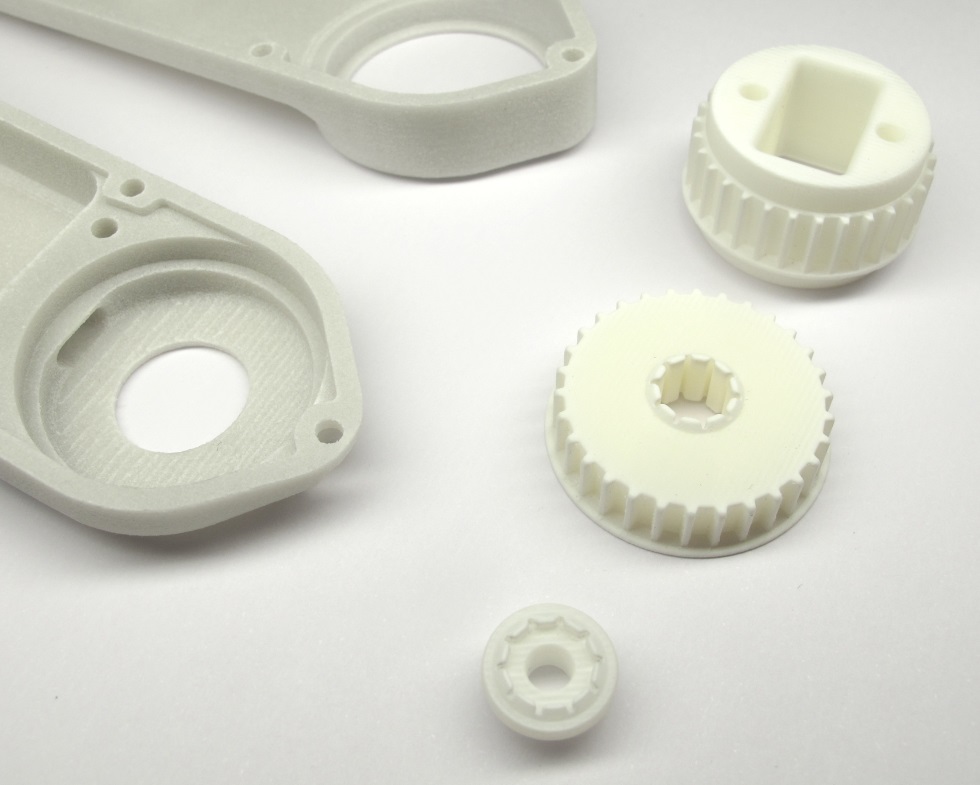
* More information on the 3d printing: [Details 3d Printed Parts](details_3d_printed_parts.md#details-3d-printed-parts)
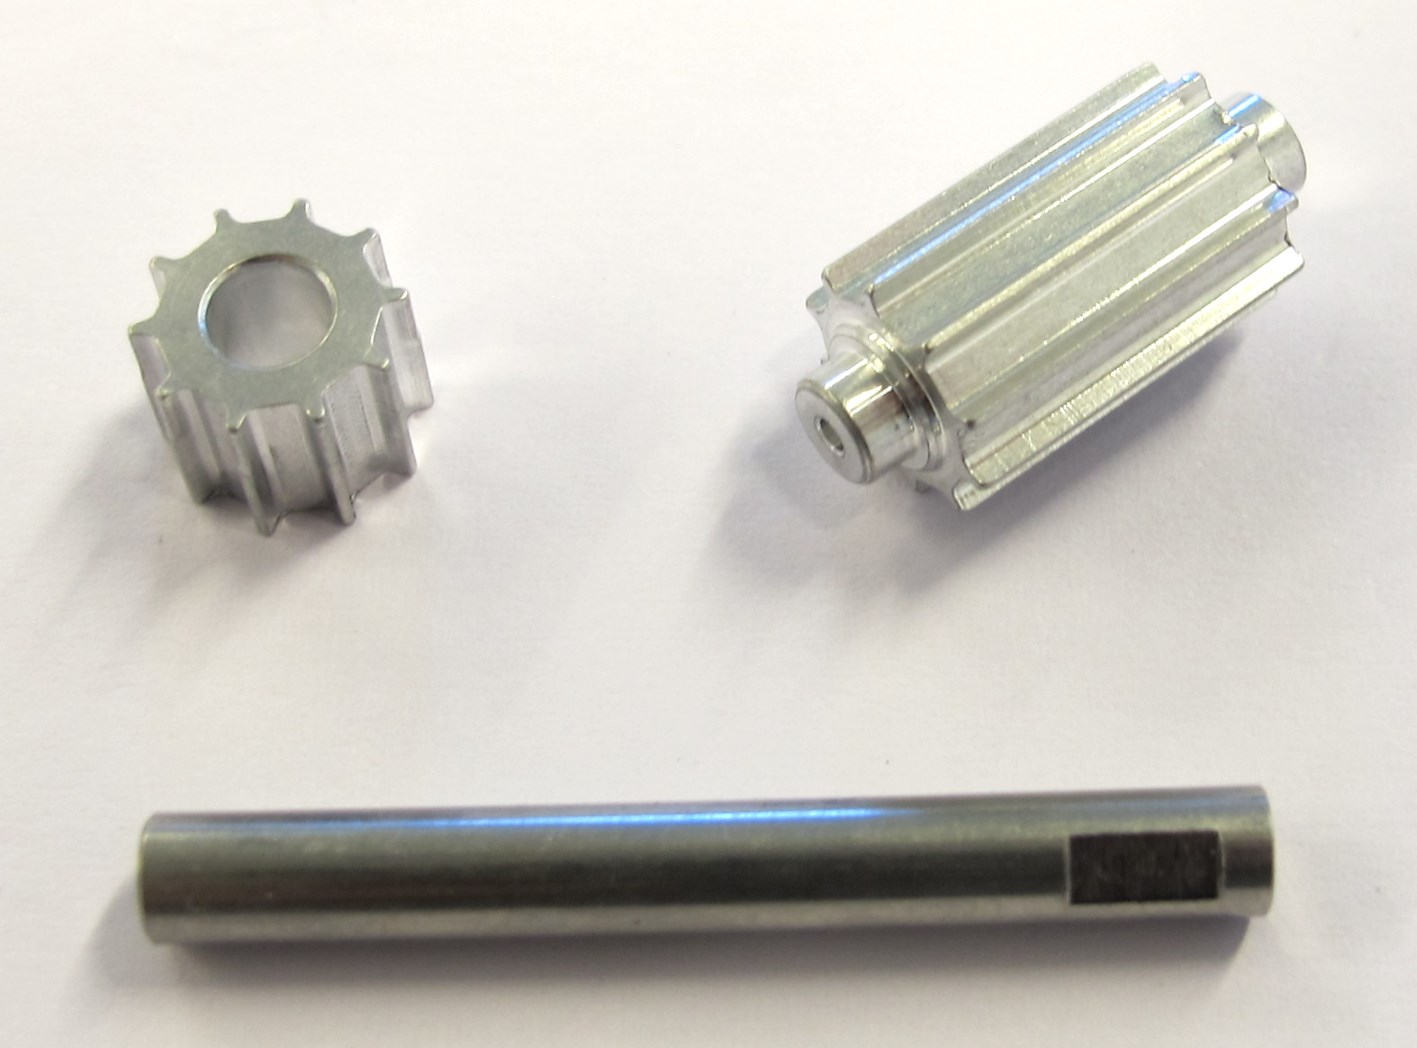
* More information on the machined part: [Details Machined Parts](details_machined_parts.md#details-machined-parts)
* [PDF Drawing - Motor Shaft](../drawings/motor_shaft.PDF)
* [PDF Drawing Motor Pulley](../drawings/motor_pulley_at3_t10.PDF)
* [STL File - Codewheel mount for code wheel ordered from PWB](../stl_files/encoder_codewheel_pwb_mount.STL)
* [STL File - Codewheel mount for code wheel from kit](../stl_files/encoder_codewheel_kit_mount.STL)
* [STL File - Tool Motor Shaft Pulley Bonding](../stl_files/tool_motor_shaft_pulley_bonding.STL)
* [STL File - Tool Code Wheel Bonding](../stl_files/tool_code_wheel_bonding.STL)
## Bonding the Pulley to the Motor Shaft
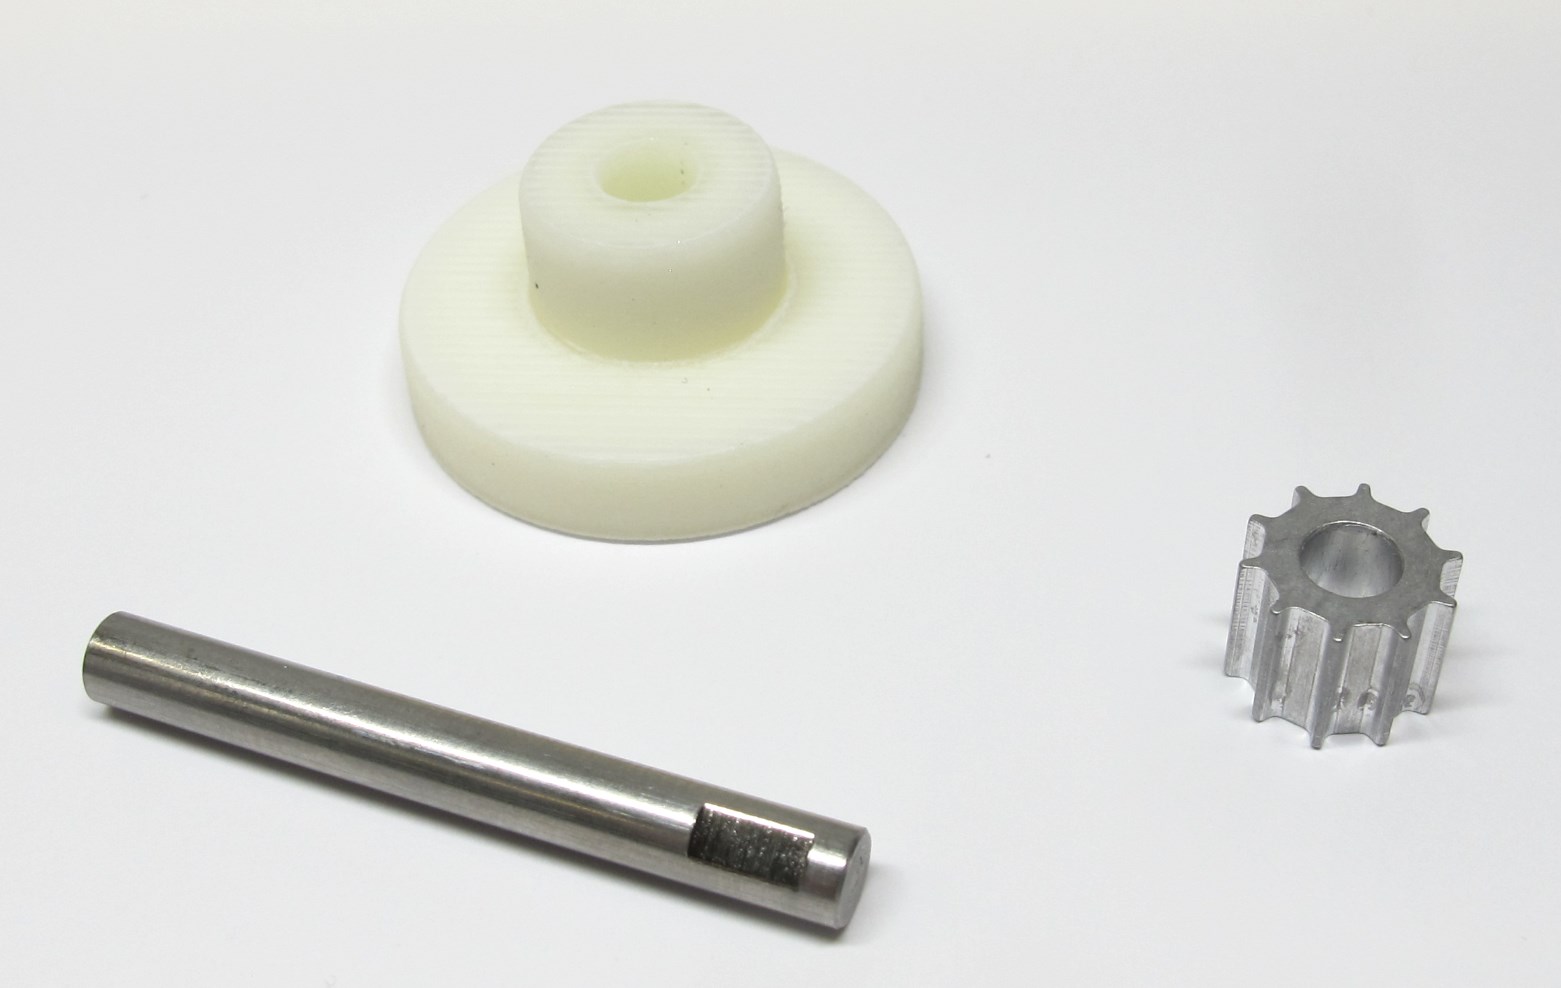
*Motor shaft, motor pulley and tool for motor shaft bonding.*

*Make sure that the tool supports the pulley in the right position before bonding.*

*Measure the depth of the tool using the depth gauge of a digital caliper.
The depth should be around 6,6mm.*
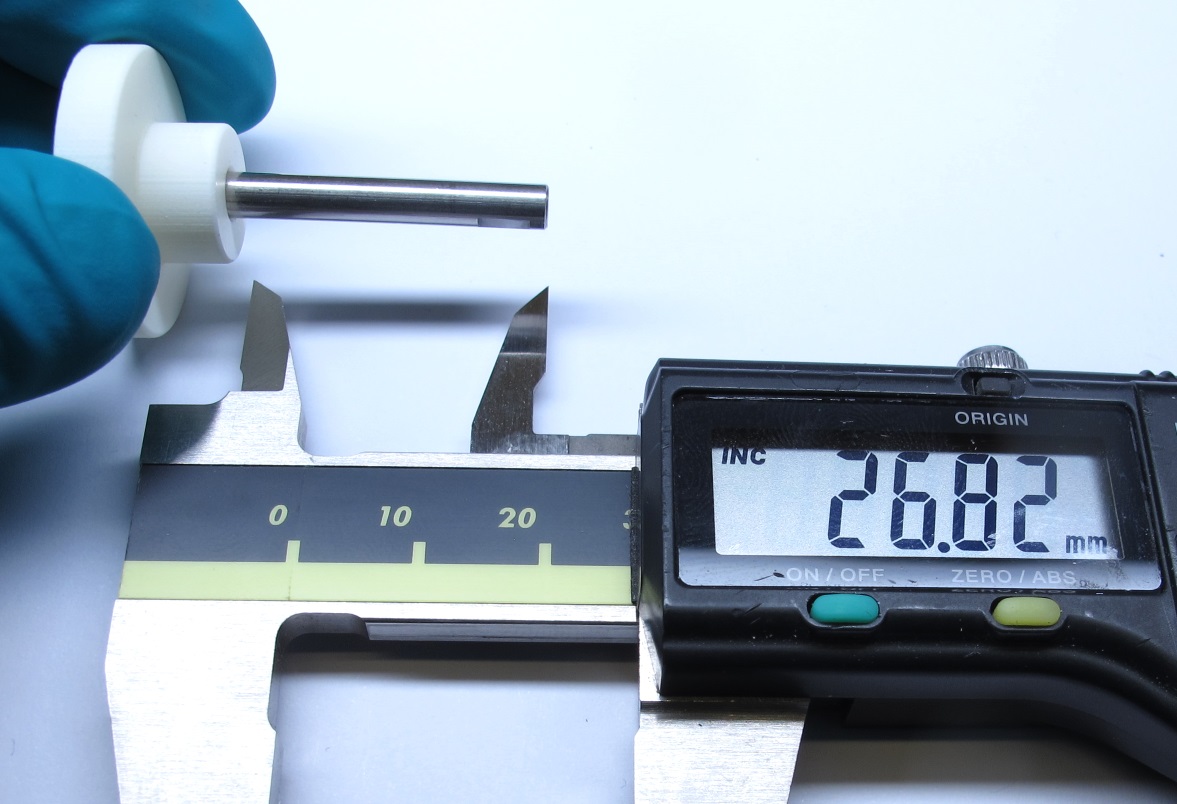
*The distance between the tool and the end of the motor shaft should be about 26,8mm.*

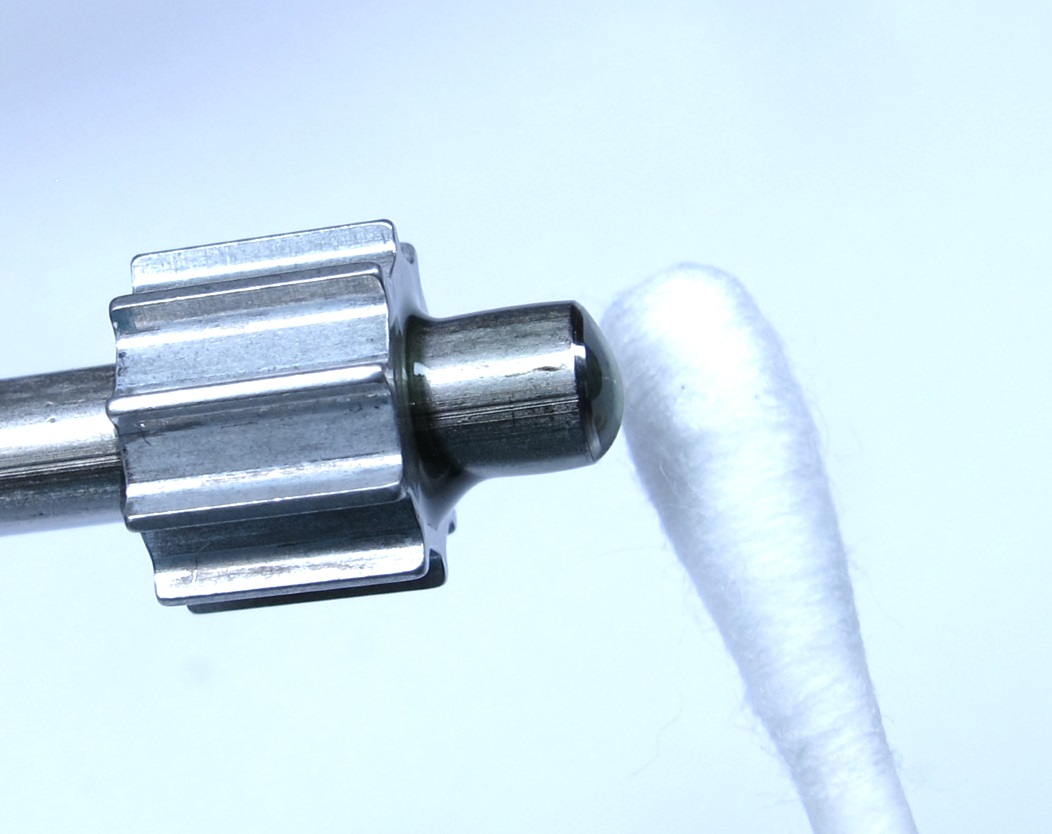
*Clean the bonding surfaces with a cotton swab and ethanol.*

*Prepare some Locitite 648, tooth picks and cotton swabs.
Wear gloves to protect your skin.*
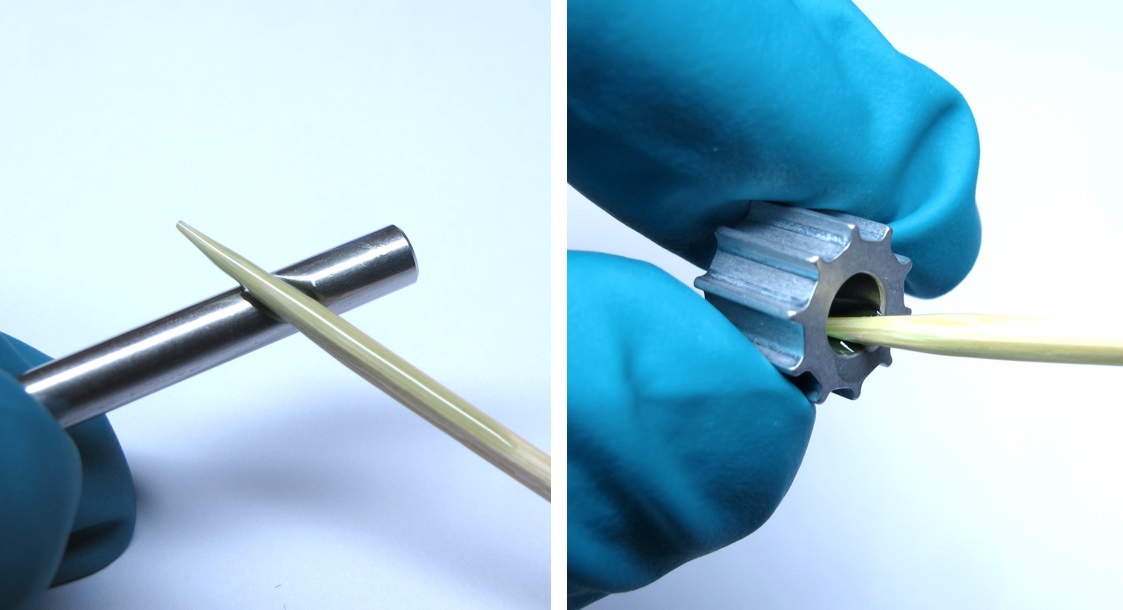
*Apply a thin layer of Locitite 648 onto the bonding surfaces.*
*Insert the motor shaft into the pulley and rotate it a bit.
Remove the excess Loctite from the bottom using a cotton swab.*
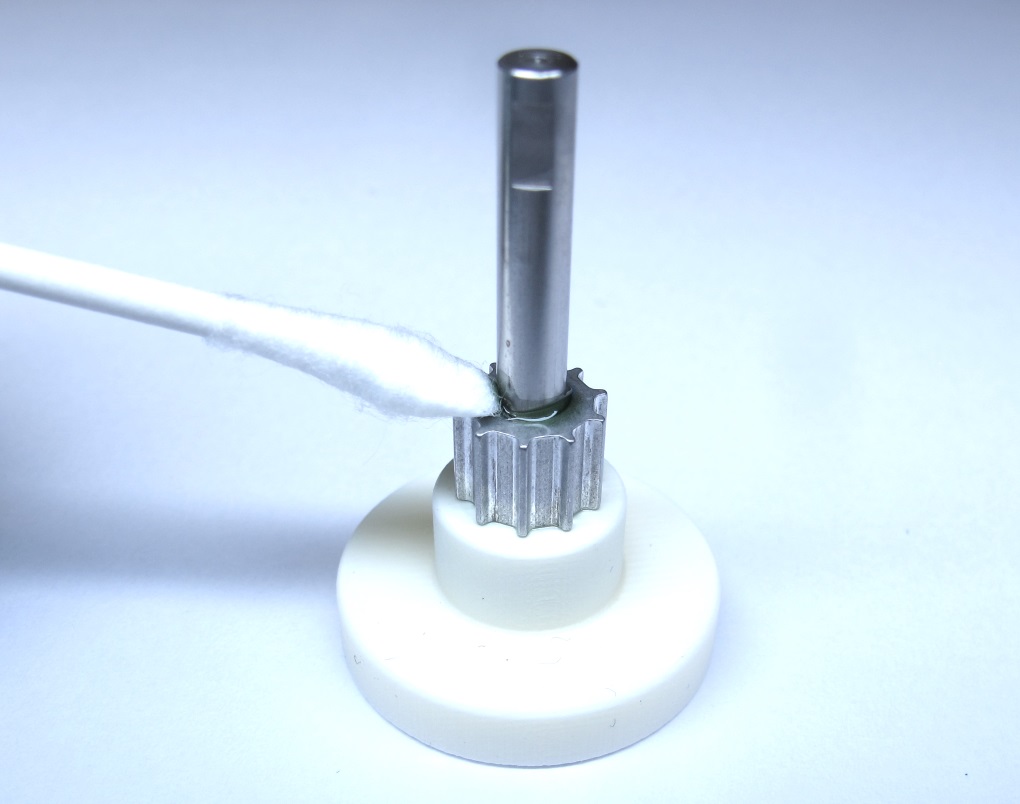
*Place the motor shaft and pulley on the bonding tool.
Make sure that the flats on the motor shaft are pointing upwards.
Remove the excess Loctite from the top using a cotton swab.*

*Make sure that the motor shaft vertical and fully inserted into the tool.
Let the parts cure at room temperature for a couple of hours.*
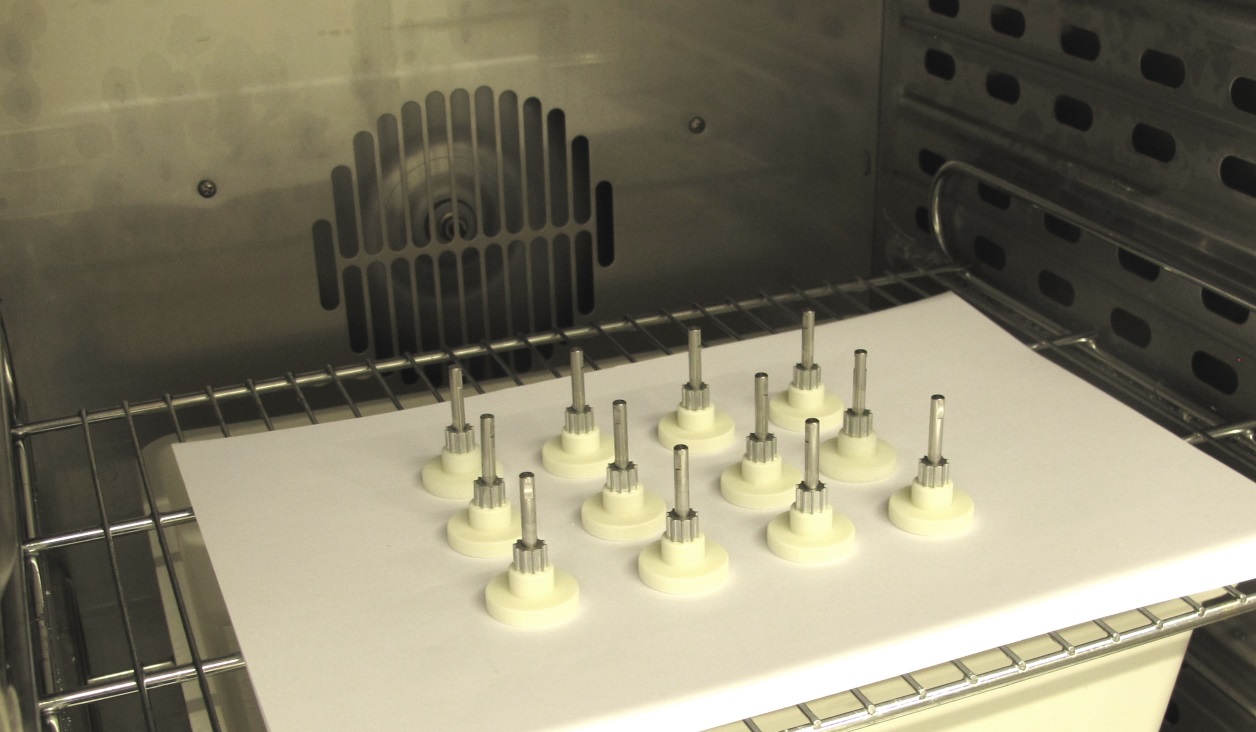
*Leave the parts on the tool, put them in an oven.
Cure the bond for another couple of hours for full strength.*
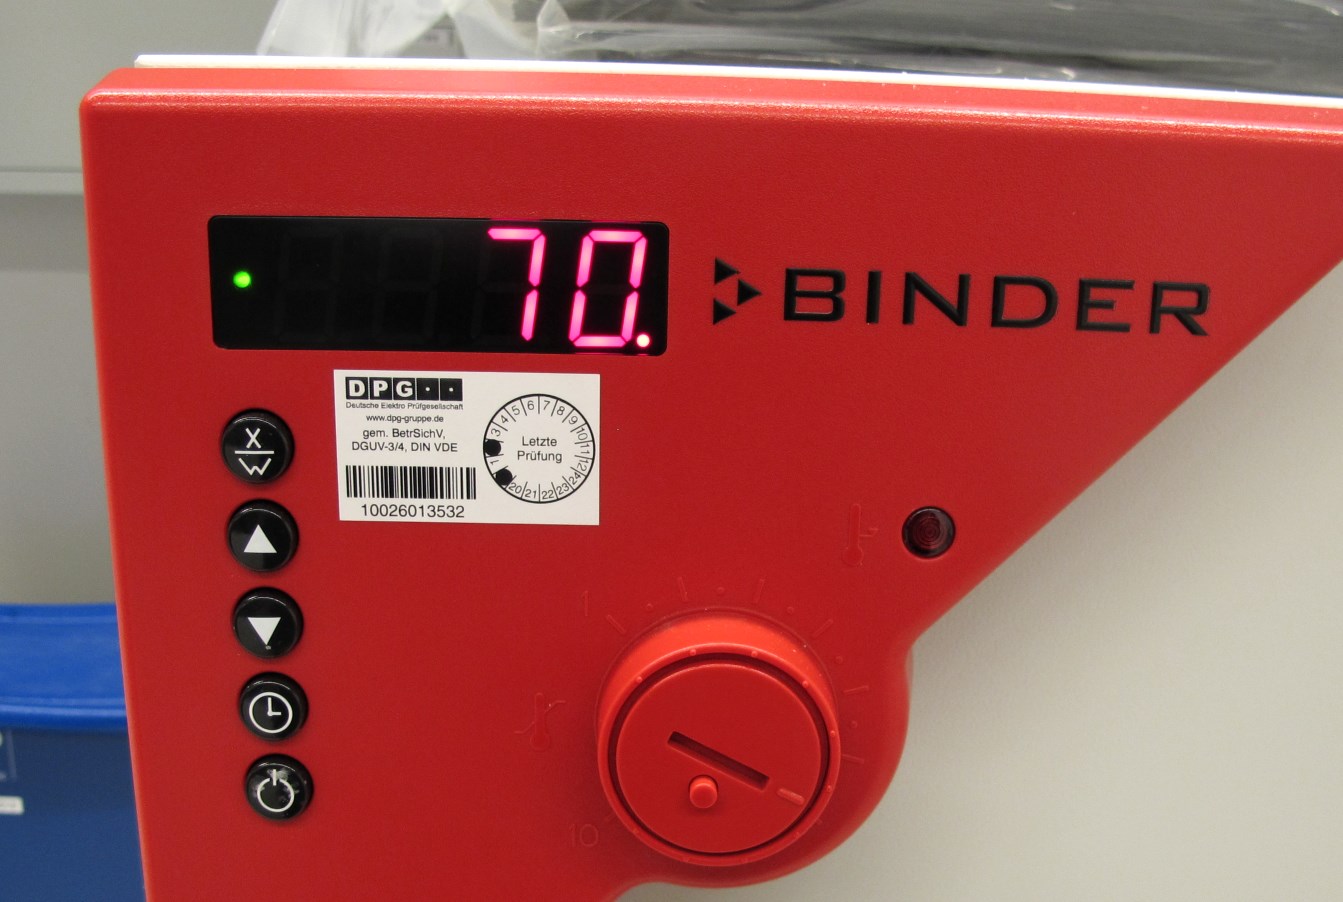
*We cure the parts at 70 degrees celcius for about 3 hours.*
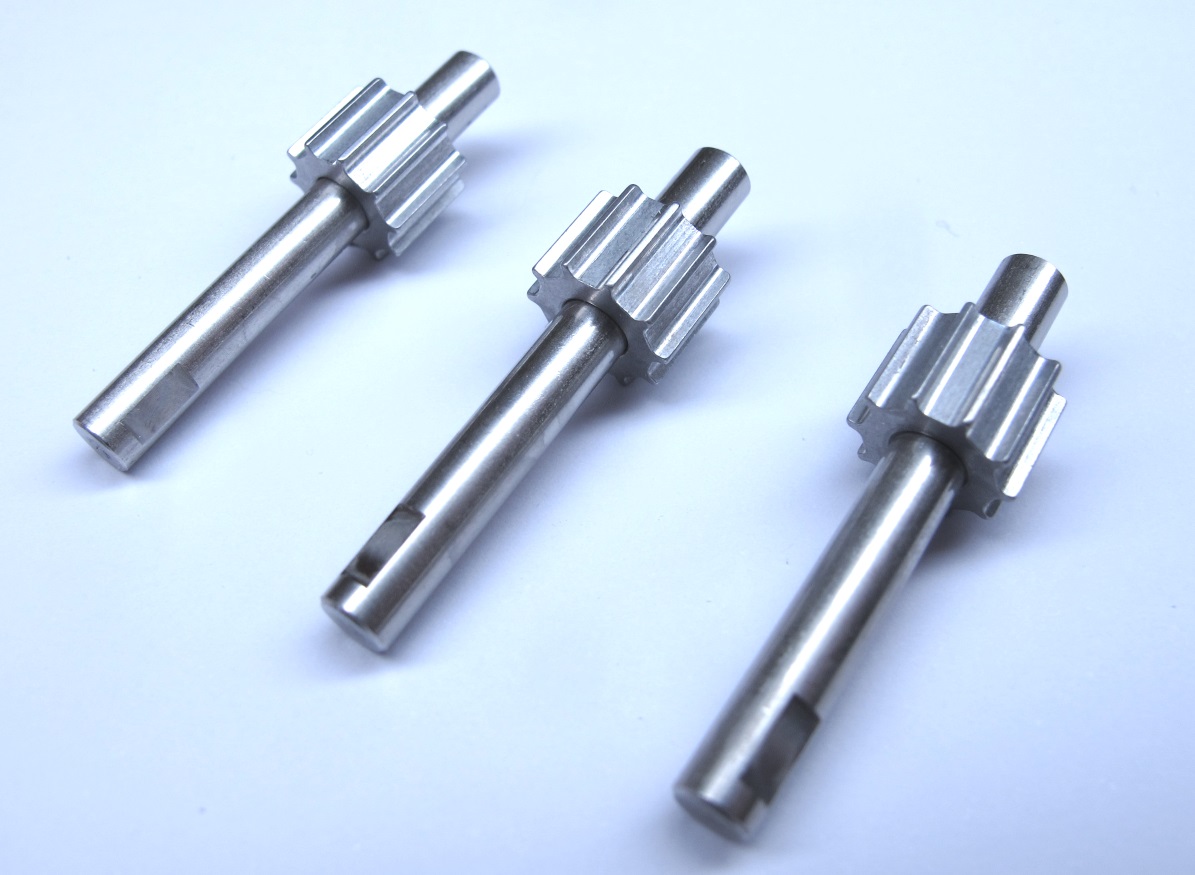
*The motor shaft and pulley assemblies are now ready and can be used for the next step.*
## Bonding the Codewheel

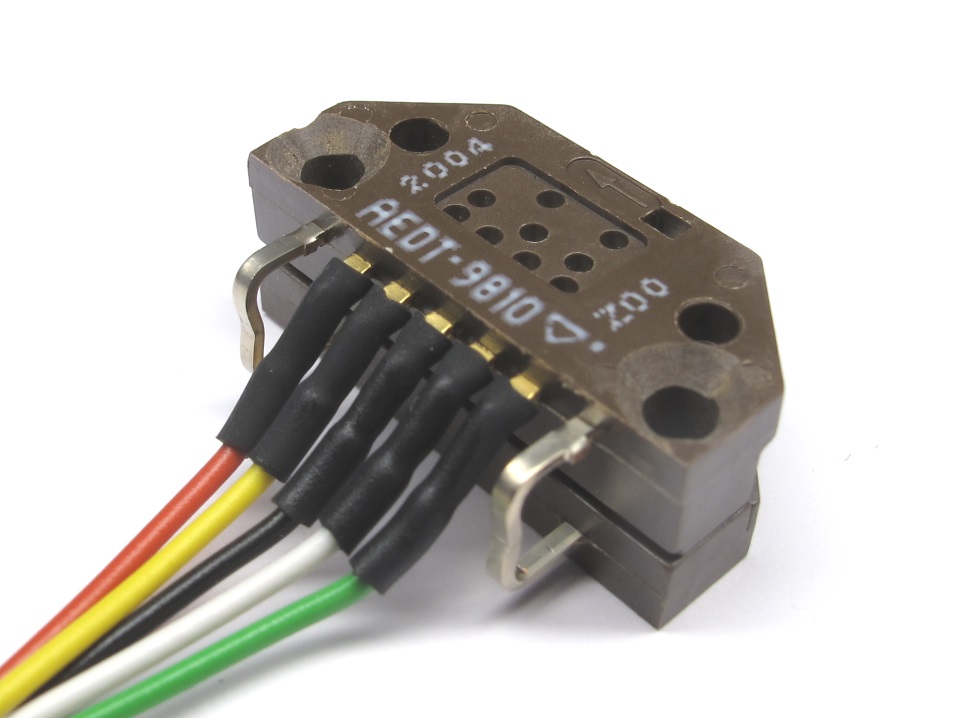
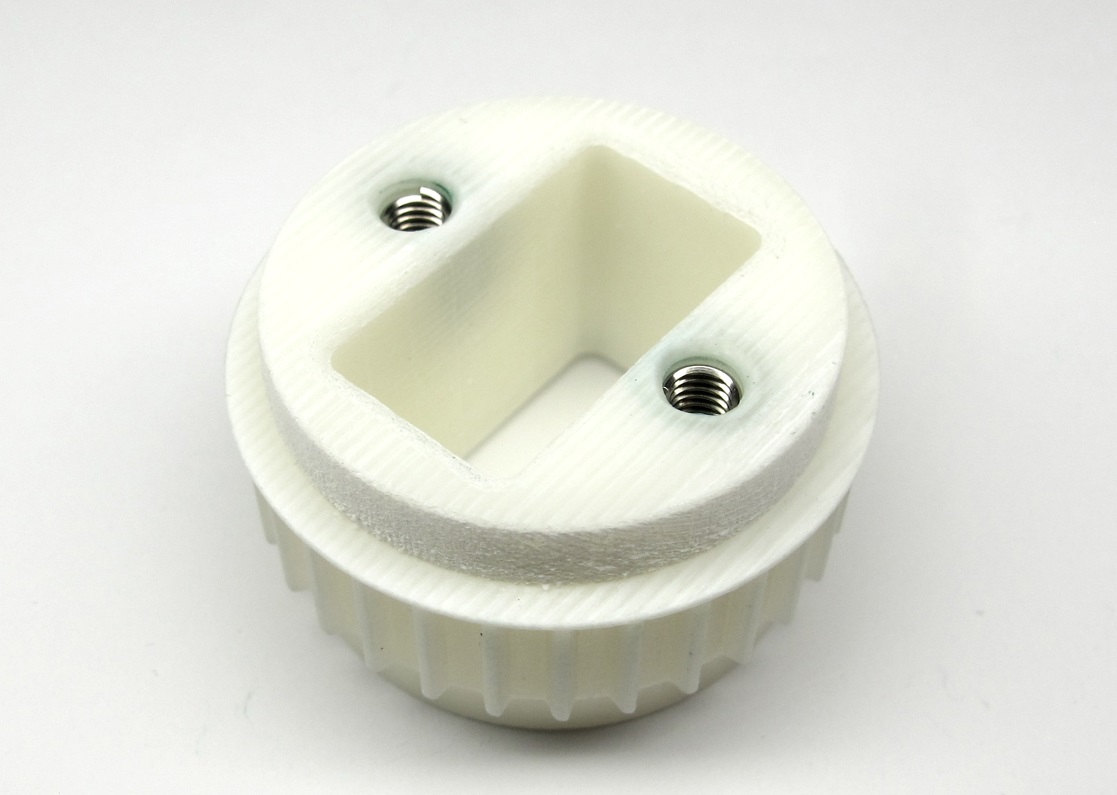
*Code wheel, code wheel mount, motor shaft with pulley and bonding tool.*
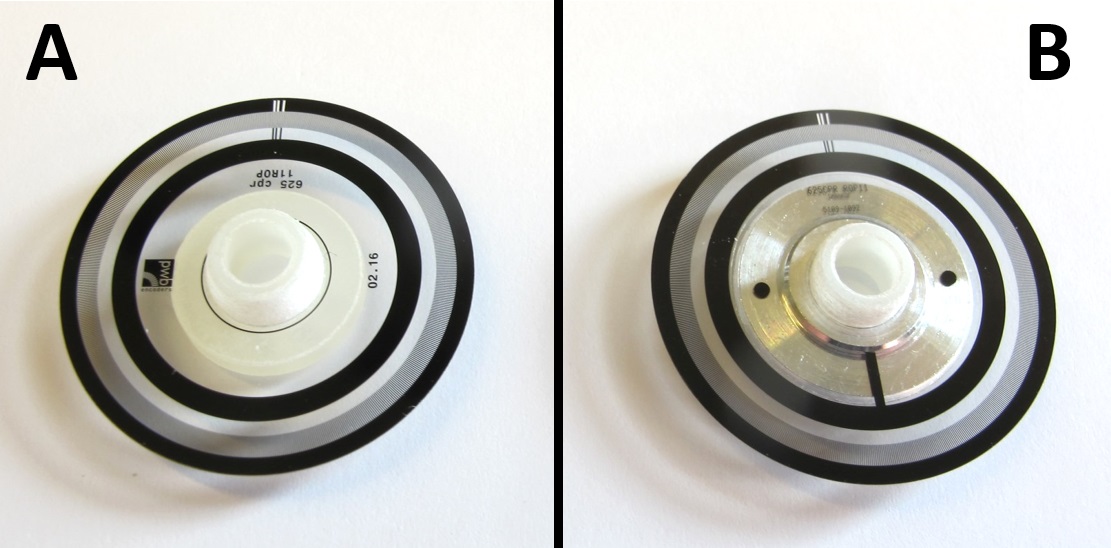
*There are two different sources for the code wheel.
A: Code wheel ordered from PWB / B: Code wheel from encoder kit.
Make sure to use the corresponding code wheel mount stl file.
[A: Codewheel mount for code wheel ordered from PWB](../stl_files/encoder_codewheel_pwb_mount.STL)
[B: Codewheel mount for code wheel from encoder kit](../stl_files/encoder_codewheel_kit_mount.STL)
All the other assembly steps are identical.*
*Place the code wheel on the code wheel mount and make sure it fits before you apply glue.*

*Make sure that the code wheel is fully seated, flat and doesn't wobble when you turn it.*
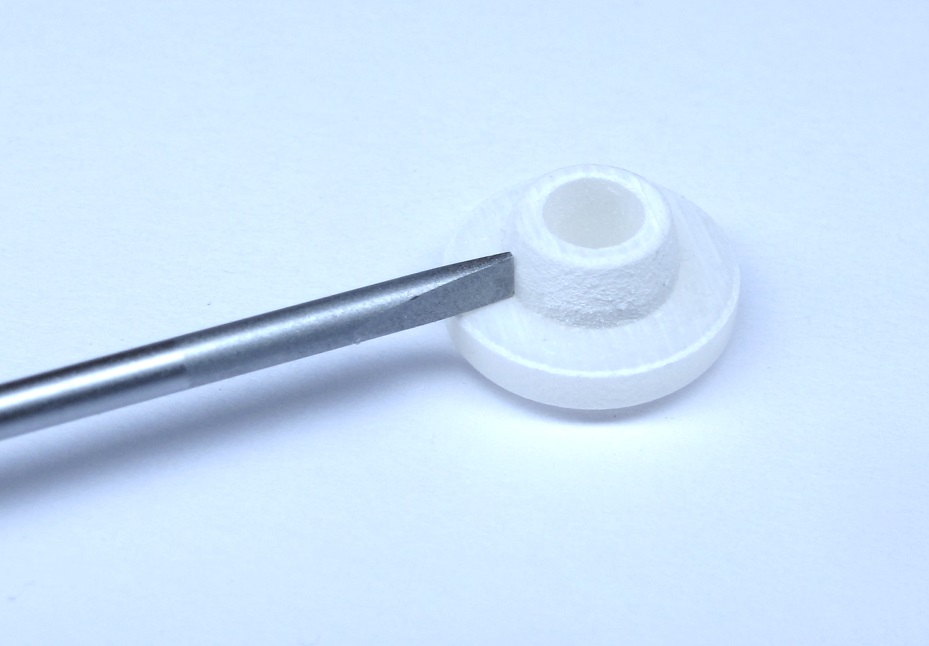
*Sometimes the codewheel doesn't sit flat on the surface because of residue from the 3d printing.
Use a flat screw driver to scratch off the residue from the corner of the part.*
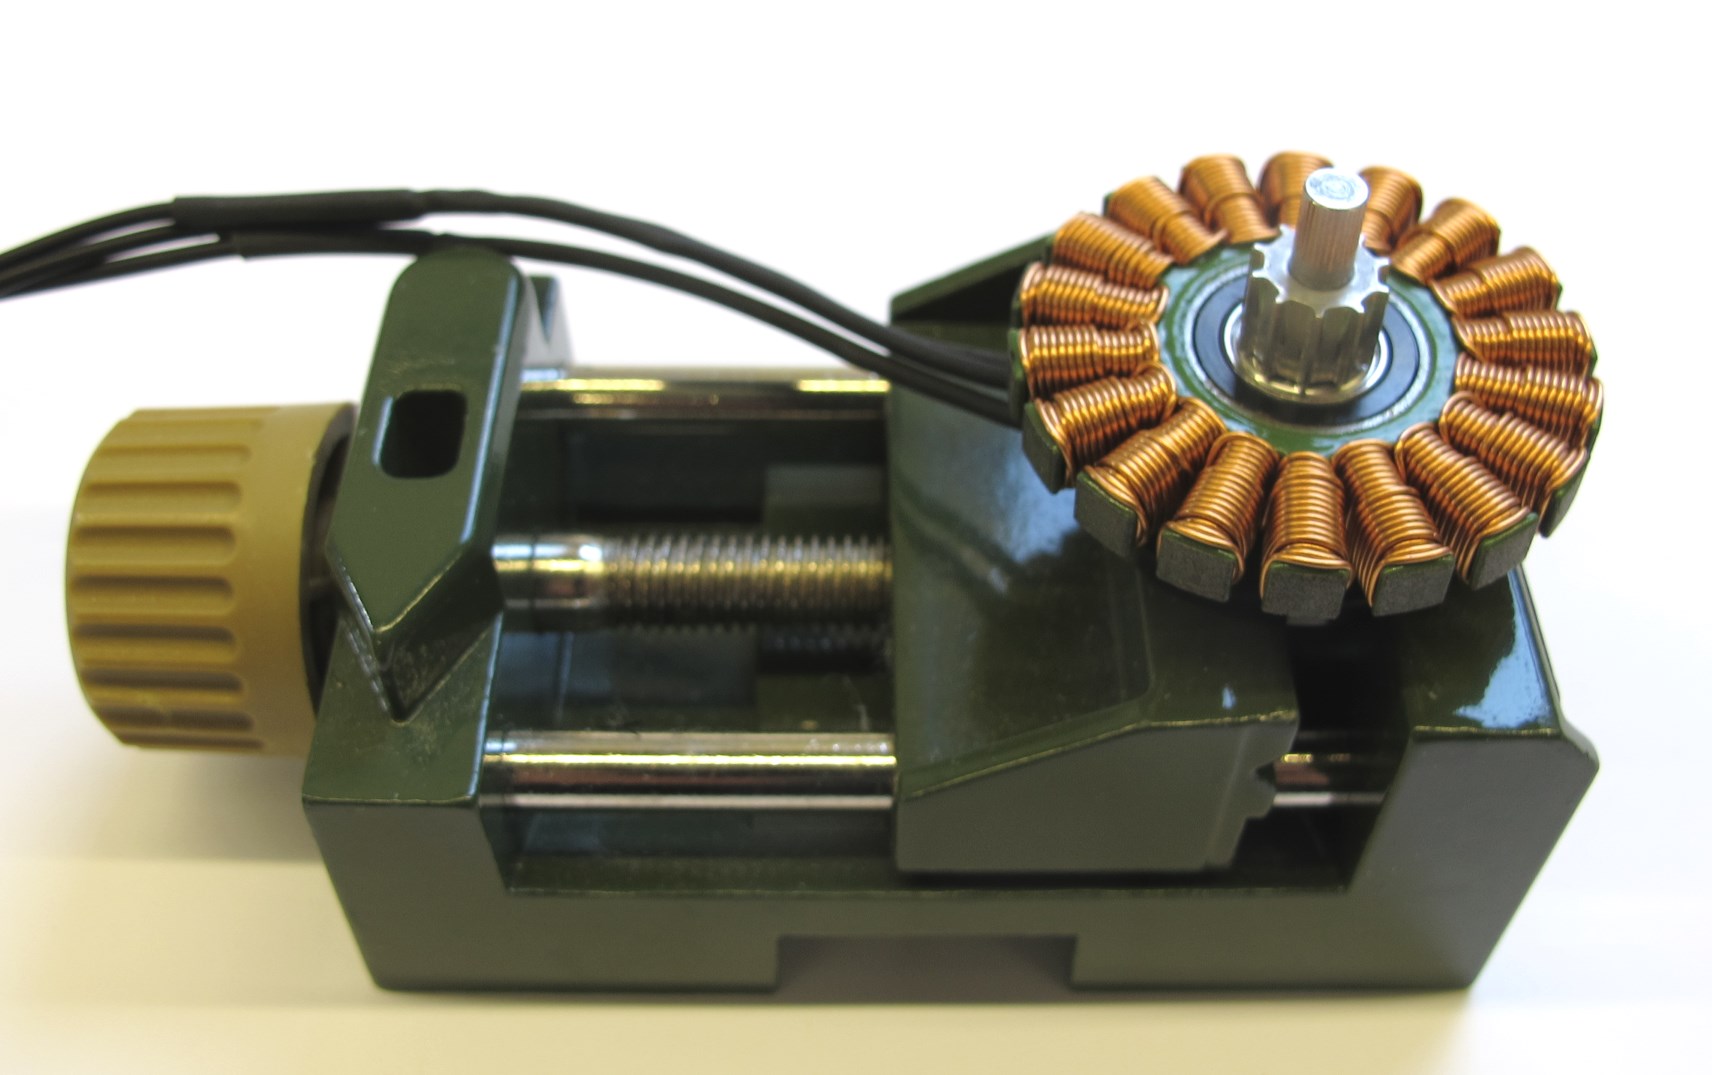
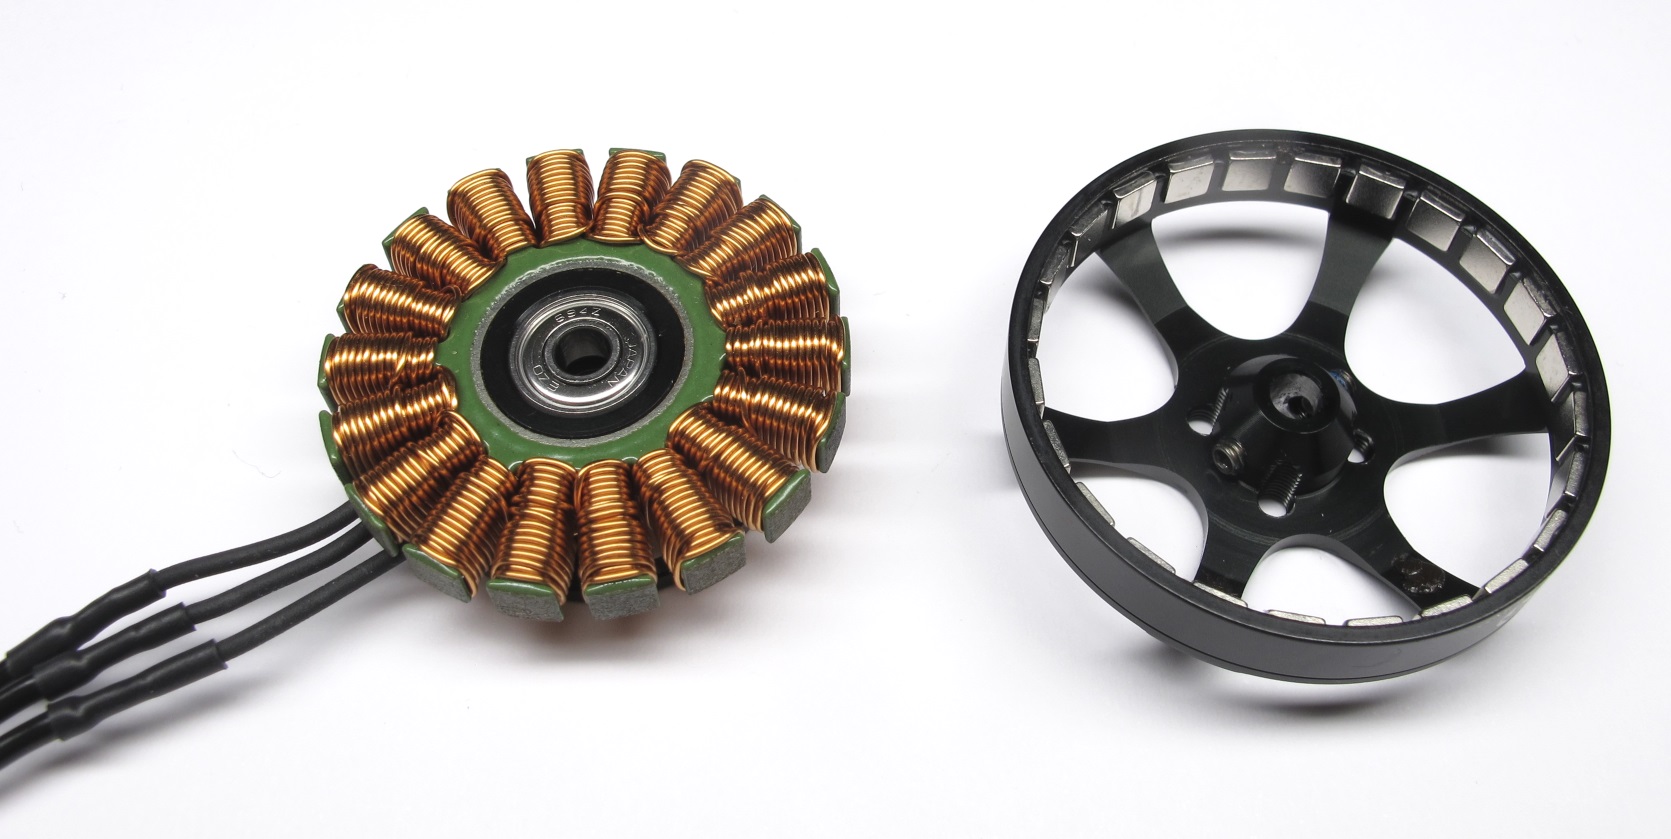
*I find it easiest to bond the code wheel on the stator.
Insert the motor shaft with the flats downwards into the bearings of the stator.*

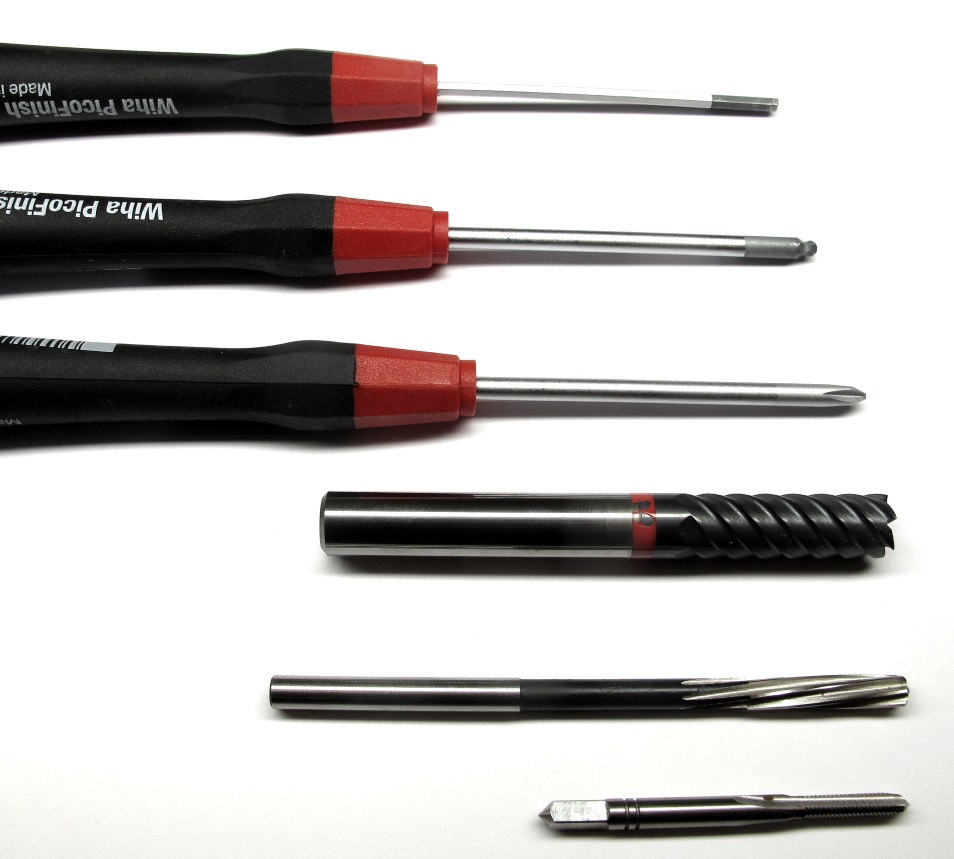
*Adjust the inner diameter of the codewheel mount with a 4mm reamer.*

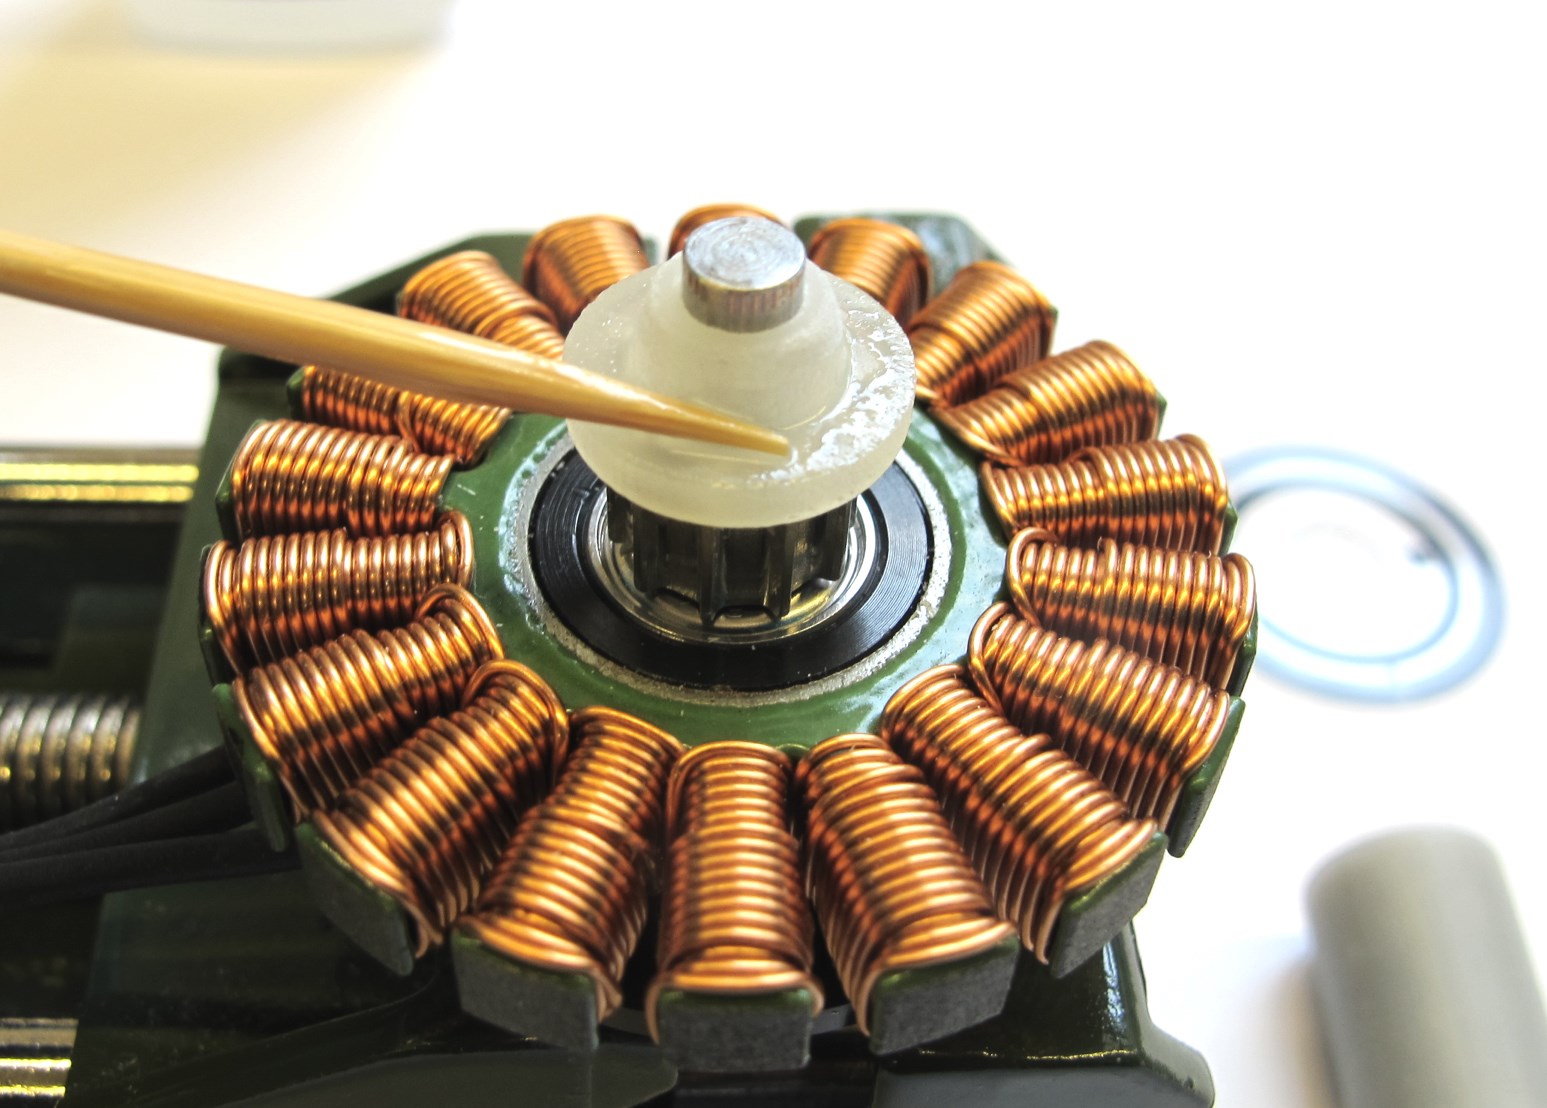
*Place the code wheel mount on the motor shaft and align the teeth of the pulley and the mount.
Push the code wheel mount all the way down.*
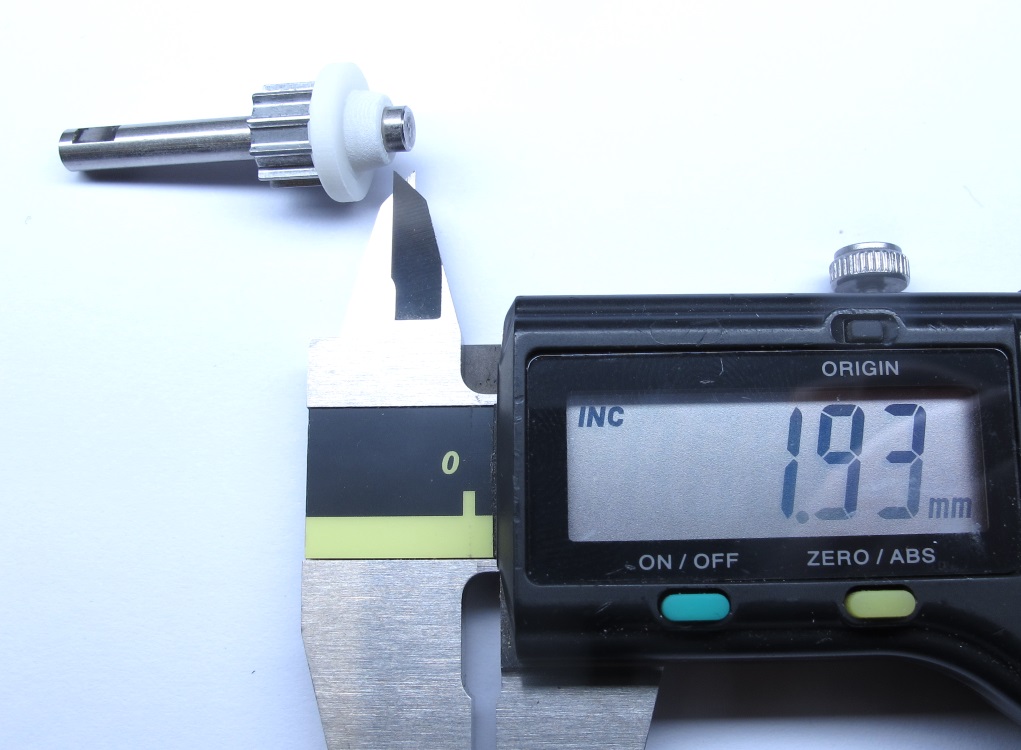
*Check the distance between the end of the motor shaft and the mount.
The distance should be around 2mm - it's fine if it's off by 0,1 or 0,2mm.*

*Prepare your code wheel with the print facing upwards.
Prepare the superglue, tooth pick, q-tipps and the bonding tool.
Use gloves to protect your skin from the superglue.*
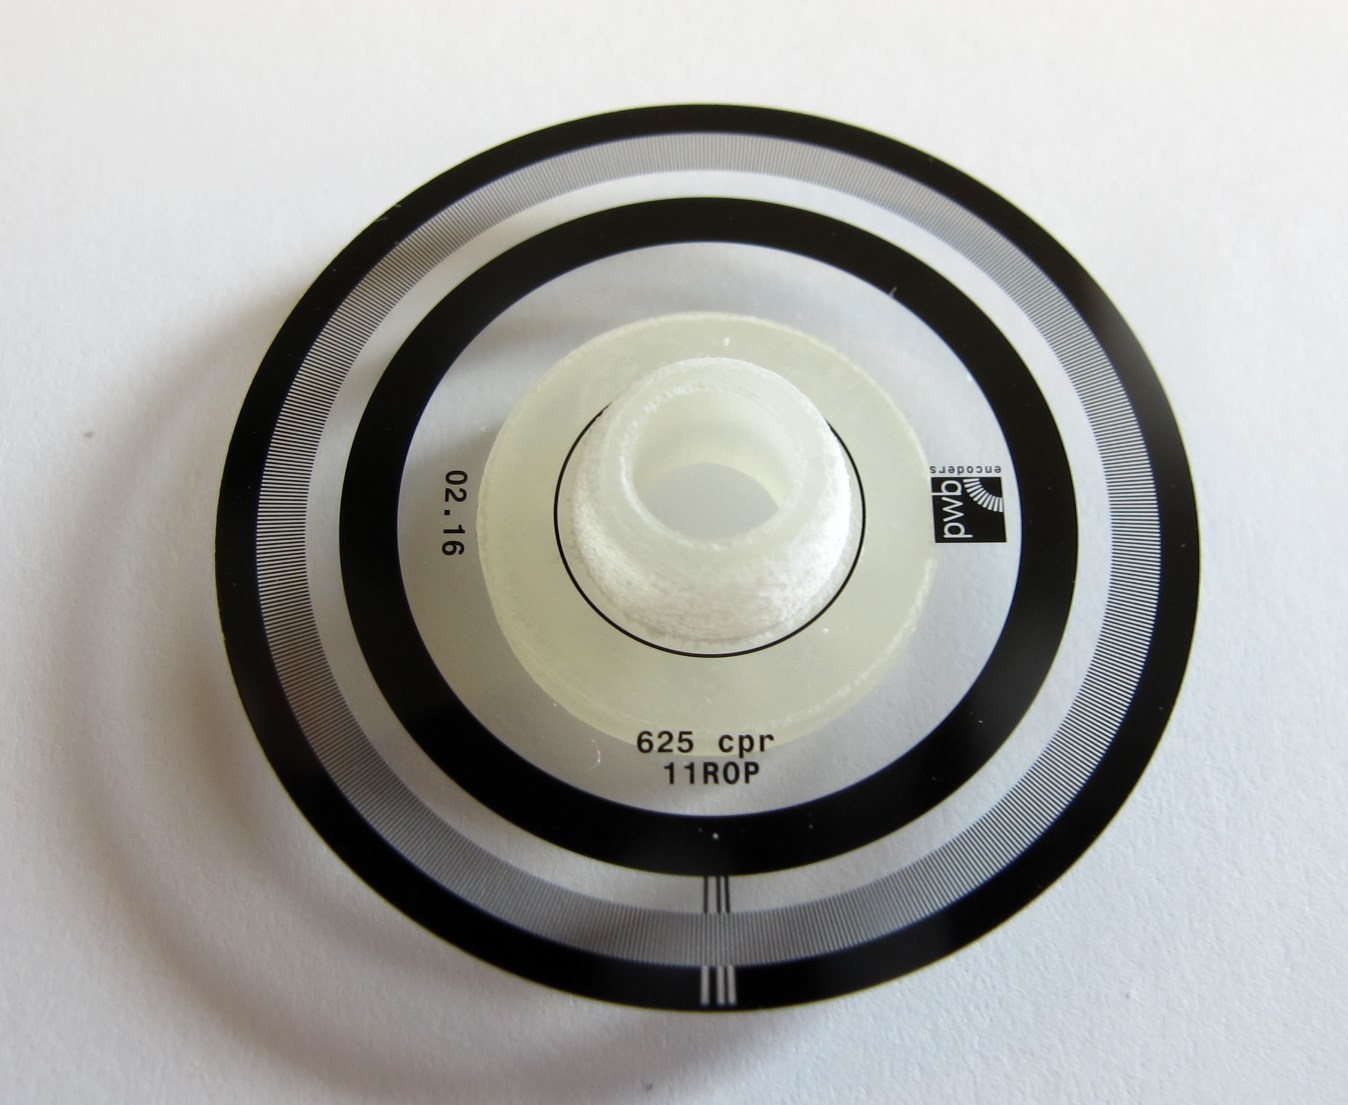
***Important: The code wheel has to be mounted in the correct orientation.
The print on the code wheel has to be readable from the top as shown in the picture.***
*Apply a thin layer of superglue to the code wheel mount.
We use Loctite 406.*

*Place the code wheel on the mount and push it all the way down using the tool.
Hold for 30 seconds, gently remve the tool and wait a couple of minutes for the glue to cure.*
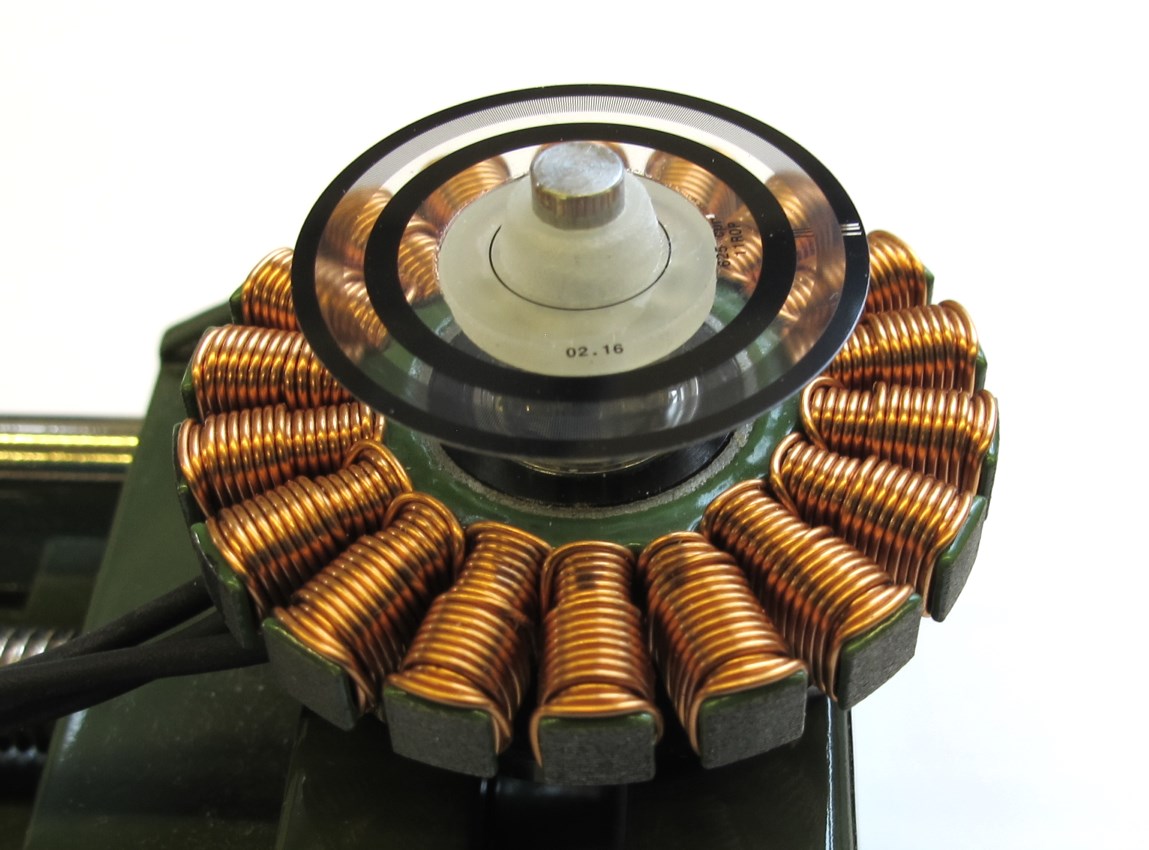
*Code wheel bonded to the code wheel mount.*

*Rotate the motor shaft and make sure that the code wheel is horizontal and doesn't wobble.
Remove the motor shaft assembly from the stator.*
*The motor shaft assembly is now ready for installation.*
---
## Step-by-Step Instructions
| Motor Preparation | Motor Shaft Preparation | Encoder Preparation |Center Pulley Preparation|
| --- | --- | --- | --- |
|  | |
| |  |
| |
| Output Pulley Preparation | Shell Preparation | Actuator Module Assembly |Actuator Module Testing|
| --- | --- | --- | --- |
|
|
| Output Pulley Preparation | Shell Preparation | Actuator Module Assembly |Actuator Module Testing|
| --- | --- | --- | --- |
|  |
|  |
|  |
| |
---
## More Details
| Details 3d Printed Parts | Details Machined Parts | Mechanical Tools and Consumables |Electronic Components and Tools|
| --- | --- | --- | --- |
|
|
---
## More Details
| Details 3d Printed Parts | Details Machined Parts | Mechanical Tools and Consumables |Electronic Components and Tools|
| --- | --- | --- | --- |
| |
| |
| |
| |
---
## More Information
[Open Dynamic Robot Initiative - Webpage](https://open-dynamic-robot-initiative.github.io)
[Open Dynamic Robot Initiative - YouTube Channel](https://www.youtube.com/channel/UCx32JW2oIrax47Gjq8zNI-w)
[Open Dynamic Robot Initiative - Forum](https://odri.discourse.group/categories)
[Open Dynamic Robot Initiative - Paper](https://arxiv.org/pdf/1910.00093.pdf)
[Hardware Overview](../../../README.md#open-robot-actuator-hardware)
[Software Overview](https://github.com/open-dynamic-robot-initiative/open-dynamic-robot-initiative.github.io/wiki)
[Back to Actuator Module](../README.md)
[Back to Top of Page](#details-motor-shaft-preparation)
---
## Authors
Felix Grimminger
## License
BSD 3-Clause License
## Copyright
Copyright (c) 2019-2020, Max Planck Gesellschaft and New York University
|
---
## More Information
[Open Dynamic Robot Initiative - Webpage](https://open-dynamic-robot-initiative.github.io)
[Open Dynamic Robot Initiative - YouTube Channel](https://www.youtube.com/channel/UCx32JW2oIrax47Gjq8zNI-w)
[Open Dynamic Robot Initiative - Forum](https://odri.discourse.group/categories)
[Open Dynamic Robot Initiative - Paper](https://arxiv.org/pdf/1910.00093.pdf)
[Hardware Overview](../../../README.md#open-robot-actuator-hardware)
[Software Overview](https://github.com/open-dynamic-robot-initiative/open-dynamic-robot-initiative.github.io/wiki)
[Back to Actuator Module](../README.md)
[Back to Top of Page](#details-motor-shaft-preparation)
---
## Authors
Felix Grimminger
## License
BSD 3-Clause License
## Copyright
Copyright (c) 2019-2020, Max Planck Gesellschaft and New York University