This page will cover the steps to install the CPU Cooler; if the steps are never clear make sure to consult your manuals.
The first few steps of the walk through will pertain to both because the installation of both is the same until the air cooled
sink is installed. A liquid cooler takes a few more steps than an air cooler, so there will be a few more steps after the installation
of the air cooled sink that will be about the liquid cooled sink, don't worry though, the additional steps for the liquid cooler will
be explicitly stated as steps for the liquid cooler.
The steps to install the CPU Cooler are as follows:
-
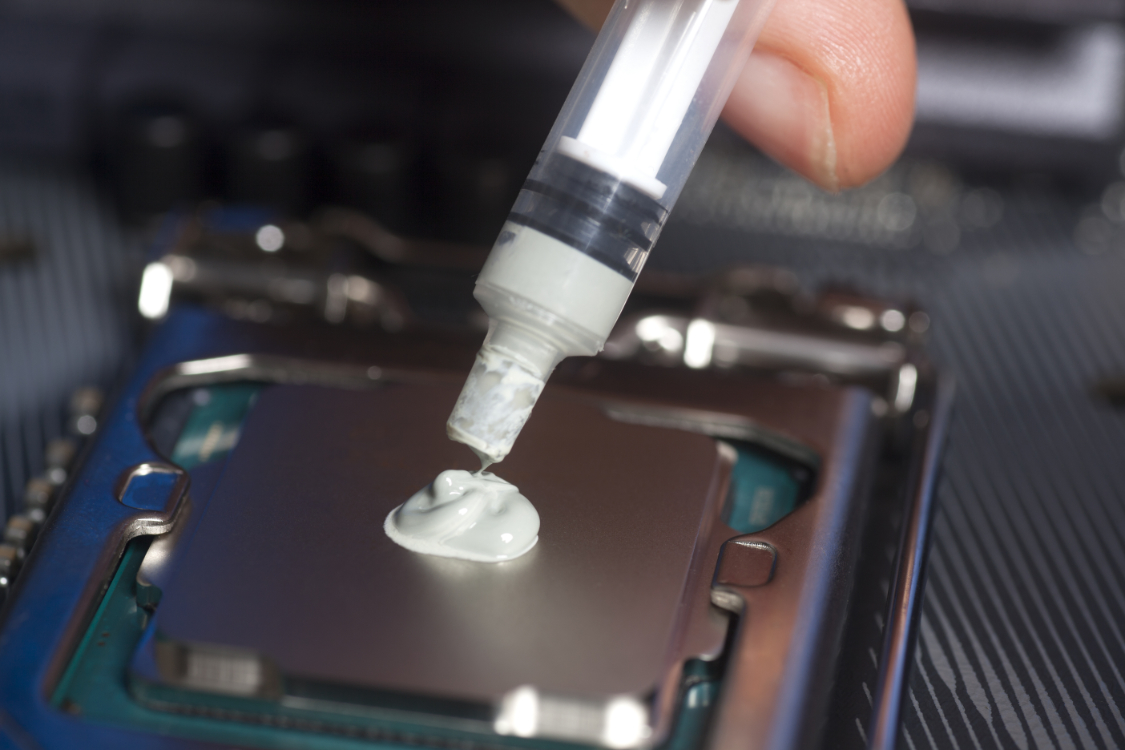
Start off by taking your thermal paste, which will help with heat transfer between the CPU and heat sink,
and applying a small dot in the center of the CPU. More is not usually better, especially in this case.

- Now you have to assemble and attach to the motherboard the structure that will anchor the cooler in place.
Typically, coolers nowadays provide the anchors for an Intel socket and an AMD socket, which do differ because
of the design of the two sockets. For exact instructions, I would confront your manuals, but there are several holes
in the area of the CPU socket which is where screws will go through to connect the front and back parts of the cooler
anchor. -
Next, place the heat sink on top of the CPU while lining up the screw holes in the coolers anchor and the heat sink.
Then screw into place, taking care to screw them in tightly, but not too tightly. -
The steps after this point will be about the liquid cooler.
Now that the heat sink is in place, there is still a radiator that needs to be installed.
In most modern computer towers, there is extra space in the top of the tower to accommodate the
radiator in addition to the fans that go up top. You just need to finesse the radiator into place
and screw it in with the long screws that came with the tower.
Congratulations, the heat sink in now installed.