This article will cover the steps to install the GPU. As always, consult the manual if you don't see the path
in front of you clearly. The steps to install the GPU are as follows:
-
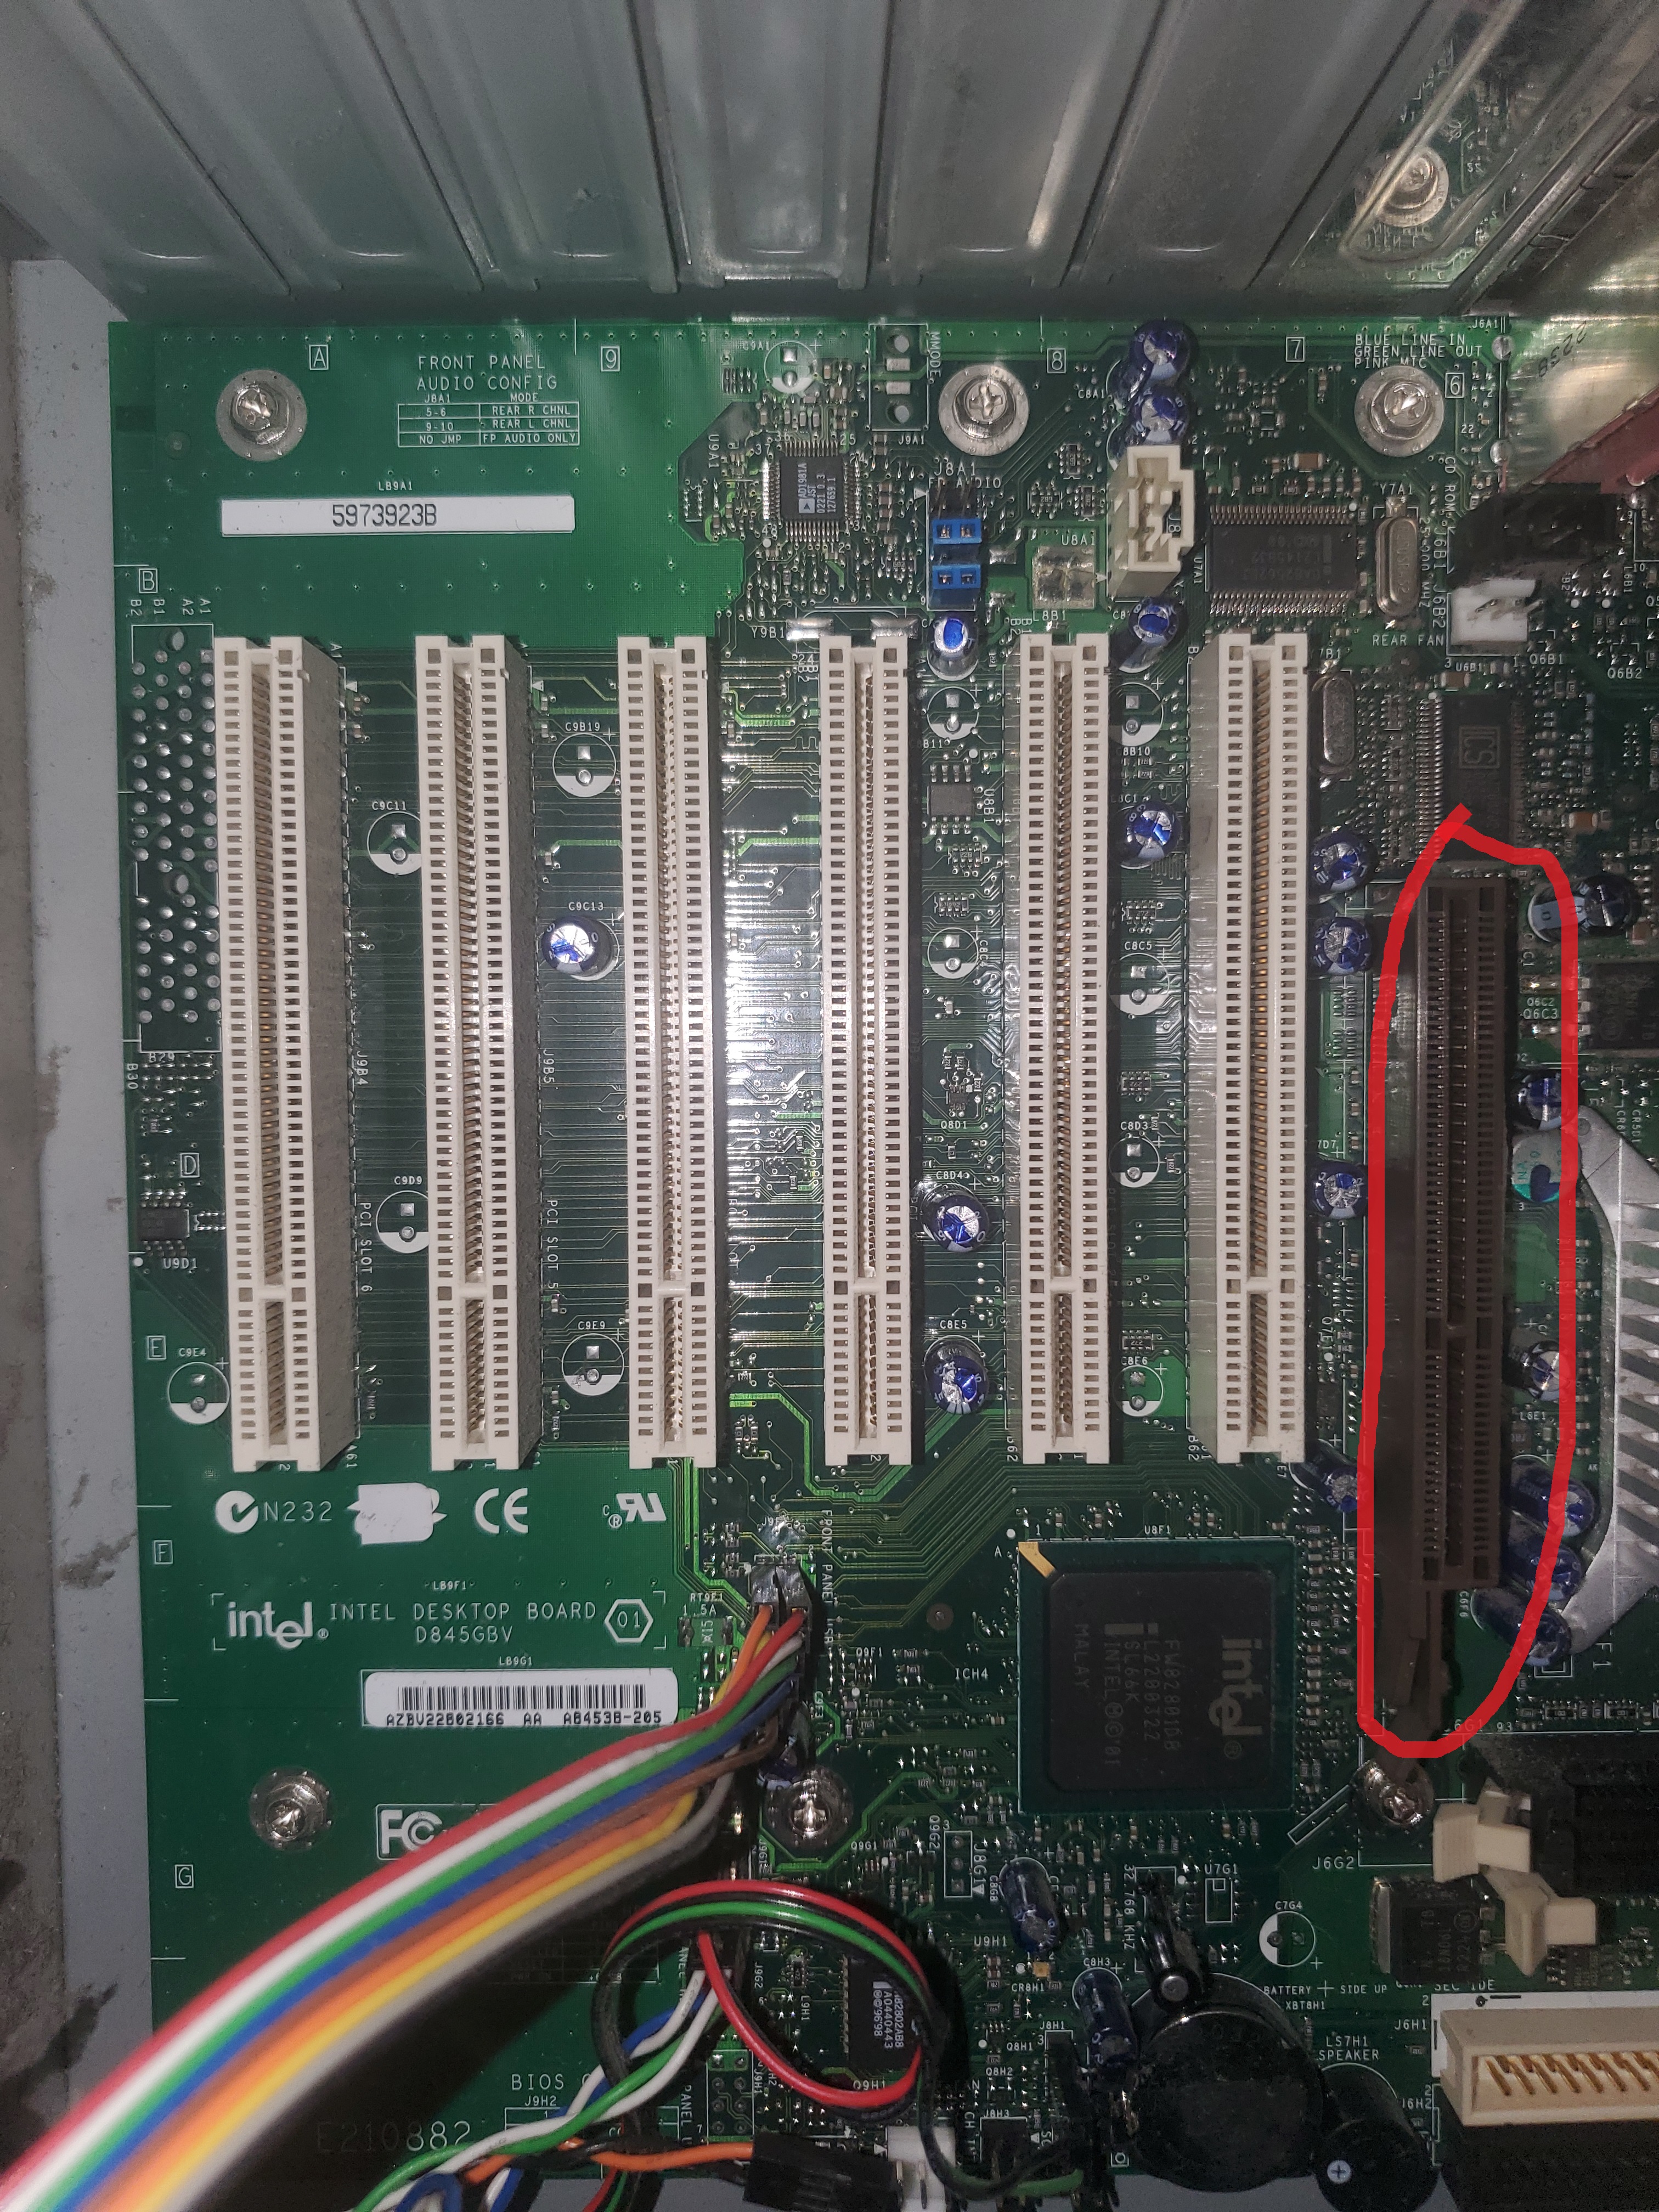
First you want to identify the expansion slot that the GPU will go in. As explained in the motherboard section,
the GPU goes in the expansion slots (also known as the PCI-Express slots). While there are a handful of
PCI-Express slots, there is only one that the GPU can go in, the PCIe x 16 slot. Which is easily
identified as the longest expansion slot. Though if you are having trouble determining the right slot
consult the motherboard manual.
-
There is a clip on the right side of the PCIe slot which will help hold the GPU in place once installed.
You want to make sure the clip is in an open state; then you want to line up the GPU to the slot, and then
apply pressure until you hear a click. -
Lastly, there is normally a little grove on the back panel of the GPU that matches up with a hole on the
back of the case. Take the appropriate screw, which you figure out by looking at the towers manual, and
use a screwdriver to screw the screw into the slot, providing another way to anchor the GPU.
Congratulations, the GPU is now installed.