Tipping Point Field Overview
Field Overview
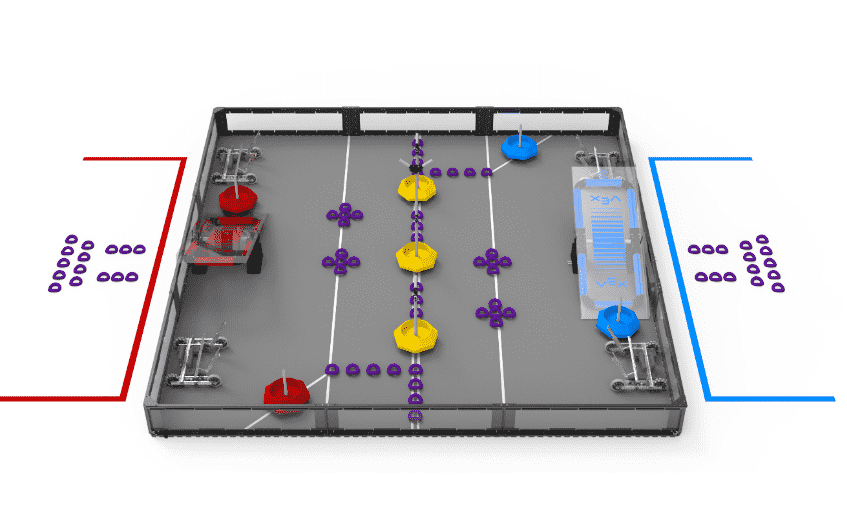
Fig. 6 A view of the field
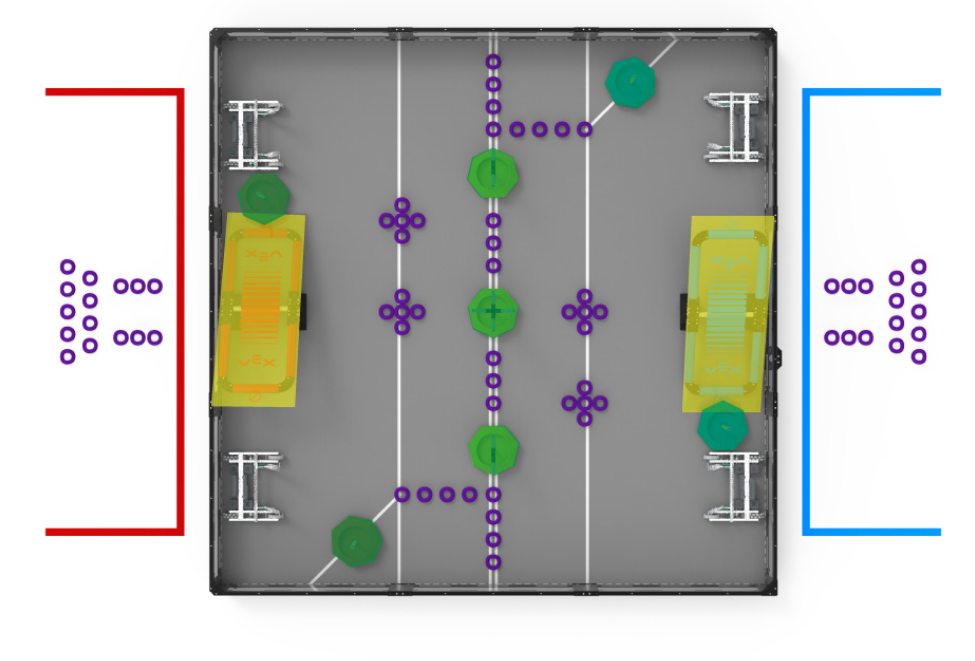
Fig. 7 Top view with the Mobile Goals and Platforms highlighted
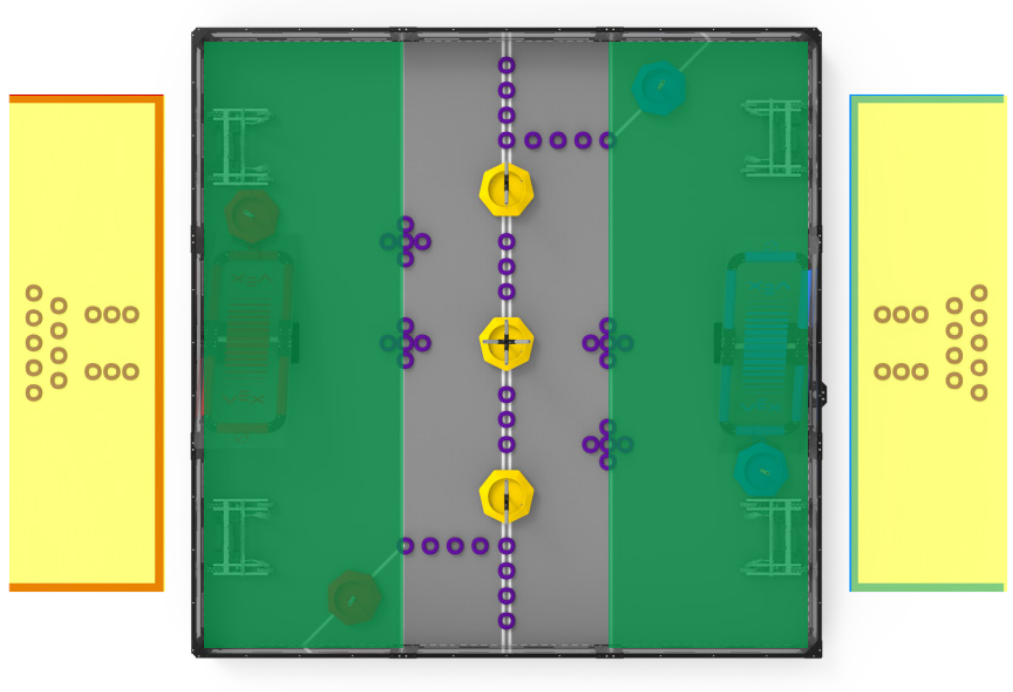
Fig. 8 Top view with the Aliiance Stations and Alliance home Zones highlighted
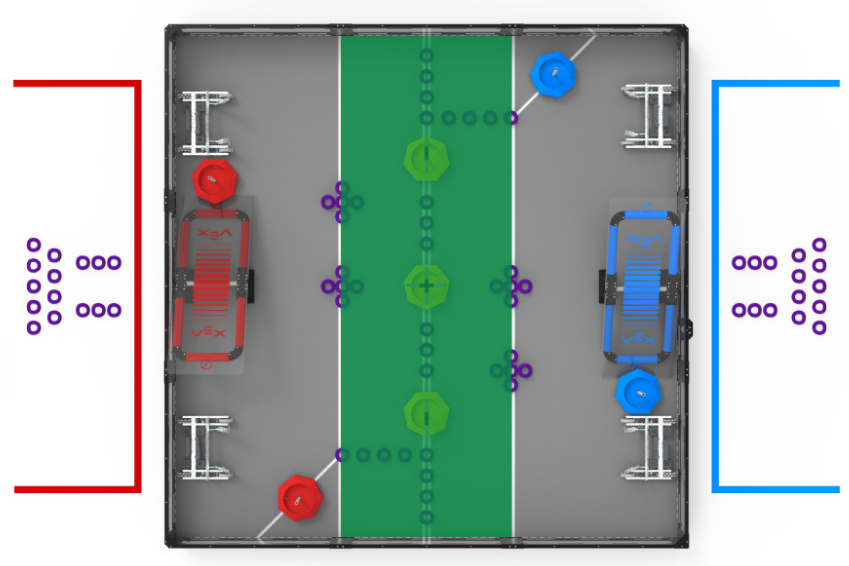
Fig. 9 Top view with the Neutral Zone highlighted.

Fig. 10 Tiles in which Match Load Rings can be introduced.
Important
Last Edited on 8/31/21.