Magento 1.x Security Patch Notice
For Magento Open Source 1.5 to 1.9, Magento is providing software security patches through June 2020 to ensure those sites remain secure and compliant. Visit our information page for more details about our software maintenance policy and other considerations for your business.
Creating Categories
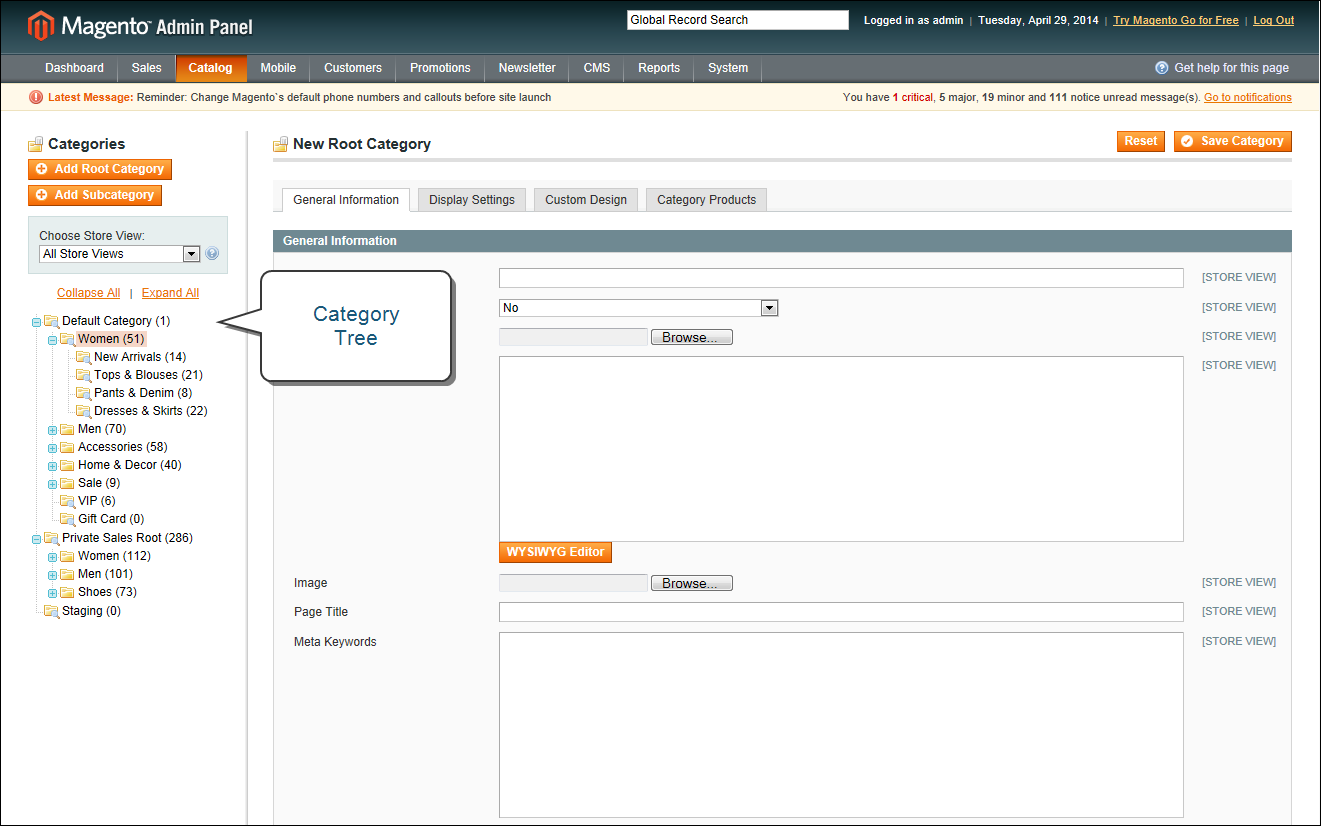
When working in the Admin, the category structure is like an upside-down tree, with the root at the top. Each section of the tree can be expanded and collapsed. Any disabled or hidden categories are grayed out.
| 1. | On the Admin menu, select Catalog > Manage Categories. |
| 2. | Before you begin, set Choose Store View to the store or view. By default, the scope of the category configuration is set to “All Store Views.” |
| 3. | In the category tree, click the category that is to be the parent of the new category. The parent is the level just above the new category. |
If you’re starting from the beginning without any data, there might be only two categories in the list: “Default Category,” which is the root, and an “Example Category.”
| 4. | Click the Add Subcategory button. |
| 1. | In the General Information section, do the following: |
| a. | (Required) Type the Name of the category. |
| b. | (Required) To enable the category, set Is Active to “Yes.” |
| c. | You can enter a URL Key for the category, or let the system automatically create one that is based on the category name. |
| 2. | If supported by your theme, you can display a Thumbnail image in the main menu for each category. Click the Choose File button and select the image to upload. |
| 3. | In the Description box, enter a paragraph or two of descriptive text for the category landing page. |
| 4. | To display an Image at the top of the category landing page, click the Choose File button and select the image to upload. |
| 5. | Complete the category meta data: |
- Page Title
- Meta Keywords
- Meta Description
| 6. | (Required) To include the category in the main menu, set Include in Navigation Menu to “Yes.” |
| 7. | Click the Save Category button. Then, take note of the following: |
- The new category now appears in the tree. If it’s not in the correct position, you can drag it to another location in the tree.
- In addition to the category name, it has an ID number shown in parentheses, just after the name at the top of the page.
- A URL Key that is based on the category name can be automatically generated for the category.
You can configure the category landing page to display both a static block and product list, or one or the other. A static block can provide additional information, including text, images, and even embedded video.
| 1. | On the Display Settings tab, do the following: |
| a. | Set Display Mode to one of the following: |
- Products Only
- Static Block Only
- Static Block and Products
| b. | If applicable, set CMS Block to the static block that you want to appear on the category page. |
| c. | If you want this category page to display the “Filter by Attribute” section of layered navigation, set Is Anchor to “Yes.” |
- Best Value
- Name
- Price
| 2. | When complete, click the Save Category button. |


