Magento 1.x Security Patch Notice
For Magento Open Source 1.5 to 1.9, Magento is providing software security patches through June 2020 to ensure those sites remain secure and compliant. Visit our information page for more details about our software maintenance policy and other considerations for your business.
Setting Up Sales Email
A number of transactional email messages are triggered by events related to an order, and the configuration is similar for each. You must identify the store contact that appears as the sender of the message, the email template to be used, and who else is to receive a copy of the message.
 Step 2: Configure the Sales Emails
|
1.
|
On the Admin menu, select System > Configuration. |
|
2.
|
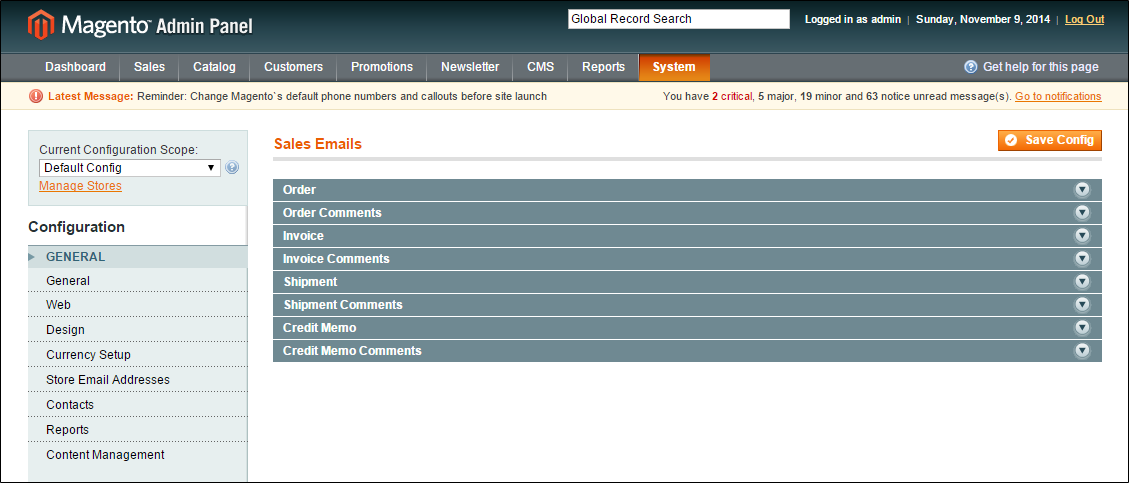
In the panel on the left under Sales, select Sales Emails. Then, do the following: |
|
3.
|
Click to expand the Order section. Then, do the following: |
|
a.
|
Verify that Enabled is set to “Yes.” |
|
b.
|
Set New Order Confirmation Email to the store contact that appears as the sender of the message. |
|
c.
|
Set New Order Confirmation Template to the template that is used for the email that is sent to registered customers. |
|
d.
|
Set New Order Confirmation Template for Guest to the template that is used for the email that is sent to guests who do not have an account with your store. |
|
e.
|
In the Send Order Email Copy To field, enter the email address of anyone who is to receive a copy of the new order email. If sending a copy to multiple recipients, separate each address with a comma. |
|
f.
|
Set Send Order Email Copy Method to one of the following: |
-
|
Bcc
|
Sends a “blind courtesy copy” by including the recipient in the header of the same email that is sent to the customer. The BCC recipient is not visible to the customer. |
|
Separate Email
|
Sends the copy as a separate email.
|
|
4.
|
Click to expand the Order Comments section, and repeat these steps. |
|
5.
|
Complete the configuration in a similar manner for the remaining sales emails: |
- Invoice
- Shipment
- Credit Memo
|
6.
|
When complete, click the Save Config button. |


