Magento 1.x Security Patch Notice
For Magento Open Source 1.5 to 1.9, Magento is providing software security patches through June 2020 to ensure those sites remain secure and compliant. Visit our information page for more details about our software maintenance policy and other considerations for your business.
Creating Custom Roles
To give someone restricted access, the first step is to create a role with the appropriate level of permissions. After the role is created, you will add the new user, set up the login credentials, and assign the role to the user account. After the role is established, you can create new Administrator users at any time, and assign the restricted role to grant limited access to the user.
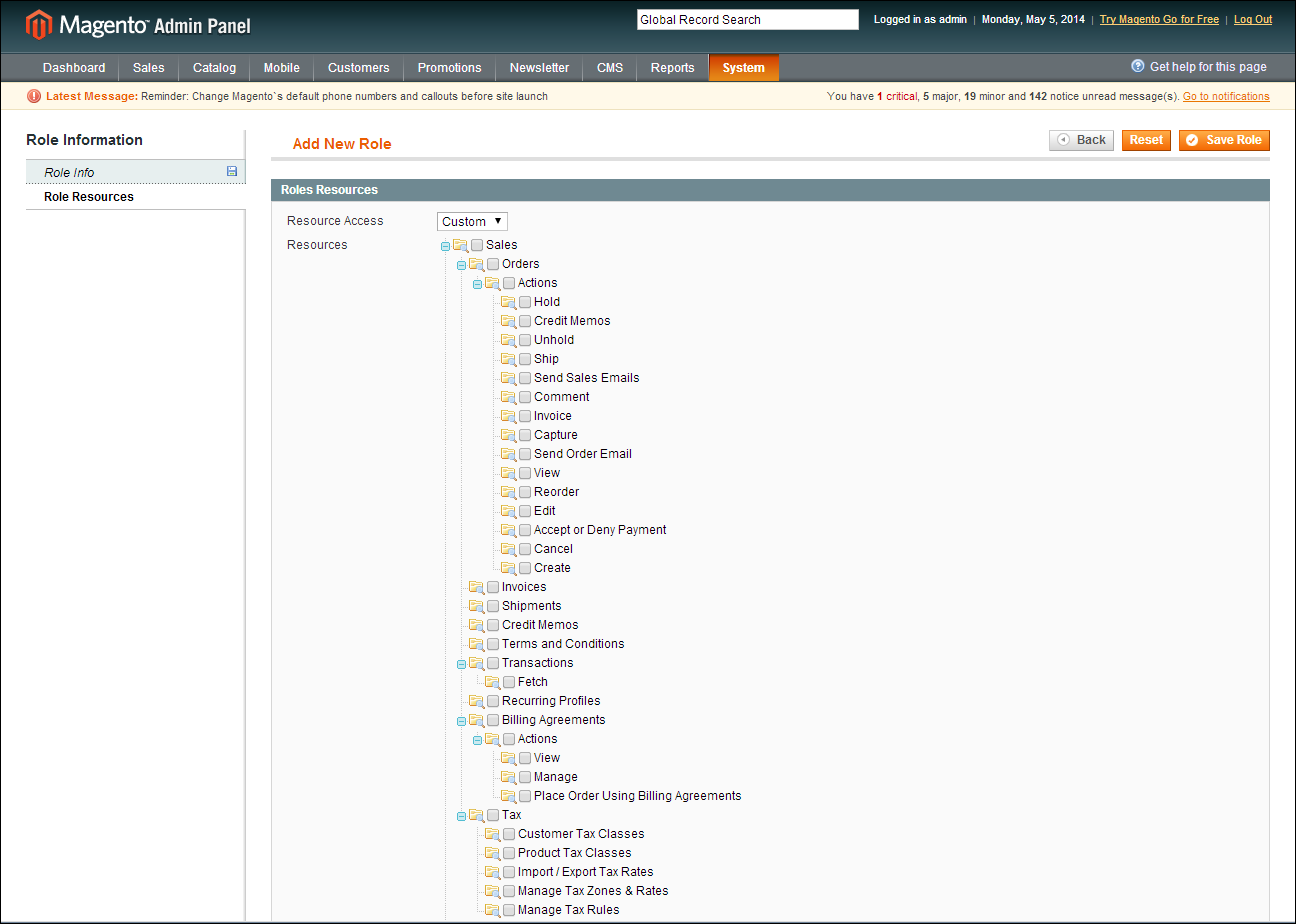
For example, Admin permissions can be set to restrict access to tax resources, based on the business “need to know.” To create an Admin role with access to tax settings, select both the Sales/Tax and System/Tax resources. If setting up a website for a region that differs from your default shipping point of origin, you must also allow access to the System/Shipping resources for the role, because the shipping settings determine the store tax rate used for catalog prices.
Role Resources
 Step 1: Define the Role
|
1.
|
On the Admin menu, select System > Permissions > Roles. Then in the upper-left corner, click the Add New Role button. |
|
2.
|
In the Role Information section, enter a descriptive Role Name. |
Role Name
|
3.
|
In the panel on the left, select Role Resources. |
|
4.
|
In the Roles Resources section, select the checkbox of each Admin Resource that you want to grant those with the role permission to access. |
Important! Be sure to disable access to the Permissions tool if you are limiting access for a given role. Otherwise, users with this role will be able to modify their own restrictions.
Role Resources, Collapsed View
|
5.
|
(Optional) In the panel on the left, select Role Users. Then, assign additional Administrator user accounts to the new role. |
|
6.
|
When complete, click the Save Role button. The role now appears in the list of available roles |
 Step 2: Add the New User
|
1.
|
On the Admin menu, select System > Permissions > Users. |
|
2.
|
Click the Add New User button. |
|
3.
|
In the Account Information section, do the following: |
Account Information
|
a.
|
Assign a User Name to the account. |
The User Name should be easy to remember. It is not case-sensitive. For example, if your user name is “john,” you can also log in as “John.”
|
b.
|
Complete the following information: |
- First Name
- Last Name
- Email address
|
c.
|
Assign a Password to the account. |
The password should be at least seven characters long, and include letters and numbers.
|
d.
|
In the Password Confirmation field, type the password again to make sure it was entered correctly. |
|
e.
|
Set This Account is to “Active.” |
|
4.
|
In the User Information panel on the left, click User Role. Then, in the list of Roles, select the option for the role you want to assign to the new user. |
New User Role
|
5.
|
When complete, click the Save User button. |


