Magento 1.x Security Patch Notice
For Magento Open Source 1.5 to 1.9, Magento is providing software security patches through June 2020 to ensure those sites remain secure and compliant. Visit our information page for more details about our software maintenance policy and other considerations for your business.
Root Categories
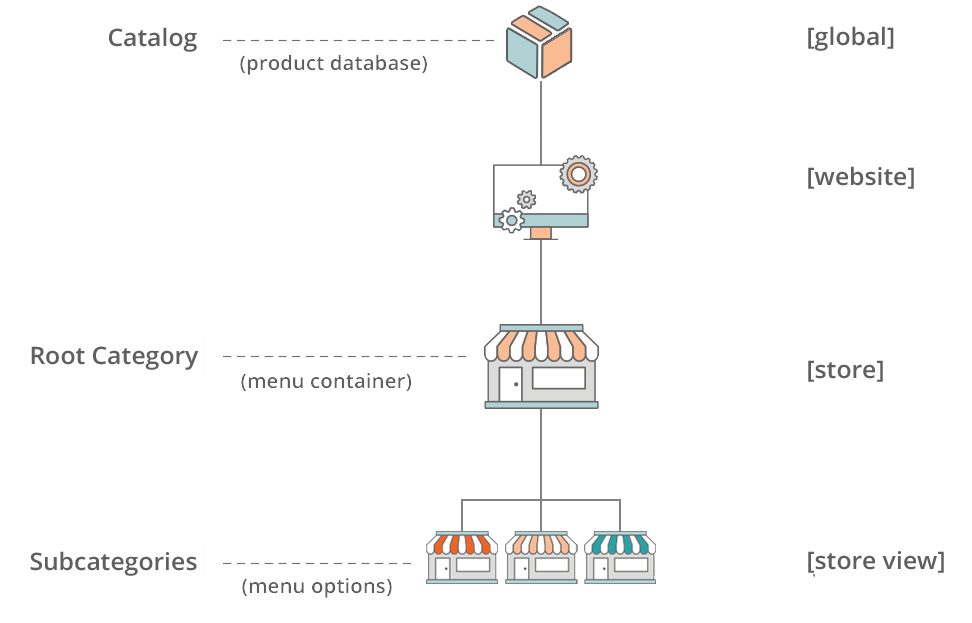
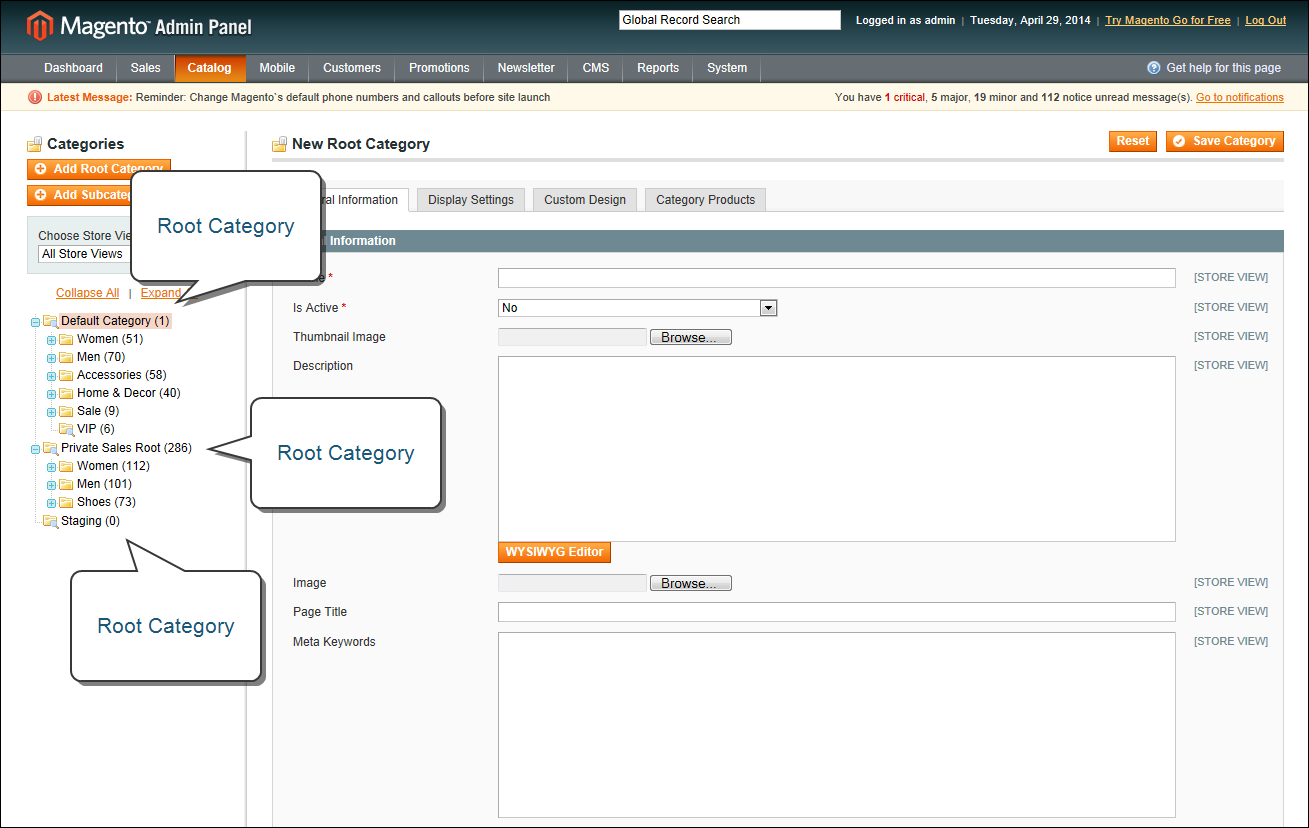
The category structure is like an upside-down tree, with the root on top. All categories in your catalog are nested below the root. Because the root category is the highest level of the catalog, your store can have only one root category active at a time. You can, however, create additional root categories for alternate catalog structures, different stores, and views. The root category — as a container for the top navigation menu — is not visible to customers in the store, and does not have a URL key.
Root Category in Store Hierarchy
 Step 1: Create a New Root Category
|
1.
|
On the Admin menu, select Catalog > Manage Categories. |
|
2.
|
In the upper-left of the Manage Categories page, click the Add Root Category button. Then, complete the following required fields: |
|
a.
|
Enter a Name for the root category. |
|
b.
|
Set Is Active to “Yes.” |
|
c.
|
If you want this root category to be in the main menu, set Include in Navigation Menu to “Yes.” |
Root Categories
|
3.
|
Complete the remaining optional fields as needed: |
|
a.
|
Click the Choose File to upload a Thumbnail Image for the root category. |
|
b.
|
Enter a Description of the root category. |
|
c.
|
Click the Choose File button to upload an Image to the root category. |
|
d.
|
Complete the following meta data: |
- Page Title
- Meta Keywords
- Meta Description
|
4.
|
Click the Display Settings tab. Then, set Is Anchor to “Yes.” |
|
5.
|
When complete, click the Save Category button. |
 Step 2: Add Subcategories to the New Root
|
1.
|
On the Categories page, click the General tab. |
|
2.
|
In the category tree on the left, select the new root category you created in the last step. |
|
3.
|
Click the Add Subcategory button. |
|
4.
|
Give the subcategory a Name, and set Is Active to “Yes.” |
|
5.
|
Click the Save Category button. |
|
6.
|
Repeat this process to create as many subcategories as you need. |
 Step 3: Apply the New Root Category to Your Store
|
1.
|
On the Admin menu, select System > Manage Stores. |
|
2.
|
On the Manage Stores page, under Store Name, click the Main Store link. |
|
3.
|
Change Root Category to the new root category. |
|
4.
|
Click the Save Store button. |


