Magento 1.x Security Patch Notice
For Magento Open Source 1.5 to 1.9, Magento is providing software security patches through June 2020 to ensure those sites remain secure and compliant. Visit our information page for more details about our software maintenance policy and other considerations for your business.
Virtual Product
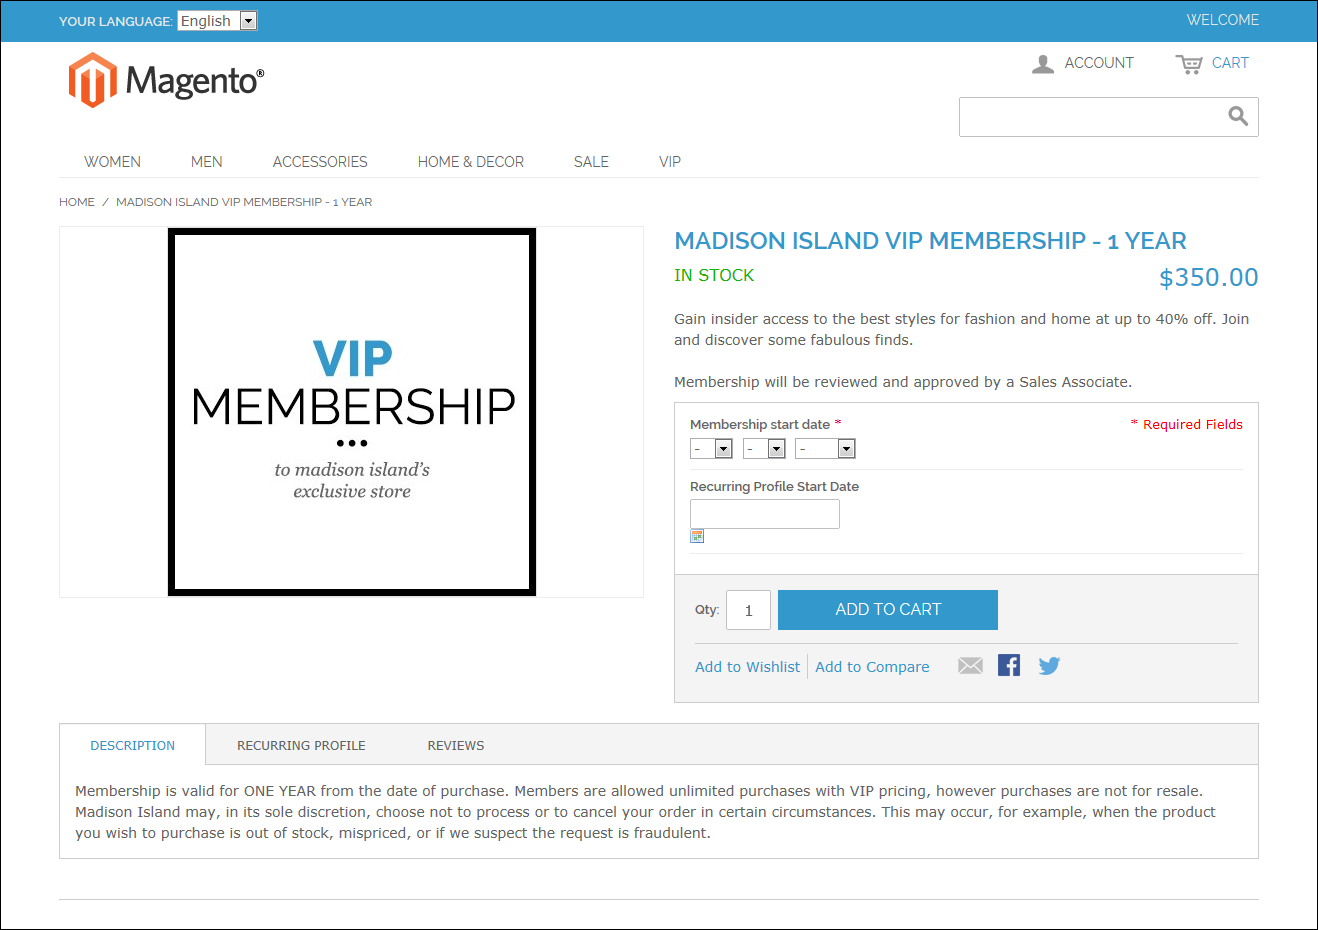
Although virtual products are not physical in nature, they do represent something that can be sold, such as a membership, service, warranty, or subscription. Virtual products can be sold individually, or included as part of the following product types:
The process of creating a virtual product and a simple product is nearly the same. However, because a virtual product is not shipped, there is no Weight field or option to include a gift card.
Virtual Product
Creating a Virtual Product
The following instructions take you through the process of creating a virtual product with the basic fields. Each required field is marked in the Admin panel with a red asterisk (*). After you complete the required settings and save the product, you can complete the remaining product information as needed.
 Step 1: Choose the Attribute Set
|
1.
|
On the Admin menu, select Catalog > Manage Products. |
|
2.
|
In the upper-right corner of the Manage Products page, click the Add Product button. |
|
3.
|
In the Create Product Settings section, do the following: |
|
a.
|
Accept the “default” Attribute Set, or select another. |
|
b.
|
Set Product Type to “Virtual Product,” and click the Continue button. |
Create Product Settings
 Step 2: Complete the Required Fields
Complete the required fields as you would for a simple product. The only difference is that a virtual product has no weight. All required fields are marked with a red asterisk (*).
|
1.
|
On the General tab, complete the required fields as follows: |
|
a.
|
Type the product Name as you want it to appear in all catalog listings. |
|
b.
|
In the Description box, enter the main description that will appear on the product view page. |
|
c.
|
Enter a Short Description of the product. |
|
d.
|
Assign a unique SKU to the product. |
|
e.
|
Set Status to “Enabled.” |
|
f.
|
Set Tax Class to the appropriate setting for your area. |
|
g.
|
Set Visibility to “Catalog, Search.” |
|
2.
|
On the Prices tab, enter the Price you intend to charge for the product or service. |
|
3.
|
If you’re not going to manage your inventory, you can skip this section. Otherwise, complete the required fields on the Inventory tab as follows: |
|
a.
|
Under Manage Stock, clear the Use Config Settings checkbox. Then, set Manage Stock to “Yes.” |
|
b.
|
In the Qty field, enter the quantity of the item currently in stock. |
|
c.
|
Set Stock Availability to “In Stock.” |
|
4.
|
If applicable, on the Website tab, select the checkbox for the website where the product or service will be available for sale. |
|
5.
|
On the Categories tab, assign the product to the appropriate categories, as follows: |
|
a.
|
In the Product Category tree, click to expand the section where the item belongs. |
|
b.
|
Select the checkbox to assign the product to each category where you want the product to be listed in the catalog. |
|
6.
|
When the required fields are complete, click the Save and Continue button. |
Things to Remember
-

|
Virtual products can be used for anything that is not physical in nature, such as services, subscriptions, and warranties.
|

|
Virtual products are much like simple products, but without the Weight and Allow Gift Message fields.
|

|
Shipping Options appear during checkout only if there is also a physical product in the cart.
|


