Magento Community Edition, 1.9.x
Email Footer
The footer contains the closing and signature line of the email message. You can change the closing to fit your style, and add additional information, such as the company name and address below your name. To make more extensive changes requires a working knowledge of both HTML and CSS. On the server, you will find the footer template in the following location:
-
[Magento install dir]/app/locale/en_US/template/email/html/header.html
When working in the template code, be careful not to overwrite anything that is enclosed in double braces.
| 1. | In the Template Name field, enter a name for your custom footer. |
| 2. | In the Template Content box, modify the HTML as needed. |
| 3. | To insert a variable, position the cursor in the code where you want the variable to appear, and click the Insert Variable button. Then, do the following: |
| a. | In the list of Store Contact Information variables, click the variable that you want to insert. |
| b. | When you’re done, click the Preview Template button to verity the code. Then, make any adjustments to the template that are needed. |
| 4. | When the template is finalized, click the Save Template button. |
Your custom footer now appears in the list of Transactional Email templates.
| 1. | On the Admin menu, select System > Configuration. Then in the panel on the left under General, select Design. |
| 2. | If necessary, set the Current Configuration Scope to the website, store, or store view where the header will be used. |
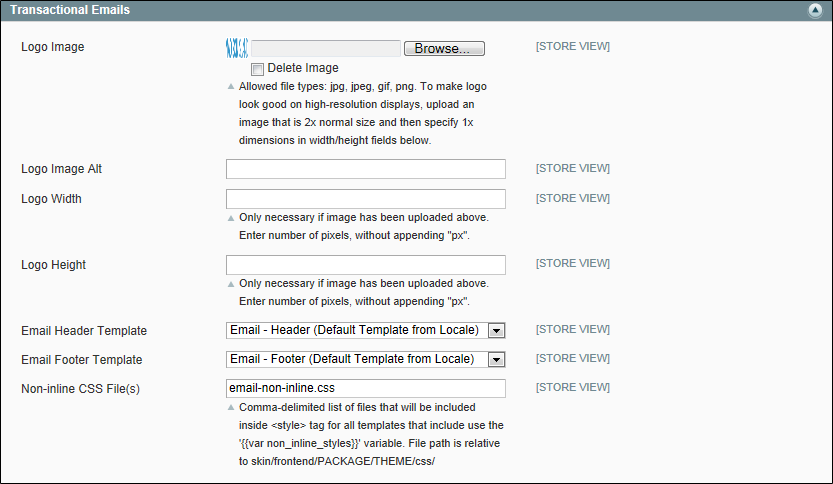
| 3. | Click to expand the Transactional Emails section, and do the following: |
| a. | If the header is for a specific view, clear the Use Website checkbox that is next to the Email Footer Template field. |
| b. | Set Email Footer Template to the name of the custom header that you just created. |
| 4. | When complete, click the Save Config button. |


